If your Mac won’t boot or you need to reinstall macOS, a bootable USB installer is the fastest rescue tool you can create.
The problem: Apple only provides macOS installers from inside macOS. But what if you only have a Windows PC?
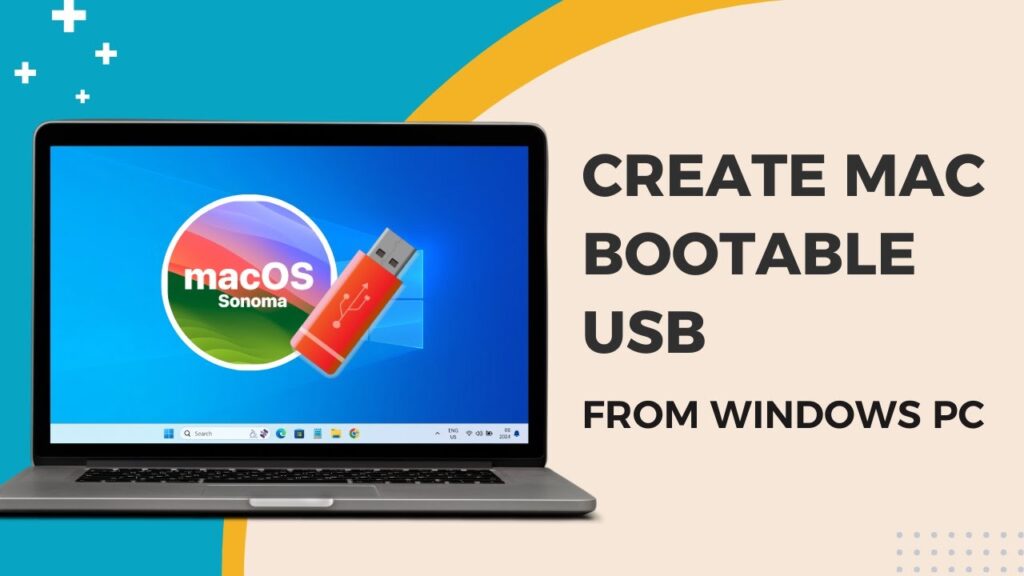
This guide shows how to create a fully working macOS bootable USB using Windows. It works for Sonoma, Ventura, Monterey, Big Sur, and older macOS versions.
No Mac required.
⚠ Important Warning
- Your USB drive will be completely erased
- Backup all files before starting
- Minimum 16GB USB required
- Use a USB 3.0 drive for faster installation
📥 Required Downloads
Step 1 — Convert USB to GPT Format
Open Command Prompt as Administrator and type:
diskpart
list disk
select disk X
clean
convert gpt
create partition primary
exit
Replace X with your USB disk number.
This prepares the USB for macOS compatibility.
Step 2 — Download Correct macOS Version
Important rule:
Your Mac cannot boot a version older than the macOS it shipped with.
Example:
- Mac shipped with Monterey → cannot boot Big Sur
- Must use Monterey or newer
Apple Silicon Macs (M1, M2, M3) should use the newest macOS available.
Step 3 — Create Bootable USB Using TransMac
- Install TransMac
- Run as Administrator
- Right-click USB drive
- Select Restore with Disk Image
- Choose macOS DMG file
- Click Yes
Creation may take 20–40 minutes depending on file size.
Do not unplug the USB during this process.
Step 4 — Boot macOS Installer
Insert USB into the Mac you want to repair.
Apple Silicon Macs
- Hold Power button
- Wait for boot menu
- Select USB installer
Intel Macs
- Hold Option key during startup
- Select USB installer
Release keys when boot menu appears.
Step 5 — Install macOS
Choose the installer volume and follow on-screen instructions.
Installation may take up to 1 hour.
Keep USB connected until finished.
Troubleshooting
- USB not detected → recreate USB
- Installer fails → download newer macOS
- Boot error → verify GPT format
- Slow install → use USB 3.0 drive
Performance Tips
- Use high-quality USB drive
- Use SSD-based USB if possible
- Keep Mac plugged into power
- Do not interrupt installation
Final Result
You now have a macOS bootable USB created entirely on Windows. This USB can reinstall macOS, repair startup disks, and recover a broken Mac.
This is an essential rescue tool every Mac user should keep.
If this guide helped you, bookmark it and share it.

