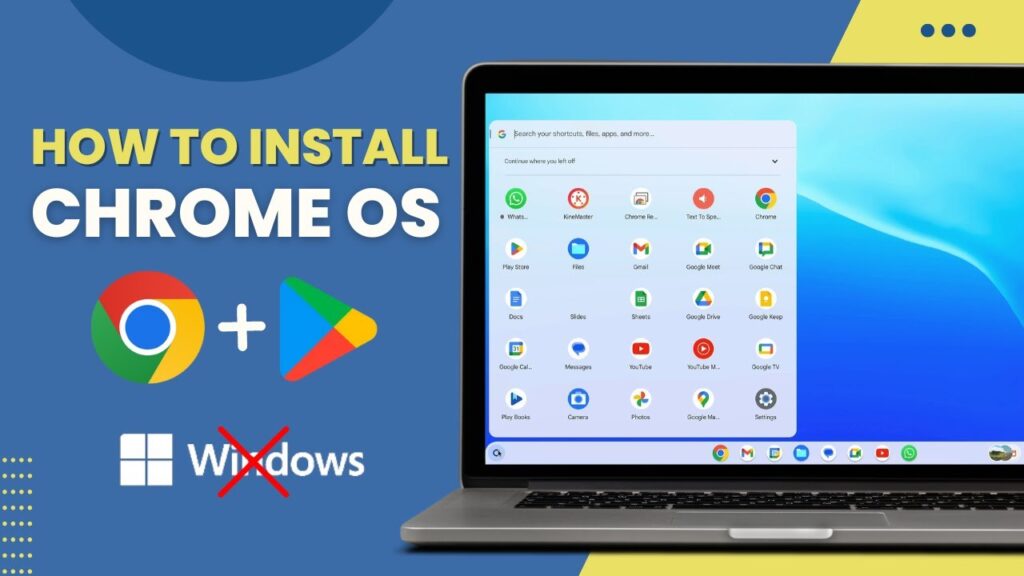
Running Chrome OS on a regular Windows PC might sound impossible, but it’s actually very doable with the right tools. Chrome OS is known for being lightweight, fast, and optimized for web and Android apps. With Google Play Store support, you can run millions of Android apps alongside a desktop-style interface. Instead of buying a separate Chromebook, you can install Chrome OS next to Windows and enjoy both operating systems on the same machine.
In this guide, you’ll learn how to dual boot Chrome OS and Windows 10 or Windows 11 step by step. We’ll use a safe and popular method that creates a dedicated Chrome OS partition while keeping your existing Windows installation intact. Even though the process looks technical at first, I’ll break everything down into simple steps so beginners can follow along. By the end of this tutorial, you’ll be able to choose between Windows and Chrome OS every time you start your PC.
Before You Begin (Important Preparation)
Before installing Chrome OS alongside Windows, we need to change a few system settings and prepare the environment. These steps are required to prevent boot errors and file system conflicts later. Don’t skip this section — it only takes a few minutes and saves a lot of troubleshooting.
Back Up Your Important Files
Although this method keeps Windows intact, you’ll be creating partitions and modifying boot settings. Any mistake during partitioning can cause data loss. Make sure you back up important files to an external drive or cloud storage before continuing.
Disable BitLocker (If Enabled)
If BitLocker or device encryption is turned on, Chrome OS installation can fail or cause boot issues.
Go to:
Settings → Privacy & Security → Device Encryption / BitLocker
Temporarily suspend encryption before continuing. You can re-enable it after the installation is complete.
Disable Hibernation in Windows
Windows hibernation and fast startup can interfere with dual boot systems. We’ll disable them first.
- Open Command Prompt as Administrator
- Run this command:
powercfg.exe /hibernate off
This completely disables hibernation and prevents Windows from locking the disk.
Disable Fast Startup
- Press Windows + R
- Type
regeditand press Enter - Go to this path:
HKEY_LOCAL_MACHINE\SYSTEM\CurrentControlSet\Control\Session Manager\Power
- Double-click HiberbootEnabled
- Change value from
1to0
Fast startup is now disabled.
Disable Secure Boot
Chrome OS cannot boot if Secure Boot is enabled.
- Restart your PC
- Enter BIOS/UEFI (usually F2, DEL, ESC, or F10)
- Find Secure Boot
- Disable it
- Press F10 to save and exit
Next, we’ll install WSL and Ubuntu, which we’ll use to build the Chrome OS image safely inside Windows.
Install WSL and Ubuntu
To install Chrome OS, we’ll use a Linux environment inside Windows. Instead of creating a bootable USB or installing Linux separately, we’ll use Windows Subsystem for Linux (WSL). This allows us to run Ubuntu directly inside Windows, which makes the process much easier and safer.
Install WSL
- Open PowerShell as Administrator
- Run:
wsl --install
Windows will automatically download and install the required components. When the installation finishes, restart your computer.
Install Ubuntu from Microsoft Store
After restarting:
- Open Microsoft Store
- Search for Ubuntu
- Install the latest Ubuntu version (LTS is recommended)
Launch Ubuntu once installation completes.
The first time Ubuntu starts, it will ask you to create:
- a username
- a password
This password will be used whenever you run administrator commands in Linux.
Install Required Packages in Ubuntu
Now open the Ubuntu terminal and run:
sudo apt update && sudo apt -y install pv cgpt
These tools are required for the Chrome OS installation script to work properly.
Wait for the installation to finish before continuing.
Create a ChromeOS Partition in Windows
Chrome OS needs its own dedicated partition. This partition will store the Chrome OS system image and user data. You can choose any size, but for smooth performance, I recommend at least 64GB, and ideally 100GB or more.
Shrink an Existing Drive
- Right-click the Start menu
- Select Disk Management
- Right-click a drive with free space (usually C:)
- Choose Shrink Volume
- Enter the amount of space to shrink (example: 100000 MB ≈ 100GB)
After shrinking, you’ll see Unallocated Space.
Create the ChromeOS Partition
- Right-click the Unallocated Space
- Choose New Simple Volume
- Assign a drive letter (example: D:)
- Format as NTFS
- Name the volume:
ChromeOS
Finish the wizard.
Create the Required Folder
Open the new ChromeOS drive and create this folder:
D:\brunch
(If your drive letter is different, use that instead.)
This folder is where the Chrome OS image will be installed.
Next, we’ll download the required files: Brunch framework, ChromeOS recovery image, and Grub2Win.
Download Required Files
Now we need three important components:
- Brunch framework (builds Chrome OS for PC)
- ChromeOS recovery image (official system files)
- Grub2Win (creates the dual boot menu)
Download all of them before moving to the next step.
Download Brunch Framework
Brunch allows Chrome OS to run on regular PCs by converting the official recovery image into a bootable system.
Download the latest stable release.
Download ChromeOS Recovery Image
This is the official Chrome OS system image. You must download the correct version based on your CPU.
Choose your CPU type:
Intel CPUs
- 6th–9th Gen → Shyvana
- 10th Gen → Jinlon
- 11th Gen+ → Voxel
AMD CPUs
- Ryzen → Gumboz
Download the latest stable version shown.
Download Grub2Win
Grub2Win lets you choose between Windows and Chrome OS during startup.
After downloading, extract all files using 7-Zip or WinRAR.
Next, we’ll prepare the ChromeOS installation folder and rename files correctly.
Prepare ChromeOS Files
Now we’ll organize the downloaded files so Ubuntu can install Chrome OS properly. This step is important — incorrect file names or folder structure will cause the installer to fail.
Extract All Downloads
Use 7-Zip or WinRAR to extract:
- Brunch archive
- ChromeOS recovery image
After extraction, you’ll see several files and folders.
Create a ChromeOS Working Folder
Create a new folder anywhere on your PC. Example:
C:\ChromeOS
You can also use the ChromeOS partition drive if you want:
D:\ChromeOS
Either location works — just remember where you placed it.
Move Required Files into the Folder
Move all extracted Brunch files and the ChromeOS recovery image into this new folder.
You should end up with roughly 6 important files, including:
- chromeos-install.sh
- chromeos.bin (recovery image)
- brunch files
Rename the Recovery Image
Rename the recovery image to exactly:
chromeos.bin
This name must match the install command later.
Even a small typo will cause installation errors.
Next, we’ll open Ubuntu and mount this folder so Linux can access the ChromeOS files.
Mount the ChromeOS Folder in Ubuntu
Now we’ll access the ChromeOS working folder from inside Ubuntu. Since Ubuntu is running through WSL, Windows drives appear under the /mnt directory.
Think of this step as telling Linux where your ChromeOS files are stored.
Convert Windows Path to Linux Path
If your folder is:
C:\ChromeOS
Then in Ubuntu it becomes:
/mnt/c/ChromeOS
If your folder is:
D:\ChromeOS
Then it becomes:
/mnt/d/ChromeOS
Notice:
- Windows backslashes
\become forward slashes/ - Drive letters are lowercase
- Colon
:is removed
Open the Folder in Ubuntu
In the Ubuntu terminal, type:
cd /mnt/c/ChromeOS
(or replace c with your actual drive letter)
Press Enter.
If done correctly, Ubuntu is now inside your ChromeOS folder.
You can verify by running:
ls
You should see your extracted ChromeOS files listed.
Next, we’ll run the main installation command to build and install Chrome OS.
Run the ChromeOS Installation Command
This is the main step where Chrome OS gets built and written to your ChromeOS partition. The installer script will create the ChromeOS image and copy all required files automatically.
Make sure:
✅ You are inside the ChromeOS folder in Ubuntu
✅ The folder contains chromeos.bin and chromeos-install.sh
✅ The brunch folder exists on your ChromeOS drive
Installation Command Format
sudo bash chromeos-install.sh -src chromeos.bin -dst /mnt/(drive letter)/brunch/chromeos.img -s (drive size)
Now replace the placeholders.
Example Installation Command
If:
- ChromeOS partition = D:
- Partition size = 97GB
- Use 2GB less → 95
Run:
sudo bash chromeos-install.sh -src chromeos.bin -dst /mnt/d/brunch/chromeos.img -s 95
Press Enter and wait.
Installation Time
The process may take 20–30 minutes depending on your hardware. Do not close the terminal while it runs.
When the installation finishes, you’ll be asked whether you want:
- single boot
- dual boot
Type:
dual boot
Then press Enter.
After completion, you can close Ubuntu.
Next, we’ll configure the dual boot menu using Grub2Win.
Add ChromeOS to the Boot Menu
Now we’ll configure Grub2Win so your PC shows a boot menu every time it starts. This menu will let you choose between Windows and Chrome OS.
Locate the ChromeOS Boot File
Open your ChromeOS partition in Windows (example: D:).
Inside the partition, you should now see:
- a ChromeOS image file
- a text file containing boot instructions (Grub config)
Open the text file and copy all of its contents.
Keep it copied — we’ll paste it into Grub2Win.
Install Grub2Win
Run the Grub2Win installer you downloaded earlier.
After installation:
- Open Grub2Win
- Click Manage Boot Menu
- Select Add New Entry
Create ChromeOS Entry
- Name the entry:
Chrome OS
- Set Type to:
User Creation
- Notepad will open automatically
- Paste the text you copied earlier
- Save immediately and close Notepad
Ignore any warning messages — they are normal.
Click Apply in Grub2Win.
Next, we’ll make Grub2Win the default boot manager in BIOS.
Set Grub2Win as First Boot Option
For the dual boot menu to appear automatically, your computer must load Grub2Win before Windows Boot Manager. We’ll change the boot priority inside BIOS/UEFI.
Change Boot Priority
- Restart your PC
- Enter BIOS/UEFI
(common keys: F2, DEL, ESC, F10 depending on manufacturer) - Go to:
Boot / Startup / Boot Priority
- Find:
Grub2Win Boot Manager
- Move it to the top of the boot order
- Press F10 to Save & Exit
Your PC will restart.
Boot Into Chrome OS
From now on, every time you power on your PC, the Grub2Win menu will appear.
To launch Chrome OS:
- Select Brunch
- Press Enter
The first boot takes longer than normal.
You’ll see:
- Brunch logo
- Chrome OS loading screen
- Initial setup wizard
Complete the setup, sign in with your Google account, and enable Play Store.
You’re Done 🎉
You now have a fully working dual boot system:
✅ Windows 10/11
✅ Chrome OS with Play Store
✅ Boot menu on startup
You can switch between both systems anytime.