Installing ChromeOS on a regular Windows PC sounds impossible at first — after all, Google officially limits ChromeOS to Chromebooks. And while ChromeOS Flex exists, it doesn’t include the Google Play Store, which is the main reason many people want ChromeOS in the first place.
The good news is: there’s a powerful unofficial method that lets you install the full version of ChromeOS with Play Store support on almost any modern Intel or AMD computer. This means you can run Android apps, Linux apps, and enjoy a lightweight, fast operating system even on older hardware.
In this guide, I’ll walk you through the entire process step by step — from downloading the correct ChromeOS image to installing it on your hard drive. No confusing jargon, no skipped steps. Just a complete beginner-friendly tutorial to turn your PC into a Chromebook-like machine.
Let’s get started.
What You Should Know Before Installing ChromeOS
Before we begin the installation, there’s one very important thing you need to understand.
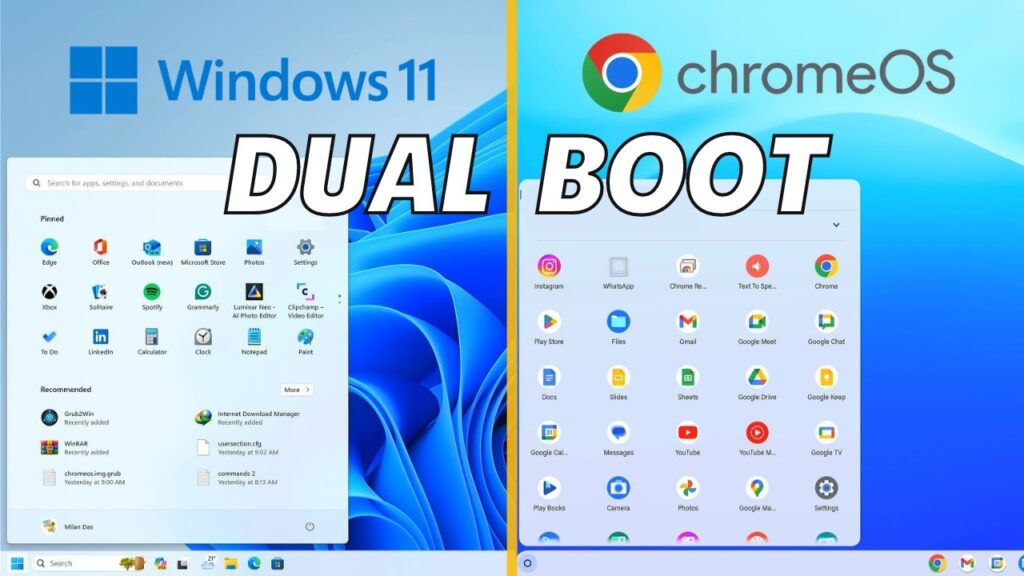
We are not installing ChromeOS inside Windows like a virtual machine. We are installing it as the main operating system, which means your current Windows installation will be completely erased. Once ChromeOS is installed, your PC will boot directly into ChromeOS.
So before proceeding, make sure you back up:
- Important documents
- Photos and videos
- Game saves
- Browser bookmarks
- Any software license keys
to an external drive or cloud storage.
Another important point is compatibility. ChromeOS works best on modern 64-bit hardware. Very old processors or unsupported Wi-Fi chips may cause issues. That’s why choosing the correct ChromeOS recovery image based on your CPU generation is extremely important — we’ll cover that in the next step.
Once your data is backed up and you’re ready to replace Windows, we can move on to preparing your system.
System Requirements and Compatibility Check
Before downloading anything, let’s confirm that your PC is compatible. ChromeOS is lightweight, but it still requires certain hardware features to run properly.
Your computer should meet these requirements:
- 64-bit processor
- UEFI boot support
- Secure Boot disabled
- Virtualization enabled (Intel VT-x / AMD-V)
- At least 16GB USB drive
- SSD recommended for best performance
Supported CPUs
ChromeOS installation works best on:
- Intel 6th generation (Skylake) or newer
- Intel Celeron Goldmont or newer
- AMD Ryzen processors
ARM processors are not supported.
How to Check Your CPU Generation
On Windows:
- Press Windows + R
- Type
msinfo32 - Press Enter
Look at the processor name. Example:
Intel Core i5-8250U
The first number after the dash tells the generation:
- 8 = 8th gen
- 10 = 10th gen
- 12 = 12th gen
Once you know your CPU generation, you’ll be able to download the correct ChromeOS image in the next step. Choosing the wrong image is the #1 reason installations fail.
Now that compatibility is confirmed, let’s download the required files.
Ah — got it 👍
You want the links as buttons, not plain text. Here’s the corrected section with buttons inserted.
Download ChromeOS Image and Required Tools
Now we’ll download everything needed to build the ChromeOS installer. There are four main files you need.
1. ChromeOS Recovery Image
Open cros.tech and download the correct ChromeOS image based on your CPU codename.
ChromeOS Code Names
Intel processors:
- 3rd gen or older → Samus
- 4th & 5th gen → Rammus
- 6th to 9th gen → Shyvana
- 10th gen → Jinlon
- 11th gen and newer → Voxel
AMD processors:
- Ryzen → Gumboz
Example: If your PC has Intel 8th gen → download Shyvana.
2. Download Brunch Framework
Brunch allows ChromeOS to run on regular PCs.
Extract it using 7-Zip or WinRAR.
3. Download Rufus
We’ll use Rufus to create the bootable USB.
4. Create ChromeOS Folder
Create this folder:
C:\chromeos
Move all downloaded and extracted files into it.
Rename the recovery image to:
chromeos.bin
Now we’re ready to install Ubuntu terminal and build the ChromeOS image in the next step.
Install Ubuntu Terminal on Windows (WSL Setup)
To build the ChromeOS installer, we need a Linux environment inside Windows. Don’t worry — we’re not installing full Linux. We’re just enabling Windows Subsystem for Linux (WSL), which runs Ubuntu inside Windows.
Step 1: Install WSL
- Open PowerShell as Administrator
- Run this command:
wsl --install
This installs:
- Windows Subsystem for Linux
- Virtual Machine Platform
- Ubuntu terminal
- Restart your PC after installation finishes.
Step 2: First Ubuntu Setup
After reboot, Ubuntu will open automatically.
It will ask you to create:
- Username
- Password
Just create them — this is your Linux login.
Step 3: Install Required Packages
Now copy and paste this command inside Ubuntu:
sudo apt update && sudo apt -y install pv cgpt tar unzip
This installs tools required to build the ChromeOS image.
Wait until installation finishes.
Build the ChromeOS Image File
Now we’ll convert the recovery file into a bootable ChromeOS image.
Step 1: Open ChromeOS Folder in Ubuntu
If your ChromeOS folder is:
C:\chromeos
Then in Ubuntu type:
cd /mnt/c/chromeos
(Windows C drive appears as /mnt/c/ in Ubuntu)
Step 2: Create ChromeOS Image
Run:
sudo bash chromeos-install.sh -src chromeos.bin -dst chromeos.img
This process can take 15–20 minutes depending on your disk speed.
Do not close the terminal. Just wait.
When finished, press Enter and close Ubuntu.
You have now created the ChromeOS image file.
Create ChromeOS Bootable USB
Now that the ChromeOS image file is ready, we’ll write it to a USB drive so your computer can boot from it.
⚠️ This step will erase everything on the USB drive.
Step 1: Plug in Your USB Drive
Insert a 16GB or larger USB drive into your PC.
Step 2: Open Rufus
Launch Rufus. It should automatically detect your USB device.
If you have multiple USB drives connected, double-check you selected the correct one.
Step 3: Select ChromeOS Image
- Click Select
- Browse to your folder:
C:\chromeos
- Choose:
chromeos.img
Leave all other Rufus settings at default.
Step 4: Start Writing
Click Start → confirm erase → wait for completion.
This usually takes 5–10 minutes.
When Rufus says READY, your bootable ChromeOS USB is complete.
Boot Your PC from the USB
Now we’ll start ChromeOS from the USB drive.
- Keep the USB plugged in
- Restart your computer
- Open the Boot Menu
(usually F12 / ESC / F9 / F10 depending on your PC) - Select your USB drive
Your computer will now boot into ChromeOS.
The first boot may take a few minutes. You’ll see Brunch mounting the system — this is normal.
Important:
👉 Right now ChromeOS is running from USB
👉 It is NOT installed on your internal drive yet
We’ll install it permanently in the next step.
Install ChromeOS on Your SSD or Hard Drive
At this stage, ChromeOS is running from the USB drive. Now we’ll install it permanently on your internal storage.
⚠️ This step will completely erase the selected disk.
Make sure you choose the correct drive.
Step 1: Open the ChromeOS Shell
When ChromeOS reaches the welcome screen:
- Press Ctrl + Alt + F2
- A black terminal window will open
Type:
root
Press Enter.
Step 2: Find Your Disk Name
Now run:
lsblk -e7
This command shows all storage drives connected to your system.
Common disk names:
sda→ SATA HDD/SSDnvme0n1→ NVMe SSD
Check the size column to identify your target disk.
Example:
- 500GB HDD → sda
- 250GB SSD → nvme0n1
Step 3: Install ChromeOS
Run the install command:
sudo chromeos-install -dst /dev/disk-name
Replace disk-name with your actual drive.
Example:
sudo chromeos-install -dst /dev/nvme0n1
The installation may take several minutes depending on disk speed.
Do not interrupt the process.
When finished, you’ll see a message confirming ChromeOS is installed.
Step 4: Reboot into ChromeOS
- Shut down the computer
- Remove the USB drive
- Power the PC back on
Your computer should now boot directly into ChromeOS.
First Boot Setup and Play Store Activation
When ChromeOS starts for the first time, it will look exactly like a brand-new Chromebook.
Step 1: Connect to Wi-Fi
Choose your Wi-Fi network and connect to the internet. ChromeOS needs internet access to activate Play Store and sync your account.
Step 2: Sign in with Google Account
Log in using your Google account.
This step enables:
- Google Play Store
- Google Assistant
- Chrome sync
- Android app support
After login completes, you’ll land on the ChromeOS desktop.
Step 3: Open the Google Play Store
Click the launcher (bottom-left corner) and open Play Store.
If prompted, accept Google Play terms.
You can now install Android apps just like on a phone:
- YouTube
- Canva
- Netflix
- Games
- Editing apps
ChromeOS runs Android apps surprisingly smoothly, especially on SSD systems.
Enable Linux Apps (Optional but Recommended)
One of ChromeOS’s biggest strengths is Linux app support.
Step 1: Turn on Linux Environment
- Open Settings
- Go to Developers
- Enable Linux development environment
- Choose disk size and install
This may take a few minutes.
Step 2: Update Linux
When the Linux terminal opens, run:
sudo apt update
sudo apt upgrade
Step 3: Install Linux App Store
To install a graphical app store, run:
sudo apt install plasma-discover
After installation, you’ll see Plasma Discover in the app launcher.
This lets you install Linux apps with one click.
Conclusion
Congratulations — you’ve successfully installed full ChromeOS with Google Play Store on your PC.
You’ve basically turned your computer into a powerful Chromebook that can run:
- Android apps from the Play Store
- Linux desktop software
- Chrome browser extensions
- Google Assistant
- Cloud-based workflows
And the best part is how lightweight ChromeOS feels compared to Windows. Even older hardware runs smoother, boots faster, and uses less battery.
I tested this setup on an Intel 8th-gen system, and the performance is surprisingly good for daily tasks like browsing, video streaming, editing documents, and running Android apps.
If something doesn’t work during installation, it’s usually because of:
- Wrong ChromeOS codename
- Secure Boot still enabled
- Unsupported Wi-Fi hardware
- Installing to the wrong disk
Double-check those and try again.
Enjoy your new ChromeOS system!