Kali Linux is one of the most powerful operating systems for ethical hacking, cybersecurity testing, and learning penetration tools. But installing it directly on your main PC can be risky if you’re a beginner. The safest and easiest way to try Kali is by running it inside a virtual machine — without touching your Windows installation.
In this step-by-step guide, you’ll learn how to install Kali Linux in VirtualBox on Windows 10 or Windows 11. No dual-boot, no formatting, and no complicated setup. Everything runs inside a safe virtual environment.
This tutorial is written for complete beginners. Even if you’ve never used Linux or VirtualBox before, just follow the steps carefully and you’ll have Kali running in under 30 minutes.
What You’ll Learn in This Guide
By the end of this tutorial, you’ll have a fully working Kali Linux virtual machine and you’ll know how to:
- Install VirtualBox correctly on Windows
- Create a Kali Linux virtual machine from scratch
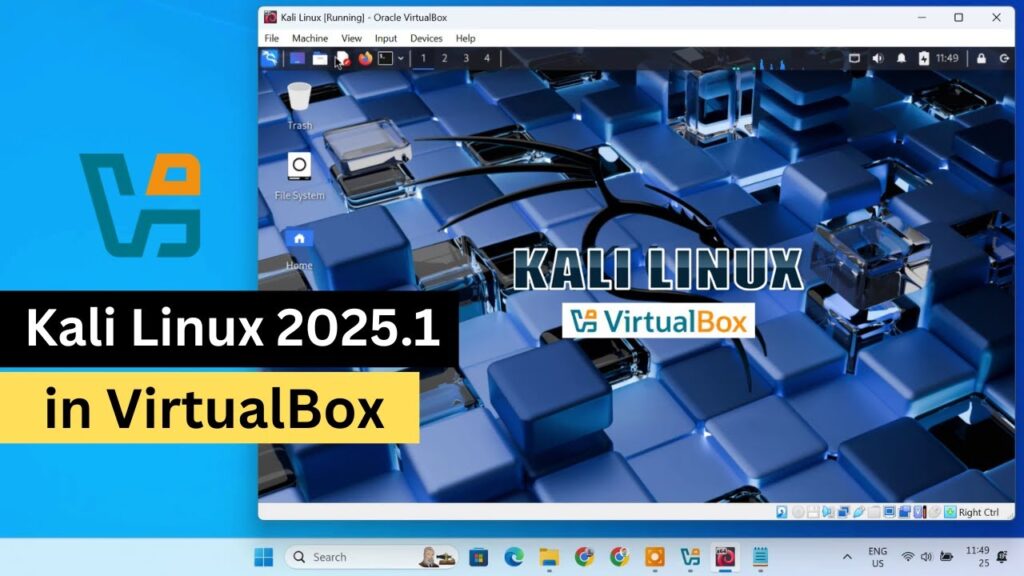
- Install Kali Linux 2025.1 using the graphical installer
- Enable full screen mode and smooth performance
- Share clipboard and files between Windows and Kali
- Fix common errors beginners usually face
The goal is not just installation — it’s to make Kali usable and comfortable for daily learning and practice.
Minimum System Requirements
Before downloading anything, make sure your PC meets these requirements:
- CPU: 64-bit processor with virtualization support (Intel VT-x / AMD-V)
- RAM: 4GB minimum (8GB recommended)
- Storage: 30GB free space minimum
- OS: Windows 10 or Windows 11
- Internet: Required for downloads and updates
If your PC is weaker than this, Kali will still run — but performance may be slow.
Download Required Files
Before we start installing anything, download the 3 files below. These are all official and safe downloads — no third-party mirrors or modified images.
Click the buttons and save the files somewhere easy to find, like your Desktop or Downloads folder.
Important Note
The Extension Pack is required for:
- USB 3.0 support
- Clipboard copy/paste between host and VM
- Drag & drop file transfer
- Better overall compatibility
Make sure the Extension Pack version matches your VirtualBox version.
Step 1 — Enable Virtualization in BIOS (Very Important)
Virtualization allows your PC to run virtual machines. Without this enabled, VirtualBox will not work properly.
Check if Virtualization is Already Enabled
- Right-click the Taskbar → open Task Manager
- Go to the Performance tab
- Click CPU on the left
- Look at the bottom right — it should say:
Virtualization: Enabled
If it already says enabled, you can skip to the next step.
If Virtualization Shows “Disabled”
You need to enable it from your BIOS/UEFI settings:
- Restart your PC
- While booting, repeatedly press one of these keys:
F2 / F10 / Delete / Esc
(depends on your motherboard or laptop brand) - Look for a setting named:
- Intel VT-x
- Intel Virtualization Technology
- SVM Mode (AMD CPUs)
- AMD-V
- Set it to Enabled
- Save and Exit (usually F10)
Your PC will restart automatically.
Why This Step Matters
If virtualization is disabled:
- VirtualBox may refuse to start
- Kali VM will crash or show errors
- Performance will be extremely slow
So don’t skip this step.
Step 2 — Disable Hyper-V (If VirtualBox Shows Errors)
Windows 10 and Windows 11 include a built-in hypervisor called Hyper-V. Sometimes Hyper-V conflicts with VirtualBox and prevents virtual machines from starting.
If you see errors like:
- VT-x is not available
- VirtualBox can’t start the VM
- Hypervisor is running
then Hyper-V is blocking VirtualBox.
Disable Hyper-V Using Command Prompt
- Click Start
- Search for Command Prompt
- Right-click → Run as Administrator
Now paste this command:
bcdedit /set hypervisorlaunchtype off
Press Enter
You should see:
The operation completed successfully.
- Restart your PC
Optional: Disable Windows Hyper-V Feature (Extra Safety)
If the issue continues:
- Open Control Panel
- Go to Programs → Turn Windows features on or off
- Uncheck:
- Hyper-V
- Virtual Machine Platform
- Windows Hypervisor Platform
- Click OK
- Restart your PC
After rebooting, VirtualBox should run normally.
Step 3 — Install VirtualBox and Extension Pack
Now we’ll install VirtualBox — this is the software that runs Kali Linux inside Windows.
Install VirtualBox
- Open the VirtualBox installer you downloaded earlier
- Click Next until you reach Install
- Keep all default options
- Click Install
- Accept any Windows security prompts
- Click Finish
VirtualBox will now launch automatically.
Install VirtualBox Extension Pack
The Extension Pack adds important features like USB support and clipboard sharing.
- Open VirtualBox
- Click Tools → Extensions
- Click the + (Add) icon on the right
- Select the Extension Pack file you downloaded
- Click Install
- Accept the license agreement
- Wait for installation to finish
Make sure the Extension Pack version matches your VirtualBox version.
After this step, VirtualBox is fully ready.
Step 4 — Create the Kali Linux Virtual Machine
Now we’ll create a new virtual machine where Kali Linux will be installed.
Create New VM
- Open VirtualBox
- Click New
- Enter the following:
- Name: Kali Linux
- Type: Linux
- Subtype: Debian
- Version: Debian (64-bit)
Click Next
Allocate RAM (Memory)
- Minimum: 2GB
- Recommended: 4GB or more
- Do NOT allocate more than half of your total RAM
Example:
- 8GB PC → give Kali 4GB
- 16GB PC → give Kali 6–8GB
Click Next
Assign CPU Cores
- Minimum: 2 cores
- Recommended: half your CPU cores
More cores = smoother performance.
Click Next
Create Virtual Hard Disk
- Choose Create a virtual hard disk now
- Disk size:
- Minimum: 25GB
- Recommended: 40–50GB
- Select VDI (VirtualBox Disk Image)
- Choose Dynamically allocated
- Click Finish
Your Kali VM is now created.
Step 5 — Optimize Settings and Mount Kali ISO
Before installing Kali, we should adjust a few settings for smoother performance and attach the installer ISO.
Select your Kali Linux VM in VirtualBox → click Settings.
General → Advanced
Set:
- Shared Clipboard: Bidirectional
- Drag’n’Drop: Bidirectional
This allows copy/paste and file transfer between Windows and Kali.
Display Settings
- Go to Display
- Increase Video Memory to 128MB
- Enable 3D Acceleration (if available)
This improves graphics performance and full screen experience.
Storage — Mount Kali ISO
- Go to Storage
- Under Controller, click Empty
- Click the small CD icon
- Choose Select a disk file
- Select the Kali Linux ISO you downloaded
Now the VM will boot into the Kali installer.
Network Settings
- Default: NAT (recommended for beginners)
- Bridged Adapter: only if you want Kali to appear as a separate device on your network
NAT works perfectly for internet access.
Click OK to save settings.
Step 6 — Install Kali Linux (Graphical Installer)
Now we’ll install Kali inside the virtual machine.
- Select your Kali VM in VirtualBox
- Click Start
The Kali boot menu will appear.
Choose:
👉 Graphical Install
Press Enter
Language, Region, Keyboard
- Select your Language
- Select your Country / Region
- Choose your Keyboard layout
These only affect interface language and typing.
Network Setup
- Hostname: you can type anything (example:
kali) - Domain name: leave blank (home users)
Click Continue.
Create User Account
Kali no longer uses the default root login. You must create your own user.
- Enter your full name
- Create a username
- Set a password
- Confirm password
👉 Remember this password — you’ll need it to log in and install tools.
Partition Disk (Beginner Option)
When asked about disk partitioning:
Choose:
👉 Guided — use entire disk
Then:
👉 All files in one partition
Select the virtual disk → Continue
Choose Finish partitioning and write changes to disk
Confirm Yes
This is safe because it only affects the virtual disk, not your real PC.
Select Desktop Environment
You’ll be asked which desktop environment to install:
- XFCE → lightweight, fastest (recommended)
- GNOME → heavier but modern
- KDE → customizable but uses more RAM
For most users: choose XFCE.
Install GRUB Bootloader
When prompted:
👉 Choose Yes
Select the virtual disk
This allows Kali to boot properly.
Installation will now continue automatically.
This may take 10–20 minutes depending on your PC speed.
When finished:
👉 Click Continue to reboot
Log in using your username and password.
Step 7 — Full Screen Mode + Guest Additions (Important)
After Kali boots for the first time, it may look small or not fit your screen. We’ll fix that now and enable smooth integration with Windows.
Enter Full Screen Mode
Inside the Kali VM window:
👉 Press Right Ctrl + F
This toggles full screen.
If the screen still doesn’t resize properly, install Guest Additions (next step).
Install VirtualBox Guest Additions
Guest Additions improves:
- Screen resolution
- Full screen scaling
- Clipboard copy/paste
- Drag & drop
- Mouse performance
Install packages inside Kali
Open Terminal and run:
sudo apt update
sudo apt install -y virtualbox-guest-x11 virtualbox-guest-utils
Enter your password when asked.
Reboot Kali
After installation:
reboot
When Kali starts again, the display should automatically resize to your screen.
Try:
- Copy text from Windows → paste into Kali
- Drag a file from Windows into Kali
Everything should work smoothly.
Step 8 — Update Kali Linux (Recommended)
After installation, it’s a good idea to update Kali so you get the latest security patches and tools.
Open Terminal and run:
sudo apt update && sudo apt upgrade -y
This may take several minutes depending on your internet speed.
To confirm your Kali version:
cat /etc/os-release
Keeping Kali updated ensures tools work correctly and reduces bugs.
Step 9 — Setup Shared Folder (Transfer Files Easily)
Shared folders let you move files between Windows and Kali without USB drives.
Create a folder on Windows
Create a folder anywhere, for example:
👉 C:\KaliShare
Add Shared Folder in VirtualBox
- Shut down the Kali VM
- In VirtualBox → select Kali → Settings
- Go to Shared Folders
- Click the + icon
- Folder Path → choose your Windows folder
- Enable:
- Auto-mount
- Make Permanent
Click OK
Access Shared Folder in Kali
Start Kali again.
Open File Manager → look for:
👉 /media/sf_KaliShare
If permission error appears, run:
sudo usermod -aG vboxsf $USER
Then reboot Kali.
After restart, shared folder works normally.
Troubleshooting — Common Problems & Fixes
If something doesn’t work, don’t worry. These are the most common beginner issues and how to fix them.
Kali VM is Extremely Slow
Fix:
- Increase RAM to 4GB or more
- Assign 2+ CPU cores
- Enable 3D acceleration
- Confirm virtualization is enabled in BIOS
Low RAM is the #1 cause of slow performance.
VirtualBox Shows VT-x / Hypervisor Errors
Error examples:
- VT-x is not available
- Hypervisor is running
- VM failed to start
Fix:
Run Command Prompt as Administrator:
bcdedit /set hypervisorlaunchtype off
Restart your PC.
Also disable:
- Hyper-V
- Windows Hypervisor Platform
- Virtual Machine Platform
From Windows Features.
Clipboard / Drag & Drop Not Working
Fix:
- VM Settings → Advanced → set to Bidirectional
- Install Guest Additions packages again
- Reboot Kali
Screen Not Resizing / No Full Screen
Fix:
Reinstall Guest Additions:
sudo apt install --reinstall virtualbox-guest-x11
Reboot.
Kali Stuck at Boot Screen
Fix:
- Increase video memory to 128MB
- Enable 3D acceleration
- Try switching graphics controller to VMSVGA
- Reboot VM
FAQ
Can I break my Windows PC by installing Kali in VirtualBox?
No. Kali runs inside a virtual machine. It cannot damage your real OS unless you intentionally share files.
Can I use Kali without internet?
Yes, but many tools require updates. Internet is strongly recommended.
Should I use the prebuilt Kali VM instead?
Prebuilt VM is faster to start, but installing from ISO teaches you Linux basics and gives better customization.
How much RAM is ideal?
8GB total PC RAM is perfect.
Give Kali 4GB and Windows keeps the rest.
Can I delete Kali later?
Yes. Simply delete the VM in VirtualBox — your Windows system remains untouched.
Final Words
You now have a fully working Kali Linux virtual machine running safely on your Windows PC.
From here you can start learning:
- Ethical hacking
- Linux commands
- Networking
- Cybersecurity tools
- Penetration testing labs
And the best part: your main OS stays safe.
