Imagine running the latest version of Android — Android 16 — directly on your Windows PC. Not a fake interface. Not a preview. The full operating system with official Google Play Store support.
Android 16 (API Level 36), codenamed Baklava, brings smoother performance, redesigned quick settings, improved battery stats, and a modern polished UI. Normally you’d need a new phone to try it.
In this guide, you’ll install Android 16 using Google’s official Android emulator and run it like a real Android device on your computer.
This works on both Windows 10 and Windows 11 and uses only official Google tools.
📥 Required Download
System Requirements
- Windows 10 or Windows 11 (64-bit)
- 8GB RAM minimum (16GB recommended)
- Intel or AMD CPU with virtualization
- SSD storage recommended
- Internet connection
Step 1 — Enable Virtualization
Android emulator requires hardware virtualization.
- Open Task Manager → Performance → CPU
- Check “Virtualization” status
If disabled:
- Restart PC → enter BIOS
- Enable Intel VT-x or AMD SVM Mode
- Save and exit
Step 2 — Enable Virtual Machine Platform
This improves emulator performance.
- Search Windows Features
- Open “Turn Windows features on or off”
- Enable Virtual Machine Platform
- Click OK and restart
Step 3 — Install Android Studio
Run Android Studio installer.
- Select Standard Installation
- Accept licenses
- Wait for downloads
This installs the official Android emulator.
Step 4 — Download Android 16 System Image
- Open Android Studio
- Click More Actions → SDK Manager
- Open SDK Platforms tab
- Select Android 16 (API 36)
- Click Apply
Step 5 — Create Virtual Android Device
- Open Virtual Device Manager
- Click + Create Device
- Select Pixel Phone or Pixel Tablet
- Choose Android 16 image
- Select Google Play image
- Click Finish
Make sure Google Play Store is selected.
Step 6 — Performance Configuration
Adjust emulator resources based on your PC:
- Internal storage: 30GB
- RAM: 4GB or more
- CPU cores: match your processor
- Graphics: Hardware acceleration
- VM heap: 512MB
These settings improve gaming performance.
Step 7 — Boot Android 16
Click the Play button next to your virtual device.
The emulator boots like a new Android phone.
Complete Google setup and sign in.
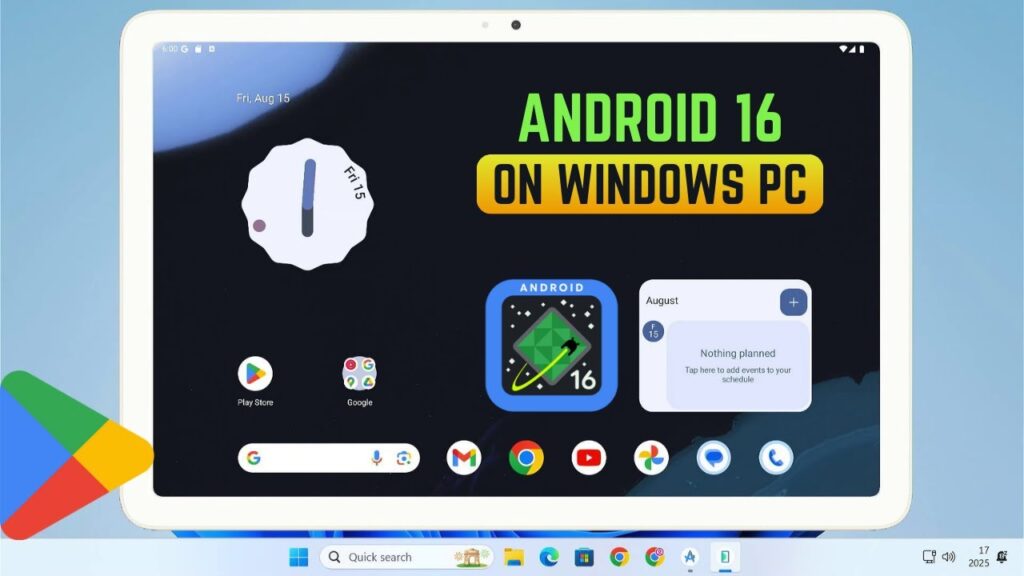
Use Android 16 on Your PC
You now have a full Android device running inside Windows.
You can:
- Browse web in Chrome
- Watch YouTube
- Install apps from Play Store
- Run Android games
- Use Google Photos
- Manage files
Gaming Performance
Casual games run perfectly:
- Angry Birds
- Candy Crush
- Subway Surfers
Heavy games depend on PC power:
- Asphalt 9
- Call of Duty Mobile
- Genshin Impact
Some online shooters may block emulators.
Performance Tips
- Use SSD storage
- Allocate more RAM
- Enable GPU acceleration
- Close background apps
- Use wired internet
Troubleshooting
- Emulator slow → enable virtualization
- Black screen → update graphics drivers
- No Play Store → choose Google Play image
- Install error → reinstall Android Studio
Final Result
You now have Android 16 running on your Windows PC with full Play Store support.
Your computer doubles as a modern Android device.
If this guide helped you, bookmark it and share it.

