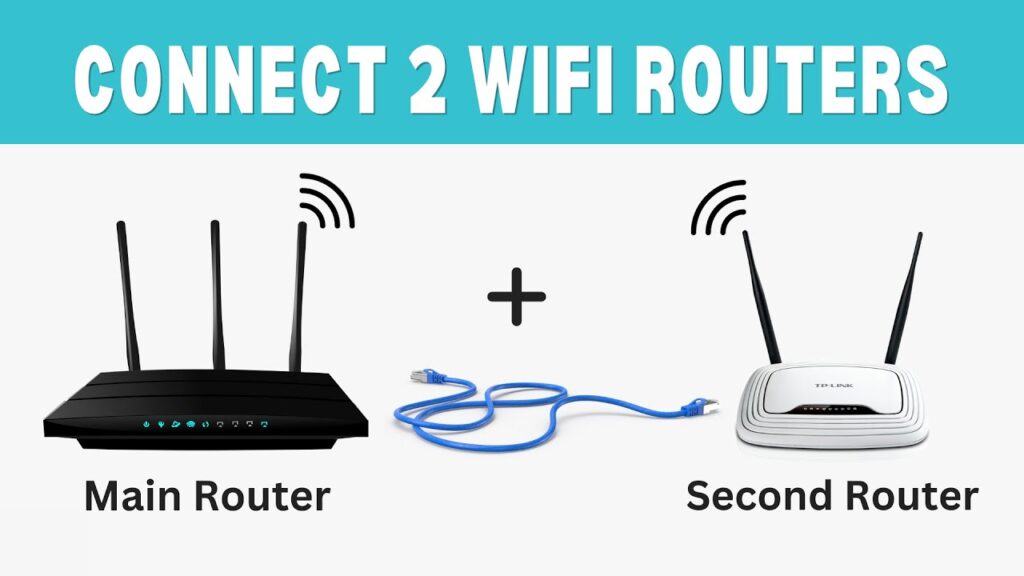
If you have an old TP-Link router lying around, you can turn it into a powerful wireless access point and extend your existing Wi-Fi network without buying new equipment.
This guide shows two safe and easy methods to configure a TP-Link router as an access point.
Both methods work on most TP-Link models and require only an Ethernet cable.
What an Access Point Does
An access point extends your main router’s network and allows more devices to connect through Wi-Fi or Ethernet.
It does NOT create a second network — it expands your existing one.
Requirements
- Main router with internet connection
- TP-Link router
- Ethernet cable
- Computer or laptop
Method 1 — Using Built-in Access Point Mode
This is the easiest method if your router supports Operation Mode.
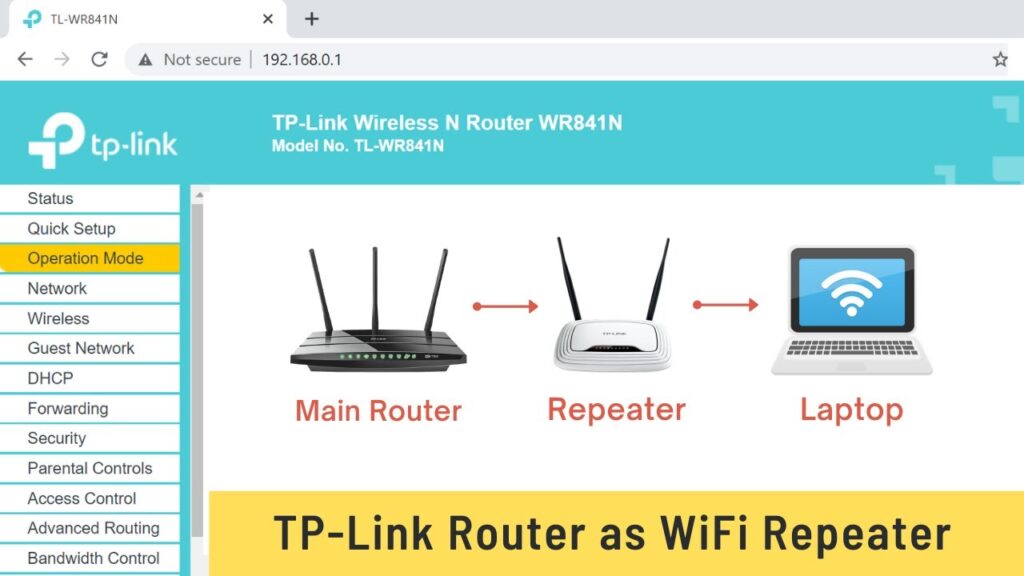
Step 1 — Connect to TP-Link Router
- Connect PC to TP-Link router using Ethernet
- Open browser
- Log into router admin panel
Default address is usually:
192.168.0.1
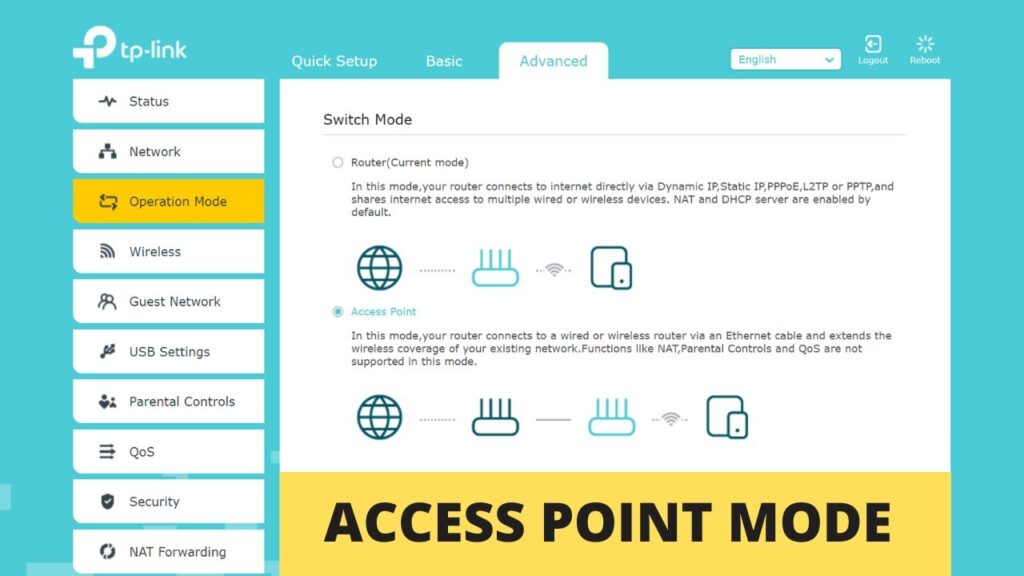
Step 2 — Enable Access Point Mode
- Go to Advanced tab
- Open Operation Mode
- Select Access Point
- Click Save
The router will reboot automatically.
After reboot, log in again and set Wi-Fi name and password.
Important Note
Some router features stop working in AP mode:
- Parental control
- NAT forwarding
- VPN
- QoS
- Bandwidth control
This is normal because the main router handles those tasks.
Step 3 — Connect to Main Router
Use Ethernet cable:
- Main router LAN → TP-Link WAN port
Devices can now connect through Wi-Fi or Ethernet.
Method 2 — Manual Access Point Setup
Use this if your router does NOT have Operation Mode.
Step 1 — Change TP-Link IP Address
- Login to router
- Go to Network → LAN
- Change IP to match main router segment
Example:
Main router: 192.168.0.1
TP-Link AP: 192.168.0.2
Make sure the new IP is outside DHCP range.
Router will reboot after saving.
Step 2 — Disable DHCP Server
Only one DHCP server should exist in a network.
- Go to DHCP settings
- Disable DHCP server
- Save changes
Step 3 — Connect LAN to LAN
Use Ethernet cable:
- Main router LAN → TP-Link LAN
Do NOT use WAN port in this method.
All LAN ports now act as network extension.
Step 4 — Reboot Router
Restart the TP-Link router to apply settings.
Final Network Behavior
After setup:
- Main router handles internet
- TP-Link acts as Wi-Fi extender
- Devices share same network
- No double NAT issues
You can access each router using their separate IP addresses.
Troubleshooting
- No internet → check Ethernet cable
- IP conflict → change AP IP
- Slow Wi-Fi → change channel
- Cannot login → factory reset router
Performance Tips
- Place AP in open area
- Avoid walls and metal objects
- Use same SSID for seamless roaming
- Use 5GHz if available
Final Result
Your TP-Link router now works as a wireless access point, extending your Wi-Fi coverage and improving network stability.
This is the cheapest and most effective way to upgrade home networking.
If this guide helped you, bookmark it and share it.