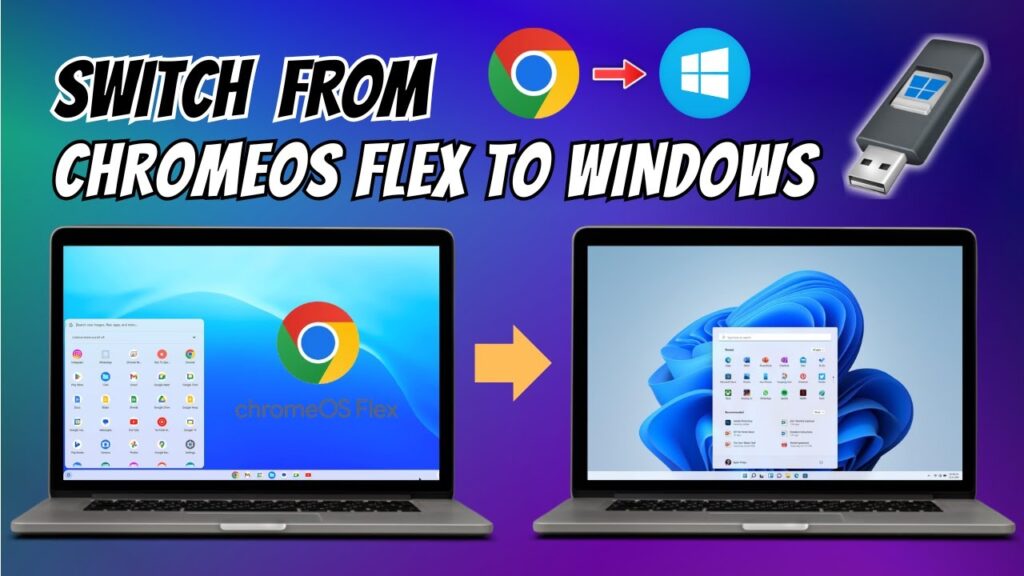
ChromeOS Flex is lightweight and fast, but sometimes you need Windows again for gaming, software compatibility, or professional work.
This guide shows how to safely remove ChromeOS Flex and reinstall Windows step-by-step.
Important: This process completely wipes your drive.
⚠ Backup Warning
Before continuing:
- Back up important files
- Save documents to external storage
- Sync cloud data
- Export passwords
Everything on the device will be erased.
📥 Required Downloads
Requirements
- 8GB or larger USB drive
- Internet connection
- Windows ISO file
- ChromeOS Flex system
Step 1 — Download Windows ISO
Go to Microsoft’s website and download Windows 10 or Windows 11 ISO.
Choose the version compatible with your PC.
Step 2 — Install Chromebook Recovery Utility
Open Chrome browser.
Install the Chromebook Recovery Utility extension from Chrome Web Store.
This tool allows ChromeOS to create bootable USB drives.
Step 3 — Prepare Ventoy Image
- Download Ventoy Live CD ISO
- Right-click → Zip selection
- This creates a ZIP file
Step 4 — Create Bootable USB
- Insert USB drive
- Open Chromebook Recovery Utility
- Click gear icon
- Select Use local image
- Choose Ventoy ZIP file
- Select USB drive
- Click Create
USB will be formatted and bootable.
Step 5 — Install Ventoy on USB
- Restart PC
- Boot from USB
- Select Ventoy Live CD
- Click Install
- Confirm formatting
Ventoy installs successfully.
Step 6 — Copy Windows ISO
Open the USB drive.
Copy the Windows ISO file into the Ventoy folder.
Wait for the copy to complete.
Step 7 — Boot Windows Installer
- Restart PC
- Boot from USB again
- Select Windows ISO in Ventoy
- Choose Boot in normal mode
Step 8 — Delete ChromeOS Flex Partitions
When Windows setup shows partitions:
- Select each ChromeOS partition
- Click Delete
- Repeat until only unallocated space remains
- Select unallocated space
- Click Next
Windows creates new partitions automatically.
Step 9 — Install Windows
Windows installs normally.
The PC restarts several times.
Do not remove USB until installation finishes.
Step 10 — Complete Windows Setup
- Select language and region
- Connect Wi-Fi
- Create Microsoft account
- Configure privacy settings
Windows is ready to use.
Troubleshooting
- USB not booting → recreate Ventoy USB
- Disk not detected → change BIOS SATA mode
- Installer freezes → redownload ISO
- Boot loop → remove USB after install
FAQs
Does this erase ChromeOS Flex?
Yes.
Is this official?
Yes, Microsoft ISO.
Works on laptops?
Yes.
Can I reinstall ChromeOS