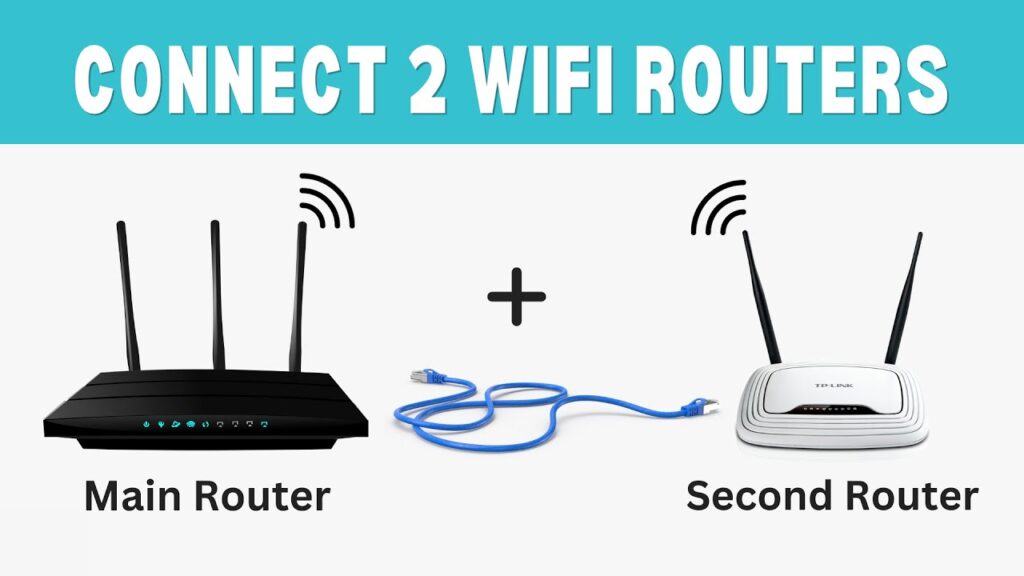
If your Wi-Fi signal gets weak in certain parts of your home, you don’t need to buy an expensive extender. You can use an old TP-Link router as a wired repeater and dramatically improve coverage while keeping full internet speed. This Ethernet-based setup is more stable than wireless repeating and is perfect for gaming, streaming, and working from home. In this step-by-step guide, you’ll learn how to connect and configure a TP-Link router as a repeater using a LAN-to-LAN Ethernet connection.
Before You Start
Before we begin the setup, make sure you have everything ready. This configuration is simple, but preparing your equipment will help avoid mistakes during the process.
You will need:
- Your main router (already connected to the internet)
- A TP-Link router to use as the repeater
- A long Ethernet cable (Cat5e or Cat6 recommended)
- A phone or computer to configure the router
Also, place the TP-Link router somewhere between the weak signal area and the main router. Since we’re using an Ethernet cable, you can place it farther away while still maintaining full speed.
If the TP-Link router was previously used, it’s best to reset it before configuration. We’ll do that in the next step.
Step 1: Reset and Log In to the TP-Link Router
If the TP-Link router has old settings saved, it’s best to start fresh.
Reset the Router
- Power on the TP-Link router
- Press and hold the Reset button for about 10 seconds
- Release when the LEDs blink or the router restarts
This restores factory settings.
Connect to the Router
- Connect your phone or PC to the TP-Link router’s default Wi-Fi
- The Wi-Fi name and password are printed on the router label
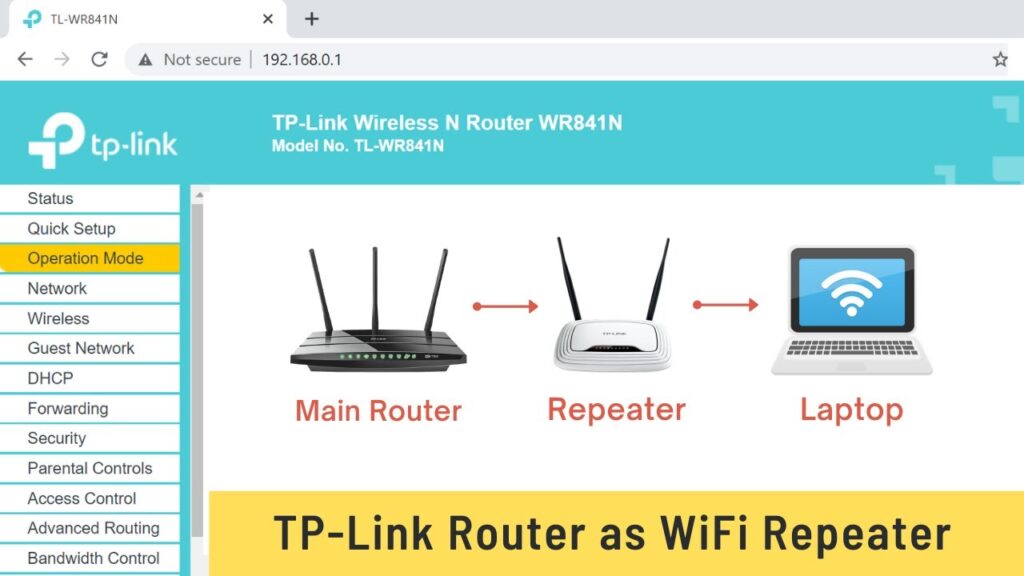
- Open a browser and go to:
192.168.0.1
(or try 192.168.1.1 if the first one doesn’t work)
- Log in using the default admin credentials
You are now inside the router control panel.
Step 2: Change the TP-Link LAN IP Address
Now we must change the TP-Link router’s LAN IP so it doesn’t conflict with your main router. If both routers use the same IP, your network will break.
Check your main router IP
Most main routers use:
192.168.0.1
or
192.168.1.1
We’ll assign the TP-Link router a nearby unused address.
Example:
- Main router →
192.168.0.1 - TP-Link repeater →
192.168.0.2
Change the IP inside TP-Link settings
- Go to Network
- Click LAN
- Change LAN IP Address to an unused number
- Click Save
The router will reboot automatically.
After reboot:
👉 Log in again using the new IP address
(example: 192.168.0.2)
Step 3: Connect the Routers Using Ethernet (LAN-to-LAN)
Now we’ll physically link both routers. This step is what turns the TP-Link router into a wired repeater.
- Take your Ethernet cable
- Plug one end into a LAN port on your main router
- Plug the other end into a LAN port on the TP-Link router
⚠️ Important:
Do NOT use the WAN port on the TP-Link router.
It must be LAN to LAN.
This connection allows both routers to share the same network while keeping full speed and stability.
After connecting the cable, wait about 30 seconds for the routers to sync.
Step 4: Configure Wi-Fi Settings on the TP-Link Router
Now we’ll set up the wireless network that your TP-Link router will broadcast.
- Log back into the TP-Link router using its new IP
- Go to Wireless or Wi-Fi Settings
- Set your:
- SSID (Wi-Fi name)
- Password
- Click Save
You have two options here:
Option 1: Same Wi-Fi name as main router
→ Devices may switch automatically between routers
Option 2: Different Wi-Fi name
→ Easier to know which router you’re connected to
For beginners, I recommend using a slightly different name like:
👉 HomeWiFi_Ext
Step 5: Disable DHCP on the TP-Link Router
This is an important step. Only your main router should assign IP addresses.
- Go to DHCP Settings
- Turn DHCP Server = Disable
- Click Save
This ensures the TP-Link router acts only as an extender, not a second router.
Step 6: Reboot and Test the Connection
To make sure everything applies correctly:
- Unplug the TP-Link router for 10 seconds
- Plug it back in
- Wait until all lights stabilize
Now connect your phone or laptop to the TP-Link Wi-Fi network and open a website.
You should have full internet access.
To confirm speed and stability, run a quick test:
If the speed matches your main router, the setup is successful.
Troubleshooting
No internet on TP-Link Wi-Fi
- Check Ethernet cable is LAN-to-LAN
- Confirm DHCP is disabled
- Reboot both routers
Can’t log in after IP change
- Use the new IP you assigned
- If forgotten → reset router and repeat
Random disconnects
- Ensure both routers are in the same IP range
- Make sure no IP conflicts exist
Final Words
Congratulations! Your TP-Link router is now working as a wired repeater, giving you extended Wi-Fi coverage with full speed and stability. This Ethernet-based method is much faster and more reliable than wireless repeating, making it ideal for streaming, gaming, and large homes.