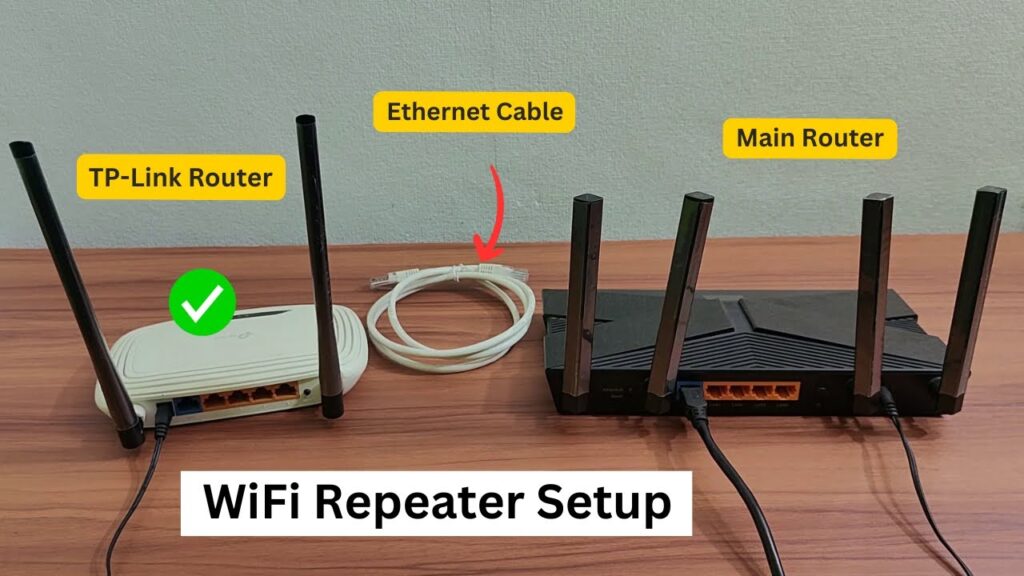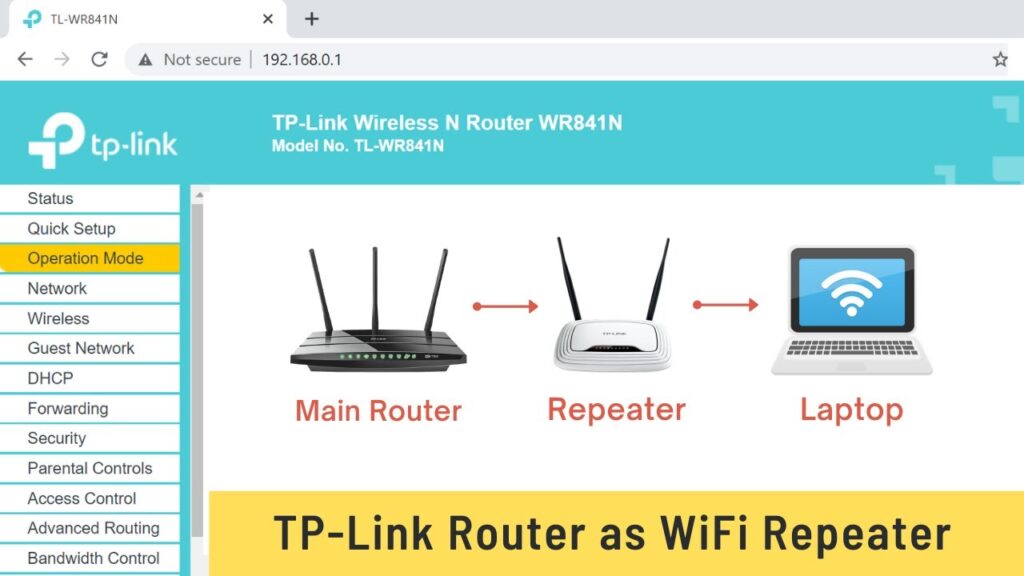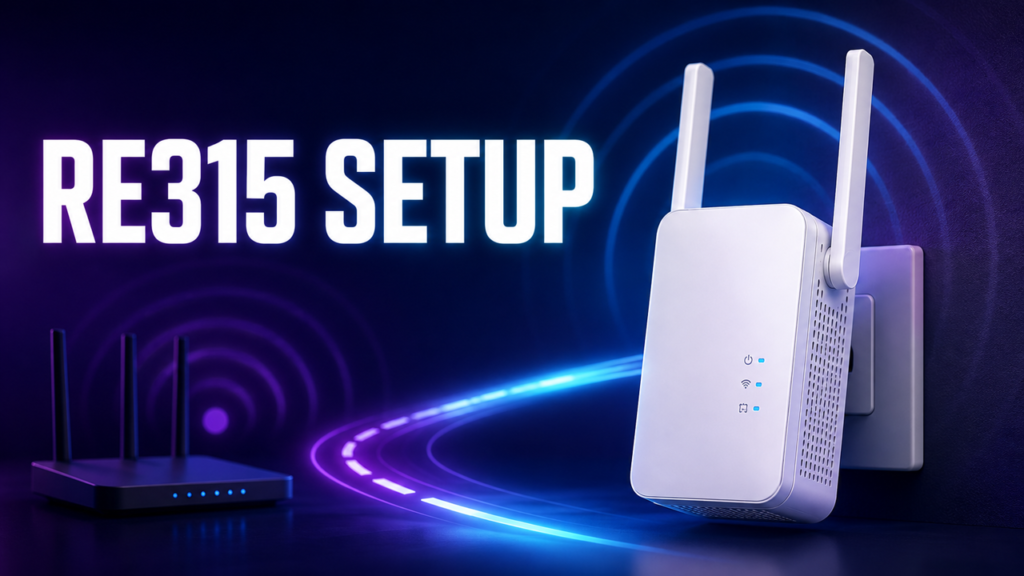
The TP-Link RE315 can extend a router’s 2.4 GHz and 5 GHz Wi-Fi, join a compatible EasyMesh or OneMesh network, or work as a wired access point. You can set it up with the WPS buttons, a web browser, or the TP-Link Tether app.
This tutorial follows all three methods shown in the demonstration, then explains placement, mesh settings, Access Point mode, High Speed mode, LED controls, and power scheduling. The exact menu names can vary slightly with the RE315 hardware revision, region, and firmware.
Firmware note: Check the label on the extender for its hardware version before installing firmware from the official TP-Link RE315 support page. Use the support site for the region where the device was purchased. EasyMesh, custom extended-network security, and Ethernet backhaul availability depend on the hardware and firmware version.
Before you set up the RE315
Plug the extender into a wall outlet close to the main router for the initial setup. Have the router’s Wi-Fi name and password ready for each band you want to extend. The password you create for managing the extender is a separate password, so use a strong, unique one and save it.
- Power LED: confirms that the extender is powered on.
- Signal LED solid white: the version shown has a good link to the router. A red Signal LED means the router signal is weak, while an unlit Signal LED means no wireless link is established.
- Signal LED blinking: WPS pairing is in progress.
- 2.4G and 5G LEDs: each LED shows whether that host-router band is connected. It is normal for only one to be lit if you intentionally skipped the other band.
Do not choose the final location yet. Configure the extender near the router first, confirm that it works, and move it only after setup is complete.
Method 1: Set up the RE315 with WPS
WPS is the fastest method and does not require a phone or computer. It is best when you are happy to use the router’s existing Wi-Fi settings and do not need to choose custom extended-network names during setup.
Step 1: Start WPS on the router
Press the WPS button on the main router. Do not hold a combined WPS/Reset button longer than the router manufacturer recommends, because a long press can perform a different action on some routers.
Step 2: Press WPS on the extender
Within two minutes, press the RE315’s WPS button for about one second. The Signal LED blinks while pairing and becomes solid when the connection succeeds.
Step 3: Connect the second band if needed
If only one band connects to a dual-band router, repeat the WPS process to connect the other band. A standard extender setup usually creates a network with _EXT added to the router name and uses the same Wi-Fi password. When a compatible mesh connection is formed, the extender can copy the router’s name and password instead.
WPS completes the basic connection, but the web interface or Tether app is still useful for checking placement, changing names, controlling the LEDs, and configuring schedules.
Method 2: Set up the RE315 in a web browser
The browser method works on a computer, phone, or tablet. It gives you more control over which bands are extended and what the new networks are called.
Step 1: Connect to the extender’s default Wi-Fi
- Wait until the Power LED is solid.
- Open the Wi-Fi list on the setup device.
- Connect to TP-Link_Extender or the similarly named default extender network. It normally has no Wi-Fi password before setup.
- Temporarily disconnect Ethernet from the computer if it keeps the browser on another network.
Step 2: Open the local setup page
Open a browser and enter tplinkrepeater.net in the address bar. If that local name does not open, try 192.168.0.254. These addresses reach the extender on the local network; they are not public internet pages.
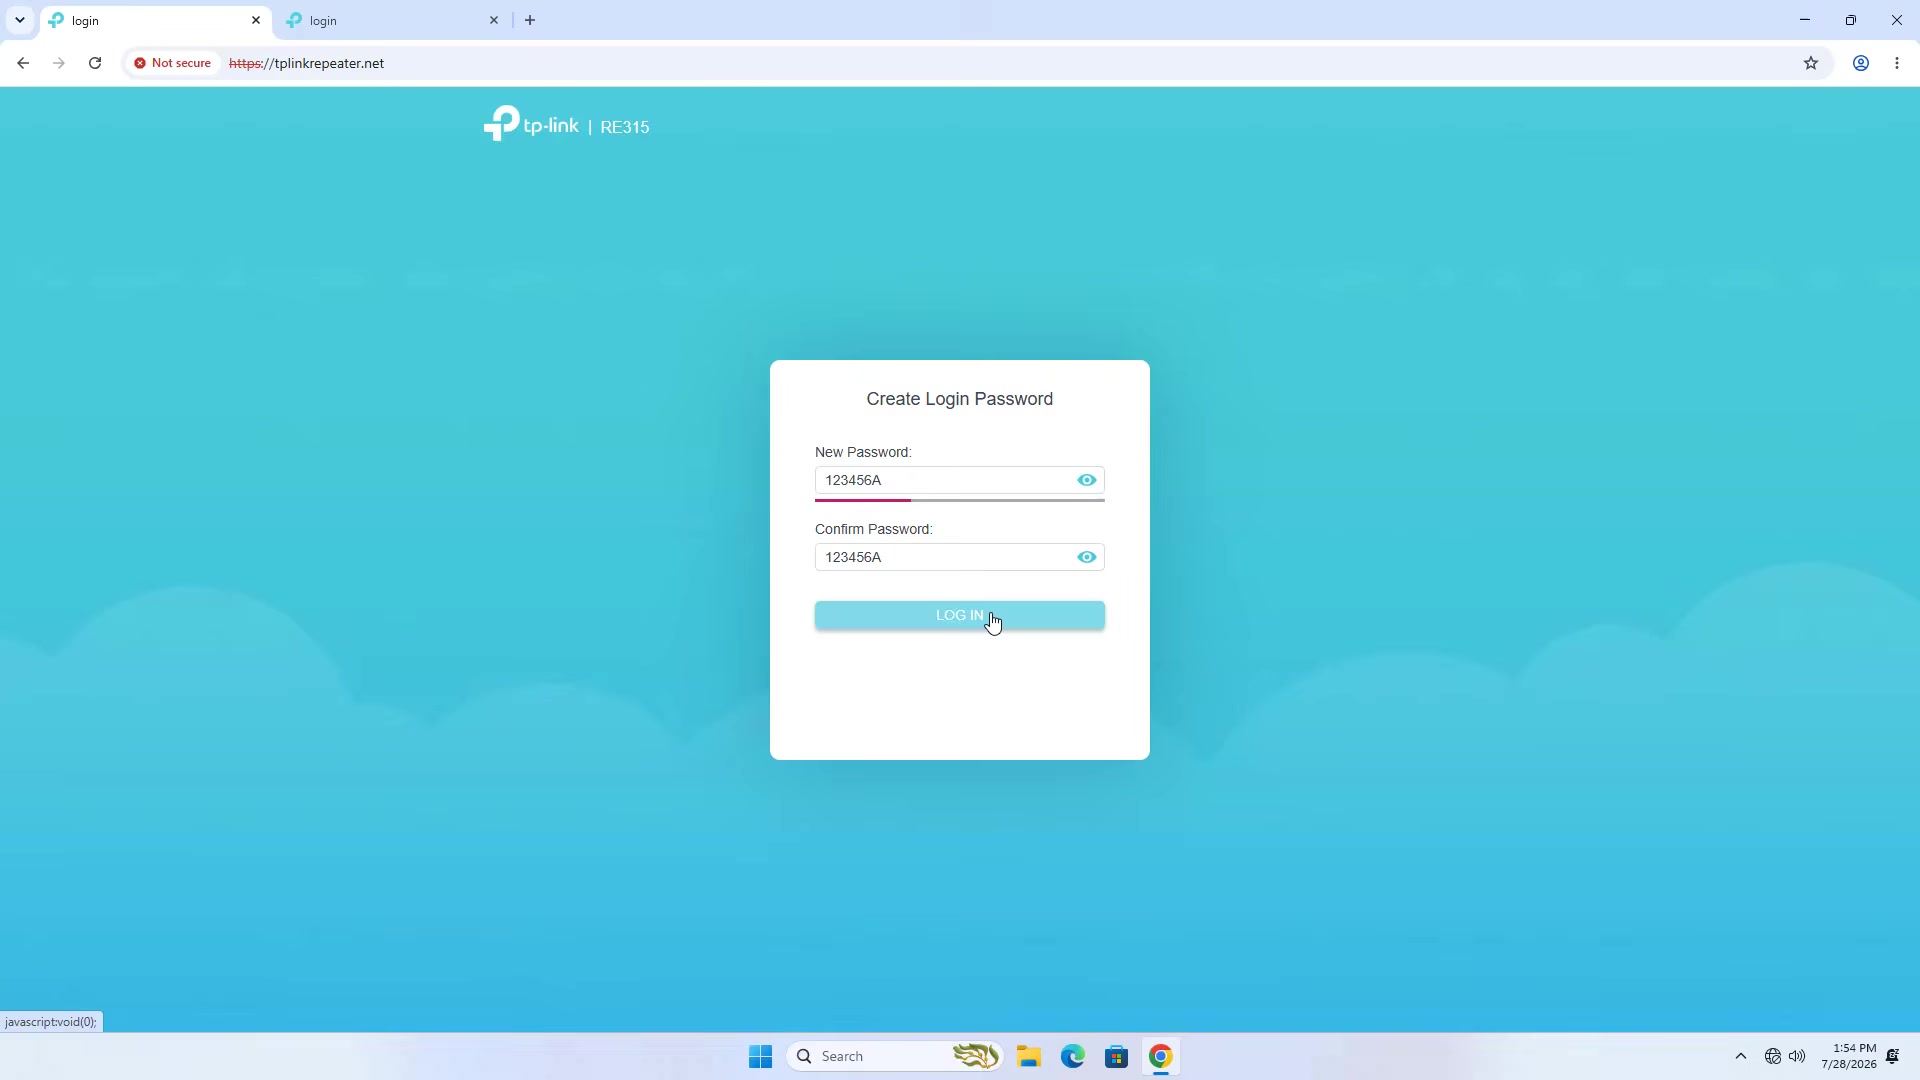
Step 3: Create the extender login password
Create and confirm a strong management password. This protects the RE315 settings page and is not the password of the router Wi-Fi you are about to extend.
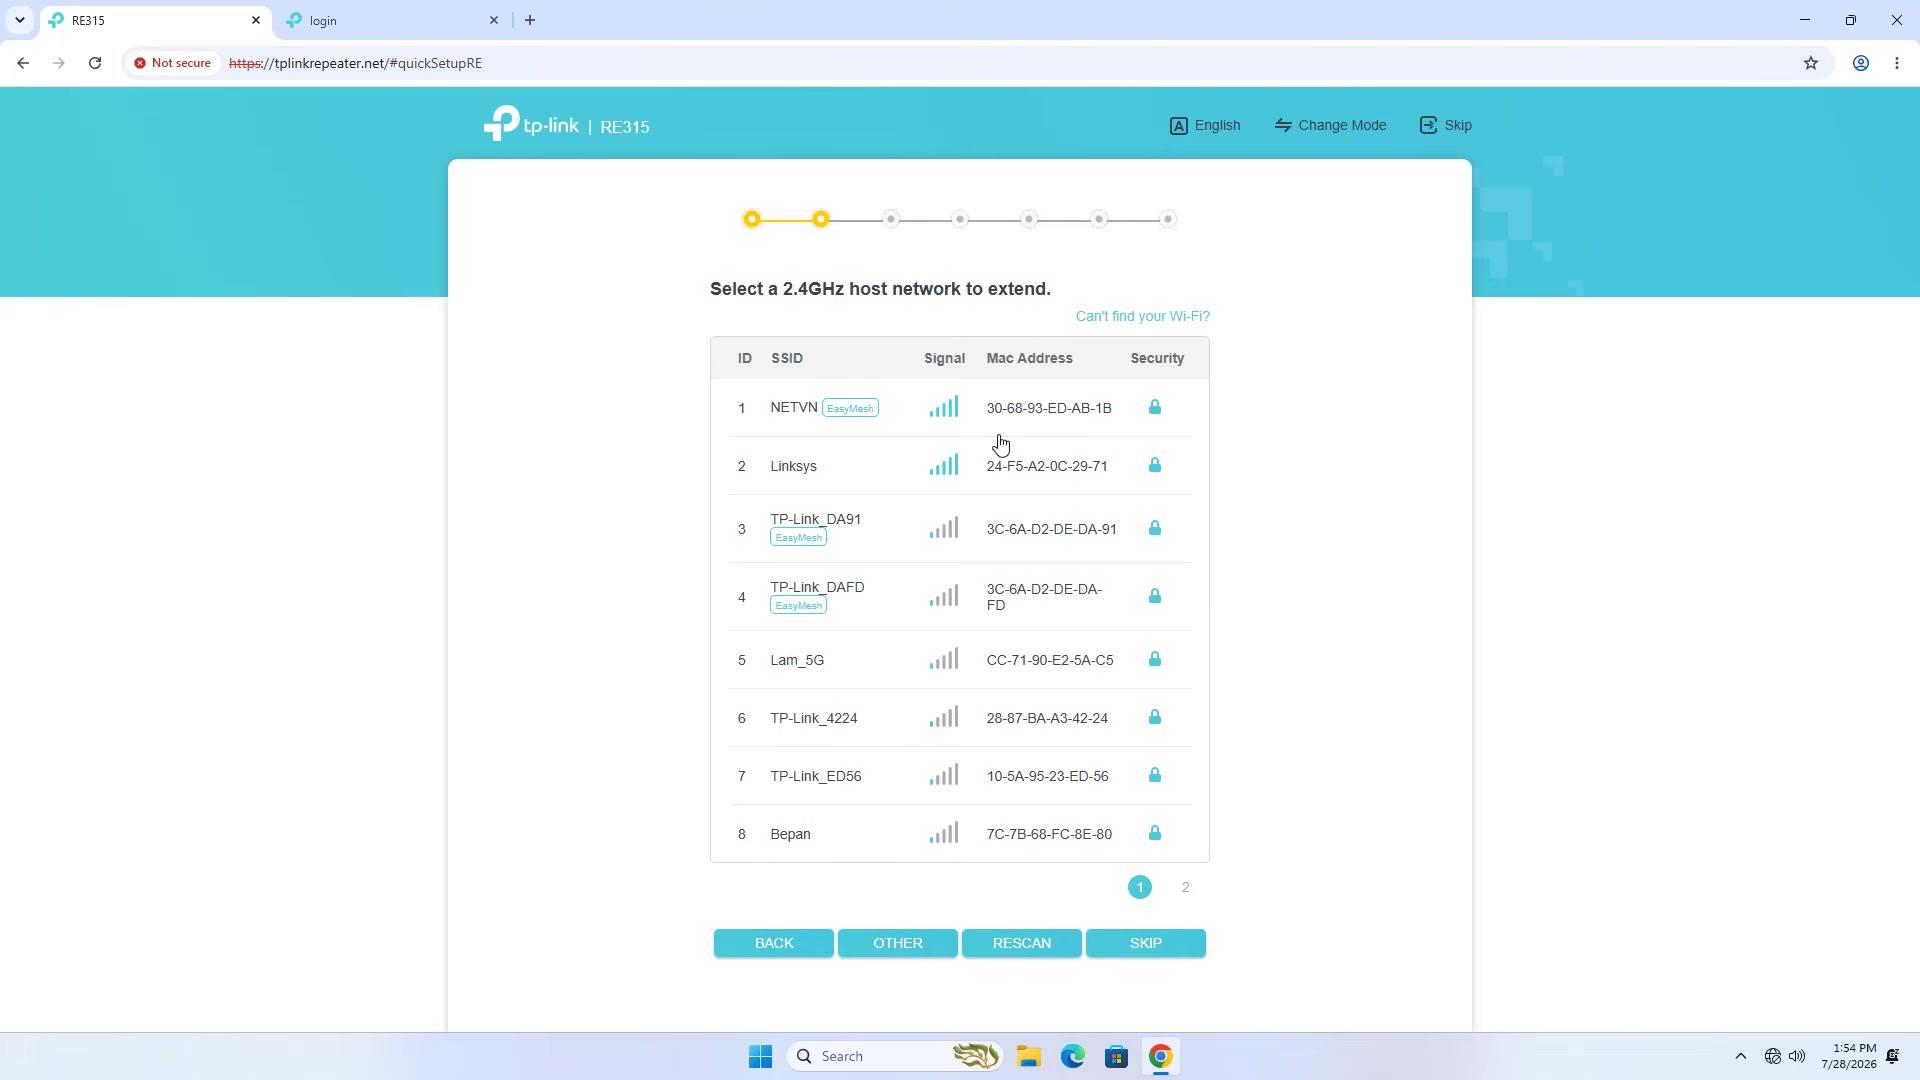
Step 4: Select the 2.4 GHz and 5 GHz networks
The Quick Setup wizard scans for nearby networks. Select the main router’s 2.4 GHz network, enter its Wi-Fi password, and continue. Repeat the process for 5 GHz. If the router does not broadcast one of the bands, use Skip for that band.
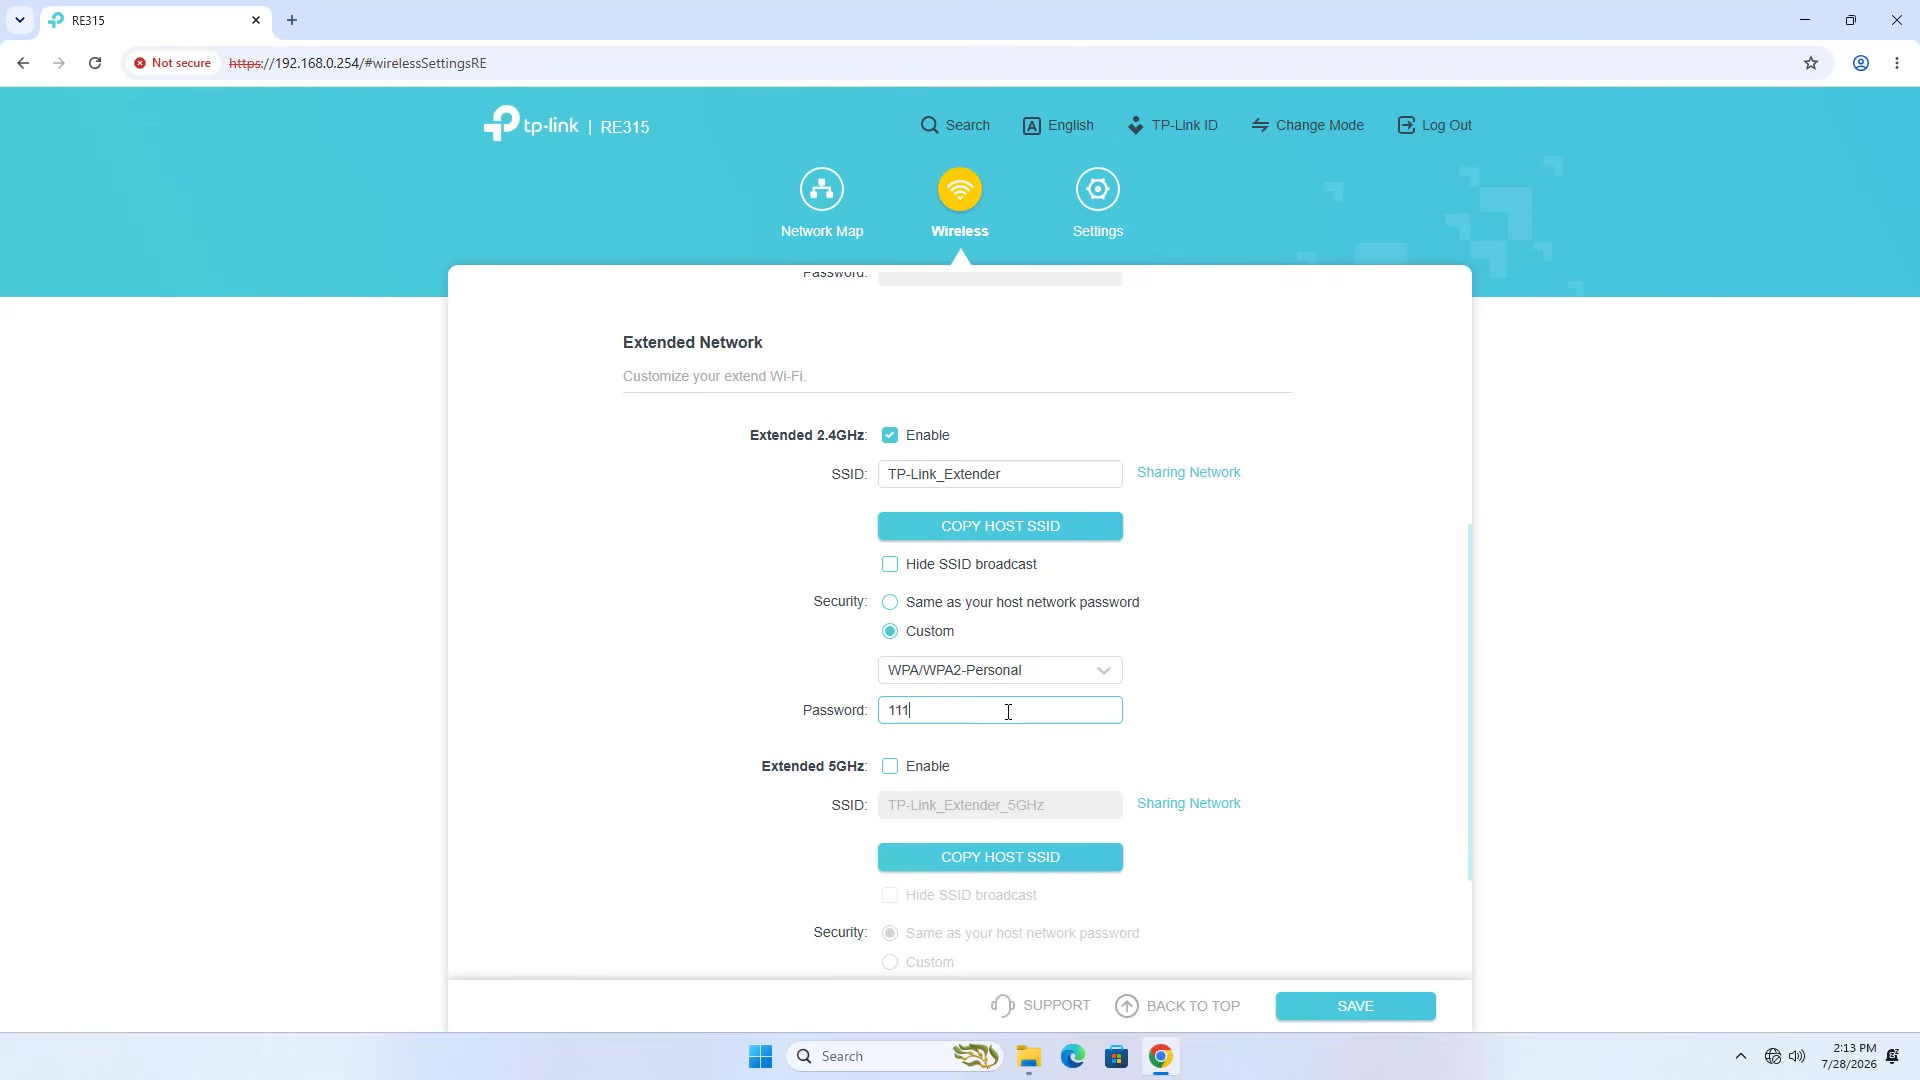
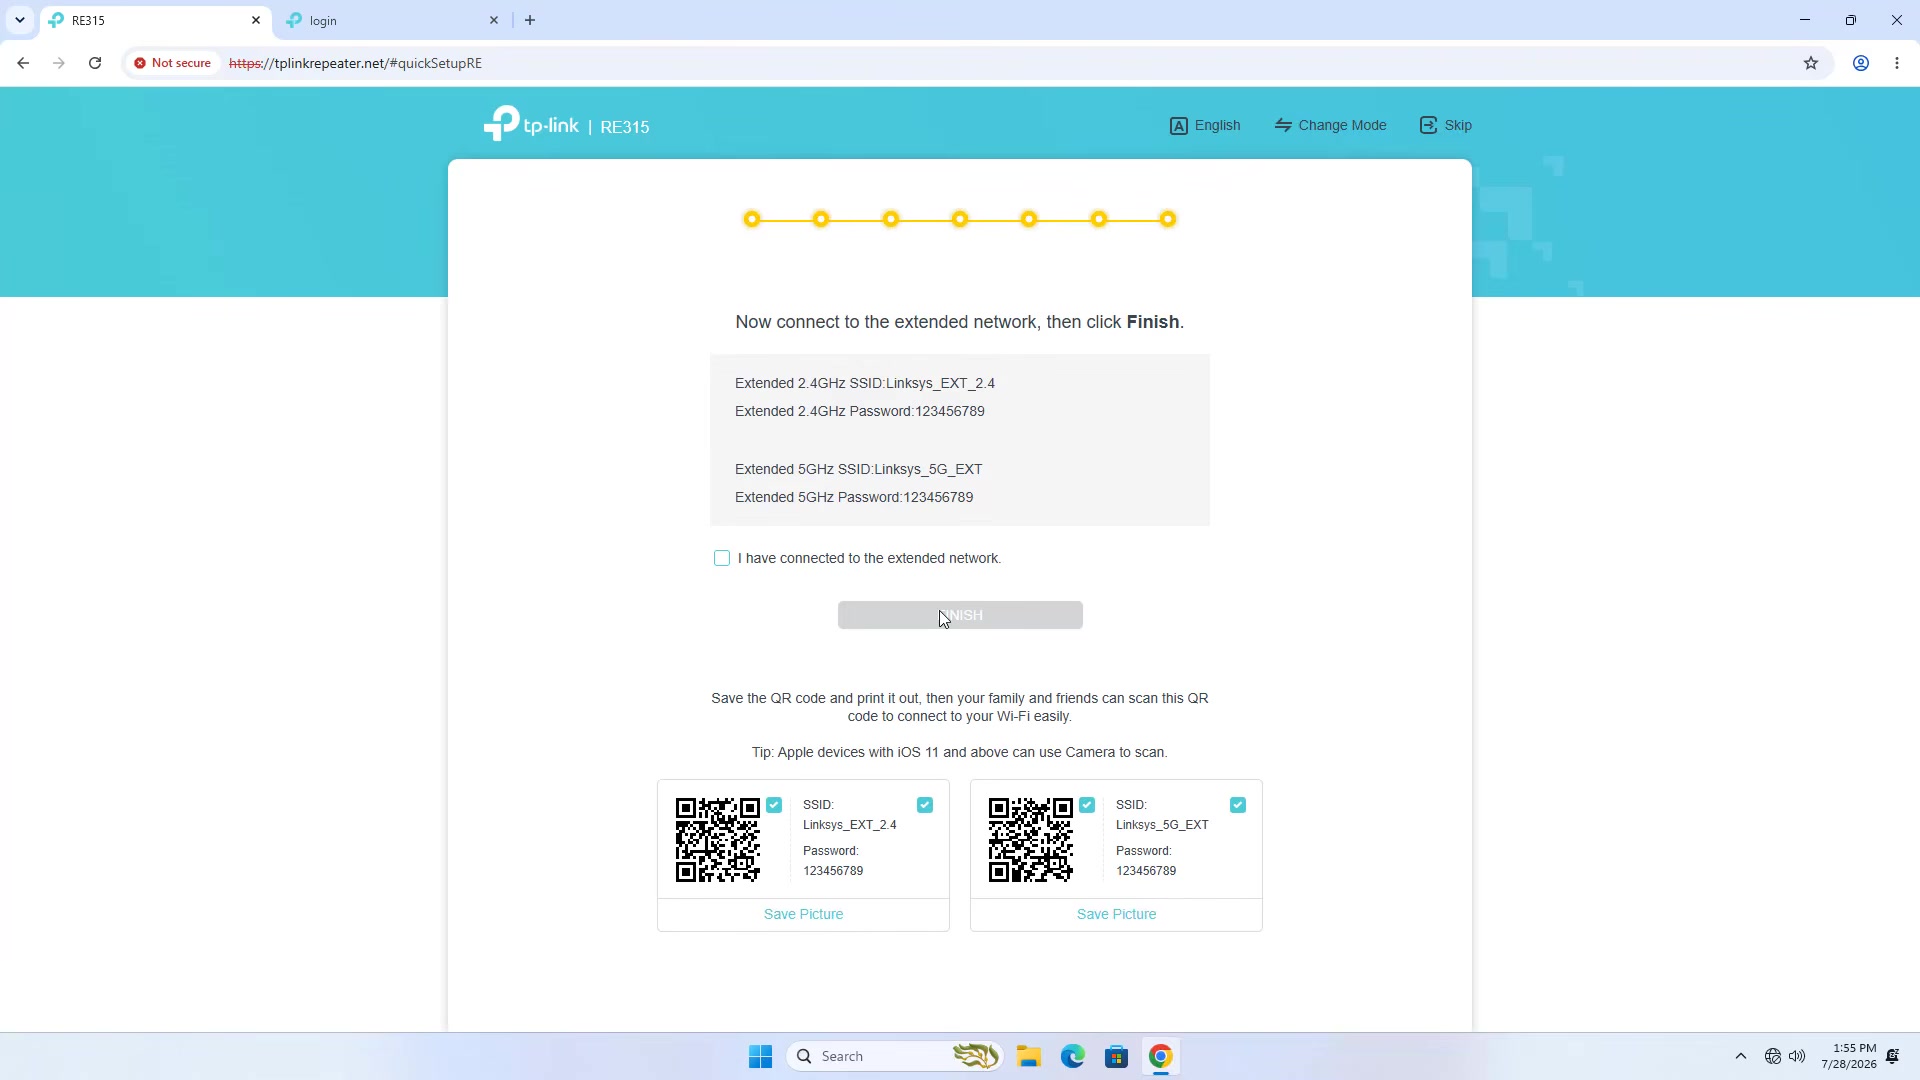
Step 5: Review the extended network names
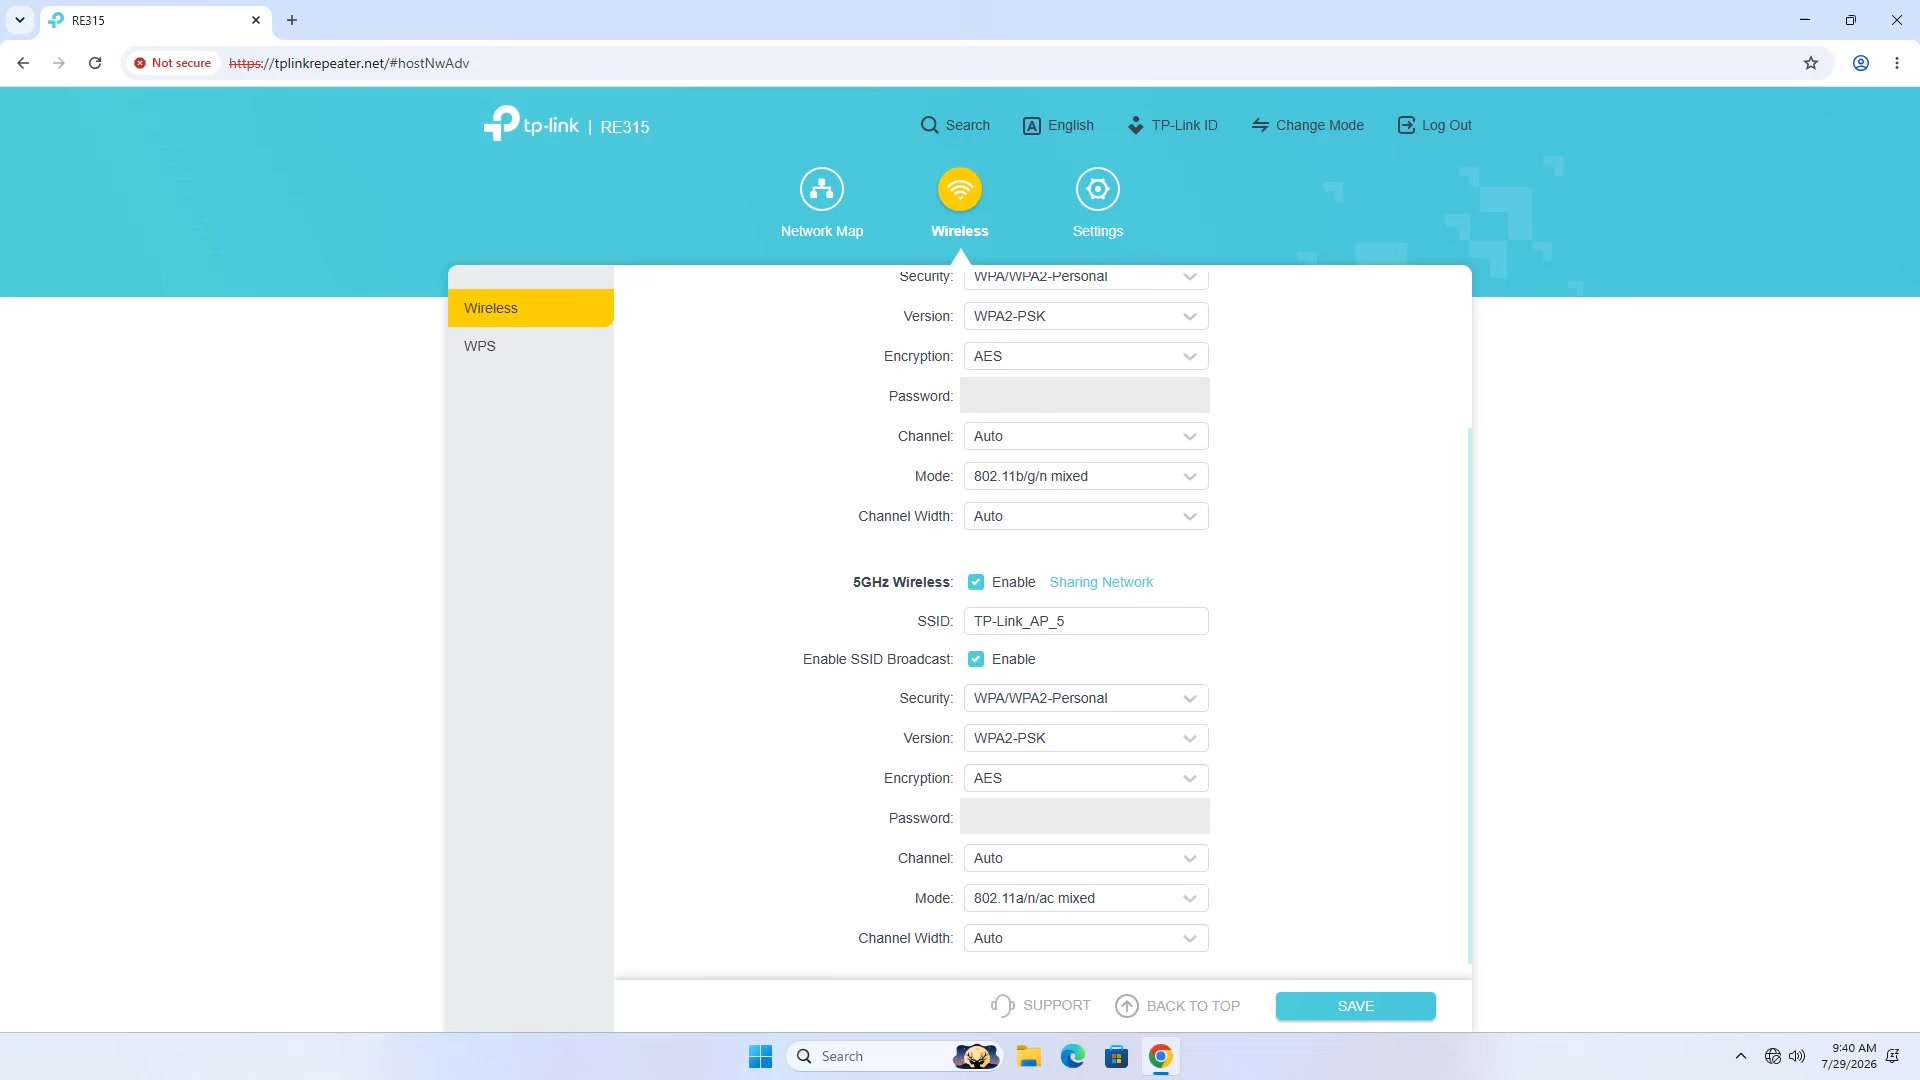
Keep the suggested names or replace them with easy-to-recognize SSIDs. In a normal quick setup, the extended networks use the main router’s Wi-Fi password. Newer supported firmware may also expose custom password and encryption controls under Wireless > Extended Network. Older firmware and mesh mode may copy or lock these settings instead.
Step 6: Finish and reconnect
Confirm the settings and wait while the RE315 applies them. Your setup device may disconnect because the default setup network is being replaced. Open the Wi-Fi list and connect to one of the new extended networks, then return to the setup page if it asks you to finish.
Change a host network manually
If the extender has already been set up, log in at tplinkrepeater.net and open Wireless > Connect to Host Network. Enable the band you want, use Wireless Scanner, select the main router SSID, and enter its Wi-Fi password. Open Wireless > Extended Network to review the broadcast names.
This manual route is useful when you want to extend only 2.4 GHz, only 5 GHz, or move the extender to a different router without factory-resetting it. Remember that 2.4 GHz normally travels farther through obstacles, while 5 GHz generally offers more speed at shorter range.
Use EasyMesh or OneMesh with the RE315
Depending on the firmware and region, the interface may say EasyMesh or OneMesh. With a compatible TP-Link router, the RE315 can join a unified network and copy the router’s SSID, password, and supported network policies. Phones and laptops then see one network and can move between the router and extender more smoothly.
- Enable EasyMesh or OneMesh on the compatible main router.
- Pair the router and extender with WPS, or select the host network marked EasyMesh in the browser or Tether app.
- Keep the same network name and password when the mesh wizard asks.
- Wait for the mesh page to show a connected extender, then test roaming with a phone.
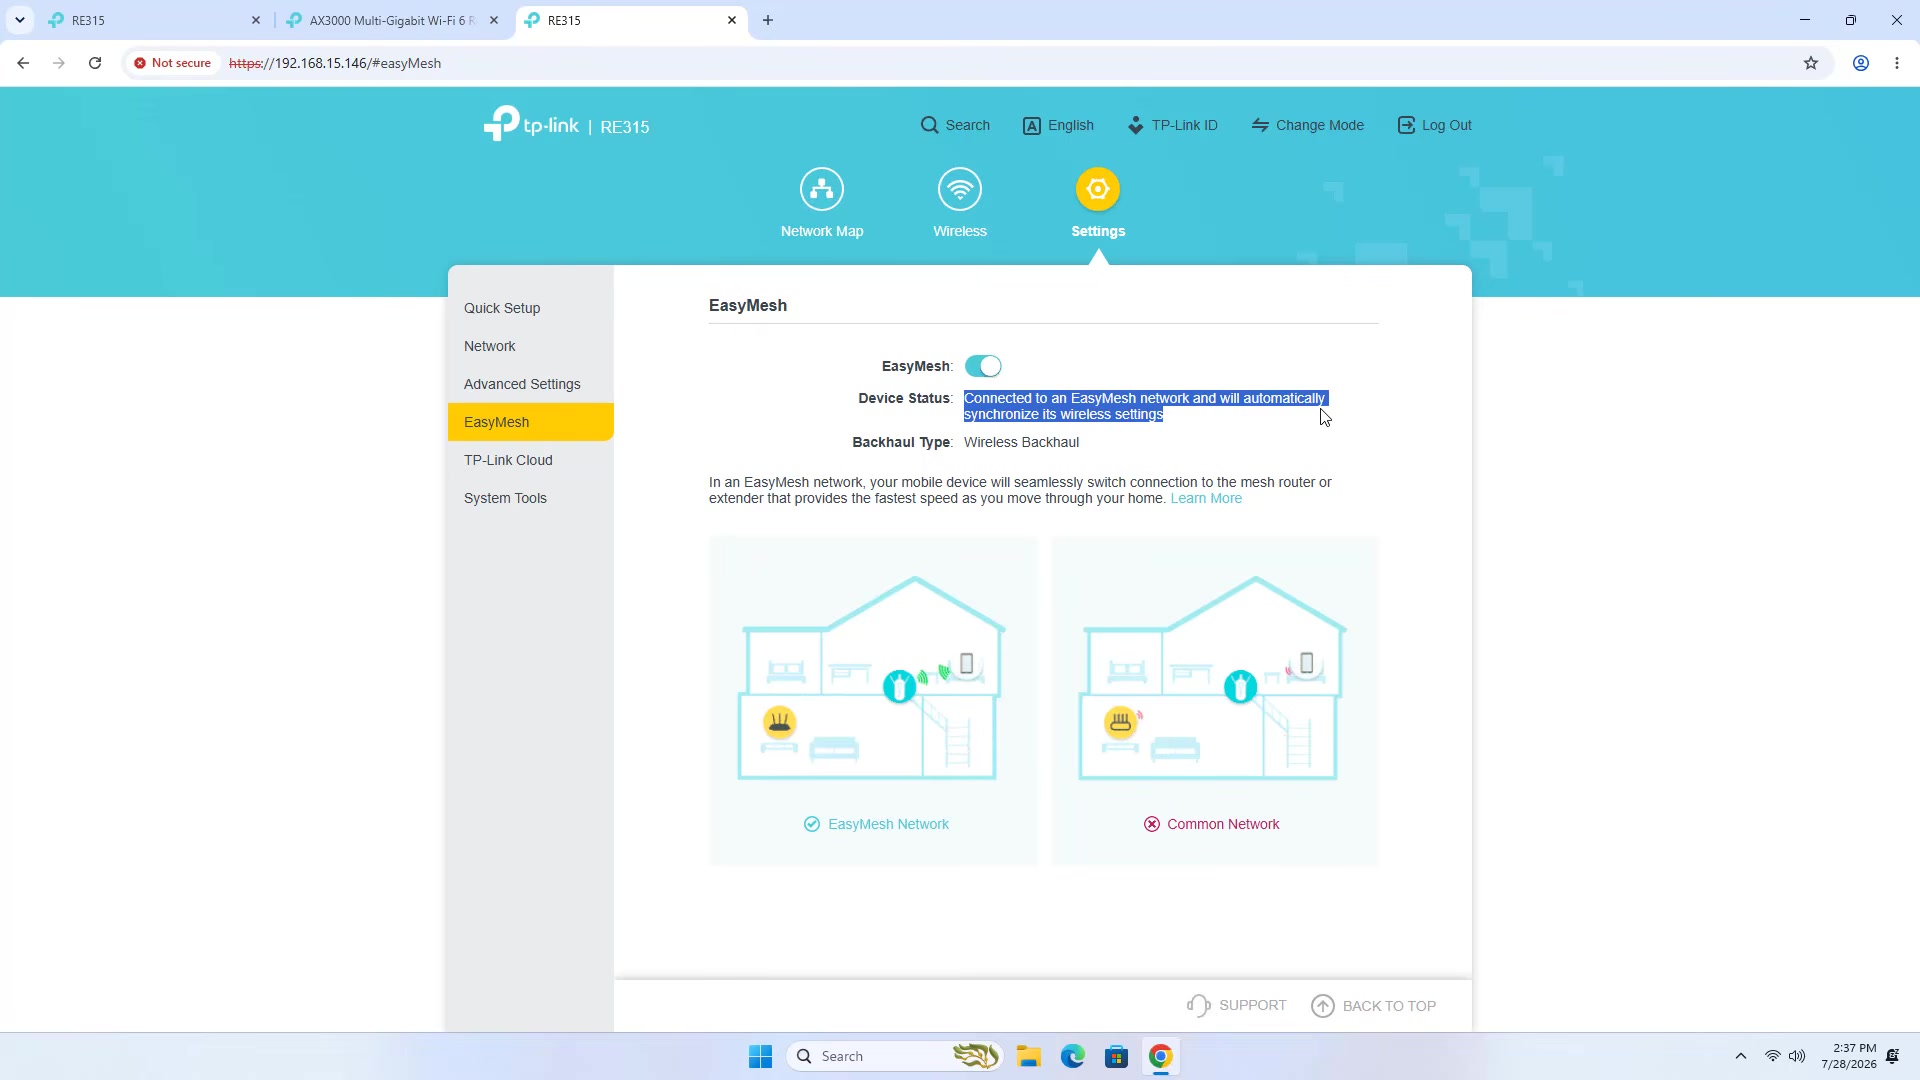
Do not confuse two wired modes: EasyMesh Ethernet backhaul keeps the extender in a supported mesh network, while Access Point mode converts a wired router connection into Wi-Fi without using the normal wireless-extender link. Ethernet backhaul was added only to certain RE315 hardware/firmware combinations. Confirm that the release notes for your exact model explicitly list it before connecting a cable for mesh backhaul.
Method 3: Set up the RE315 with the Tether app
The free TP-Link Tether app is available for Android and iOS. It provides guided setup, remote management through a TP-Link ID, and a Location Assistant for checking the final placement.
Step 1: Add a range extender
- Install Tether and sign in with a TP-Link ID, or create one.
- Tap the + button and choose Range Extender.
- Plug in the RE315 near the router and wait for the Power LED.
- When prompted, open the phone’s Wi-Fi settings and connect to TP-Link_Extender.
- Return to Tether and allow it to find the device.
If Tether cannot find the extender, confirm that the phone is connected to the extender Wi-Fi and temporarily turn off mobile data or any VPN that may route traffic away from the local network.
Step 2: Set the device password and select both bands
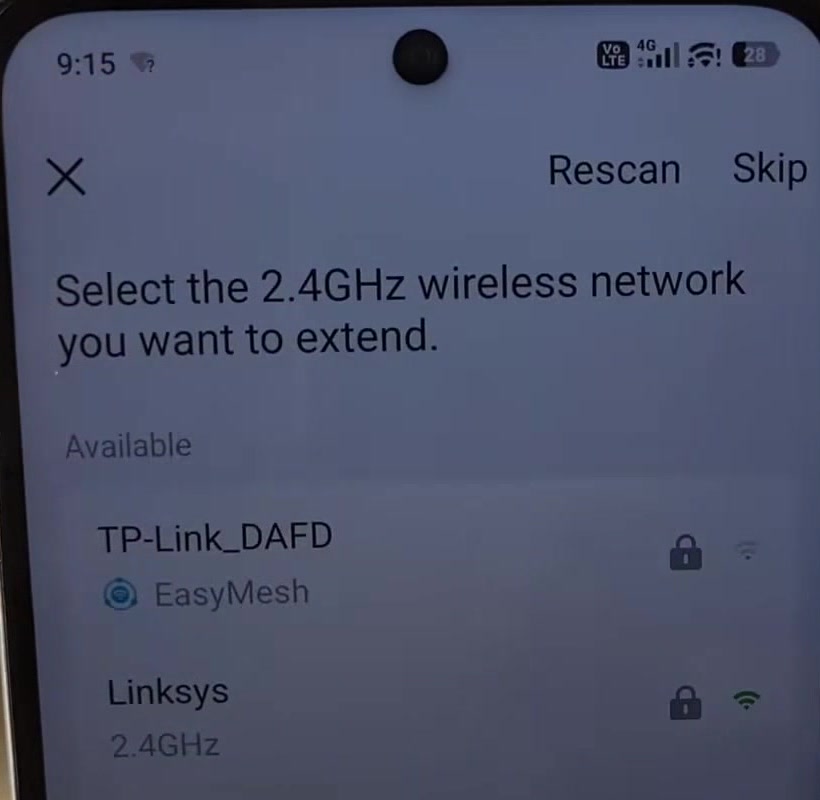
Create the extender management password, then select the main router’s 2.4 GHz network and enter its Wi-Fi password. Repeat for 5 GHz, or tap Skip for a band you do not use. A compatible network is identified with an EasyMesh label in the version shown.
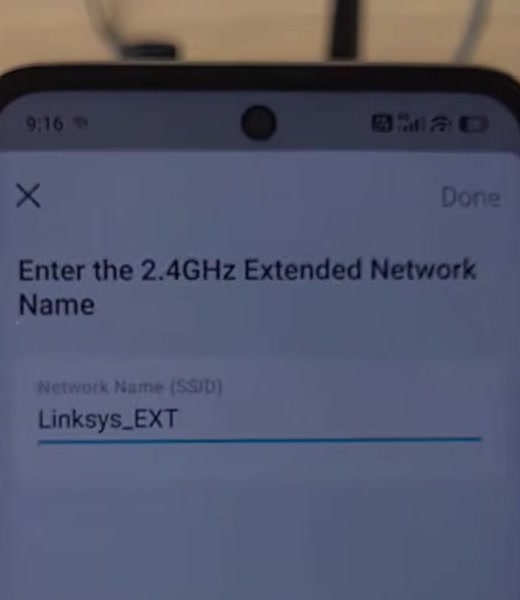
Step 3: Name the extended networks
Review the suggested extended SSIDs. A name such as Home_EXT makes it clear which access point a device is using. For mesh, keep the router and extender on the same name and password so the mesh system can present a unified network.
Find the best location for the extender
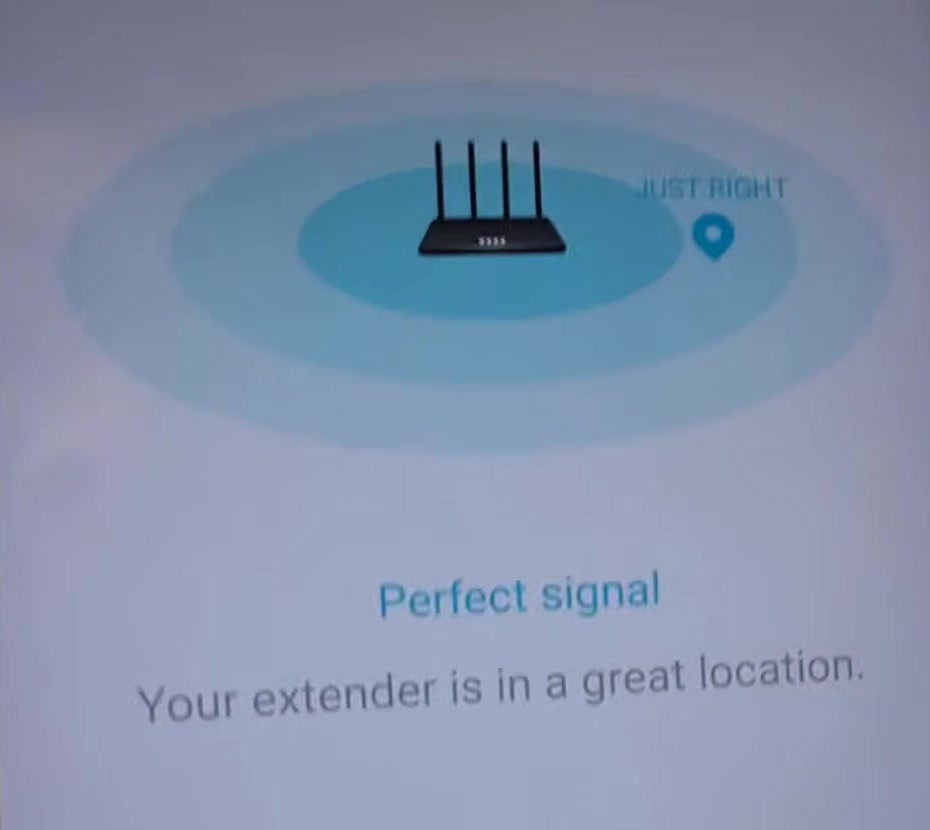
After confirming that the RE315 works near the router, unplug it and move it roughly halfway between the router and the Wi-Fi dead zone. The outlet must still be within reliable range of the router. Putting the extender inside the dead zone gives it too little signal to repeat.
- Wait about two minutes after moving it.
- If the Signal LED is red, move the extender closer to the router.
- If the Signal LED is off, the extender has lost its host connection.
- If the extender is very close to the router, it may add little useful coverage; move it toward the weak area while keeping a good router link.
- Keep it away from microwave ovens, cordless phones, large metal objects, and other strong sources of interference.
In Tether, select the extender and open Tools > Location Assistant. Check the reading at the final outlet rather than beside the router.
Use the RE315 as a wired access point
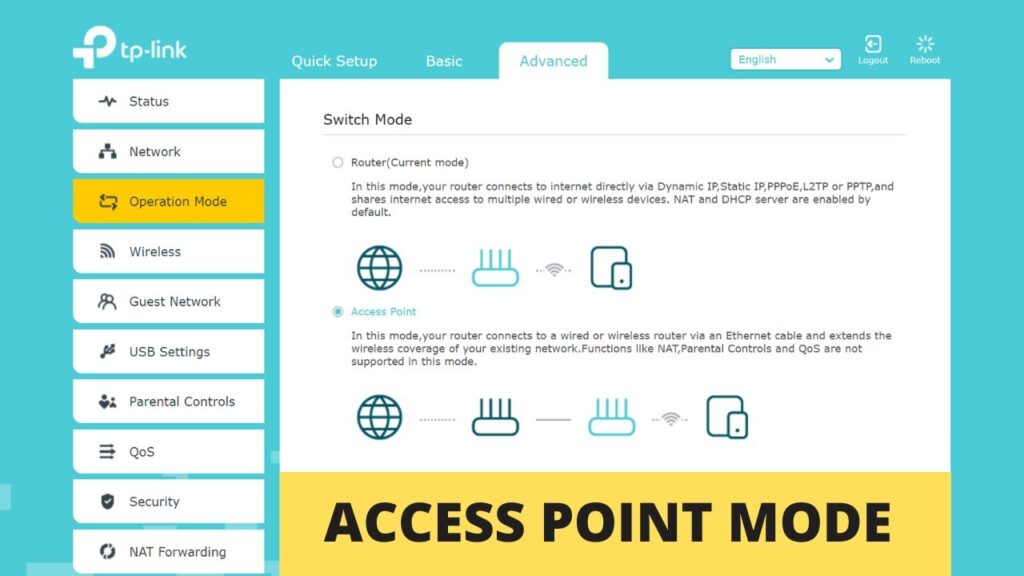
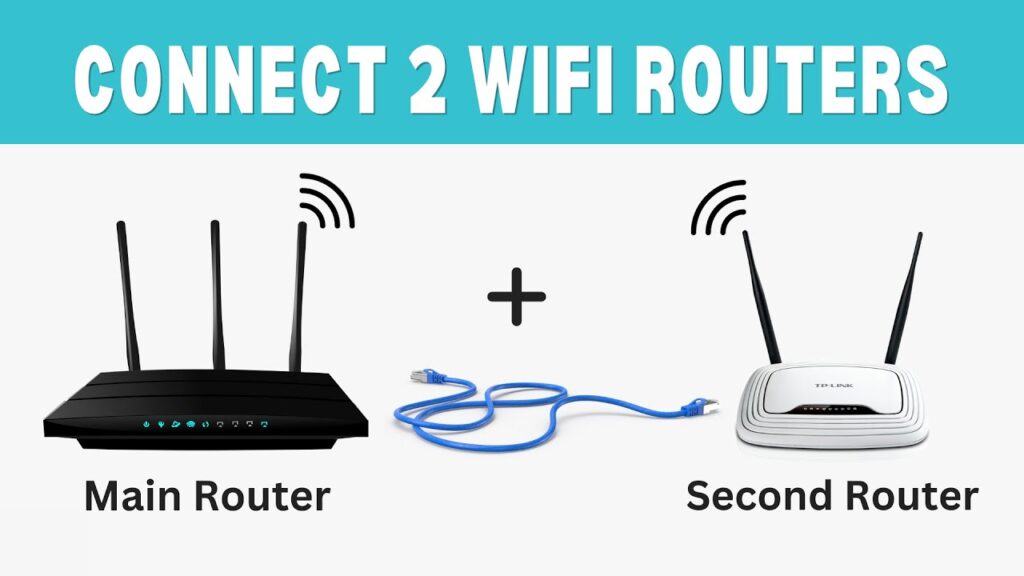
Access Point mode is a good choice when an Ethernet cable already reaches the area that needs Wi-Fi. The cable becomes the link back to the main router, so walls and wireless interference do not reduce the backhaul connection.
- Log in to
tplinkrepeater.net. - Select Change Mode and choose Access Point. The extender reboots.
- Reconnect to the setup page and configure the 2.4 GHz and 5 GHz SSIDs, security, and strong Wi-Fi passwords.
- Connect an Ethernet cable from a LAN port on the main router to the Ethernet port on the RE315.
- Connect a phone or computer to the new access-point Wi-Fi and test internet access.
Access Point mode and supported EasyMesh Ethernet backhaul are different operating arrangements. Choose Access Point mode when you want a straightforward wired access point; use mesh backhaul only when the exact router, extender revision, and firmware officially support it.
Configure useful advanced settings
High Speed mode
On firmware that provides it, Settings > Advanced Settings > High Speed dedicates one band to the router link and the other band to client devices. Automatic mode chooses the combination, while manual mode lets you decide.
| Router link | Client band | When it can help |
|---|---|---|
| 2.4 GHz | 5 GHz | The router is farther away or separated by more obstacles, while nearby client devices support 5 GHz. |
| 5 GHz | 2.4 GHz | The extender has a strong short-range 5 GHz link to the router and clients need the longer reach of 2.4 GHz. |
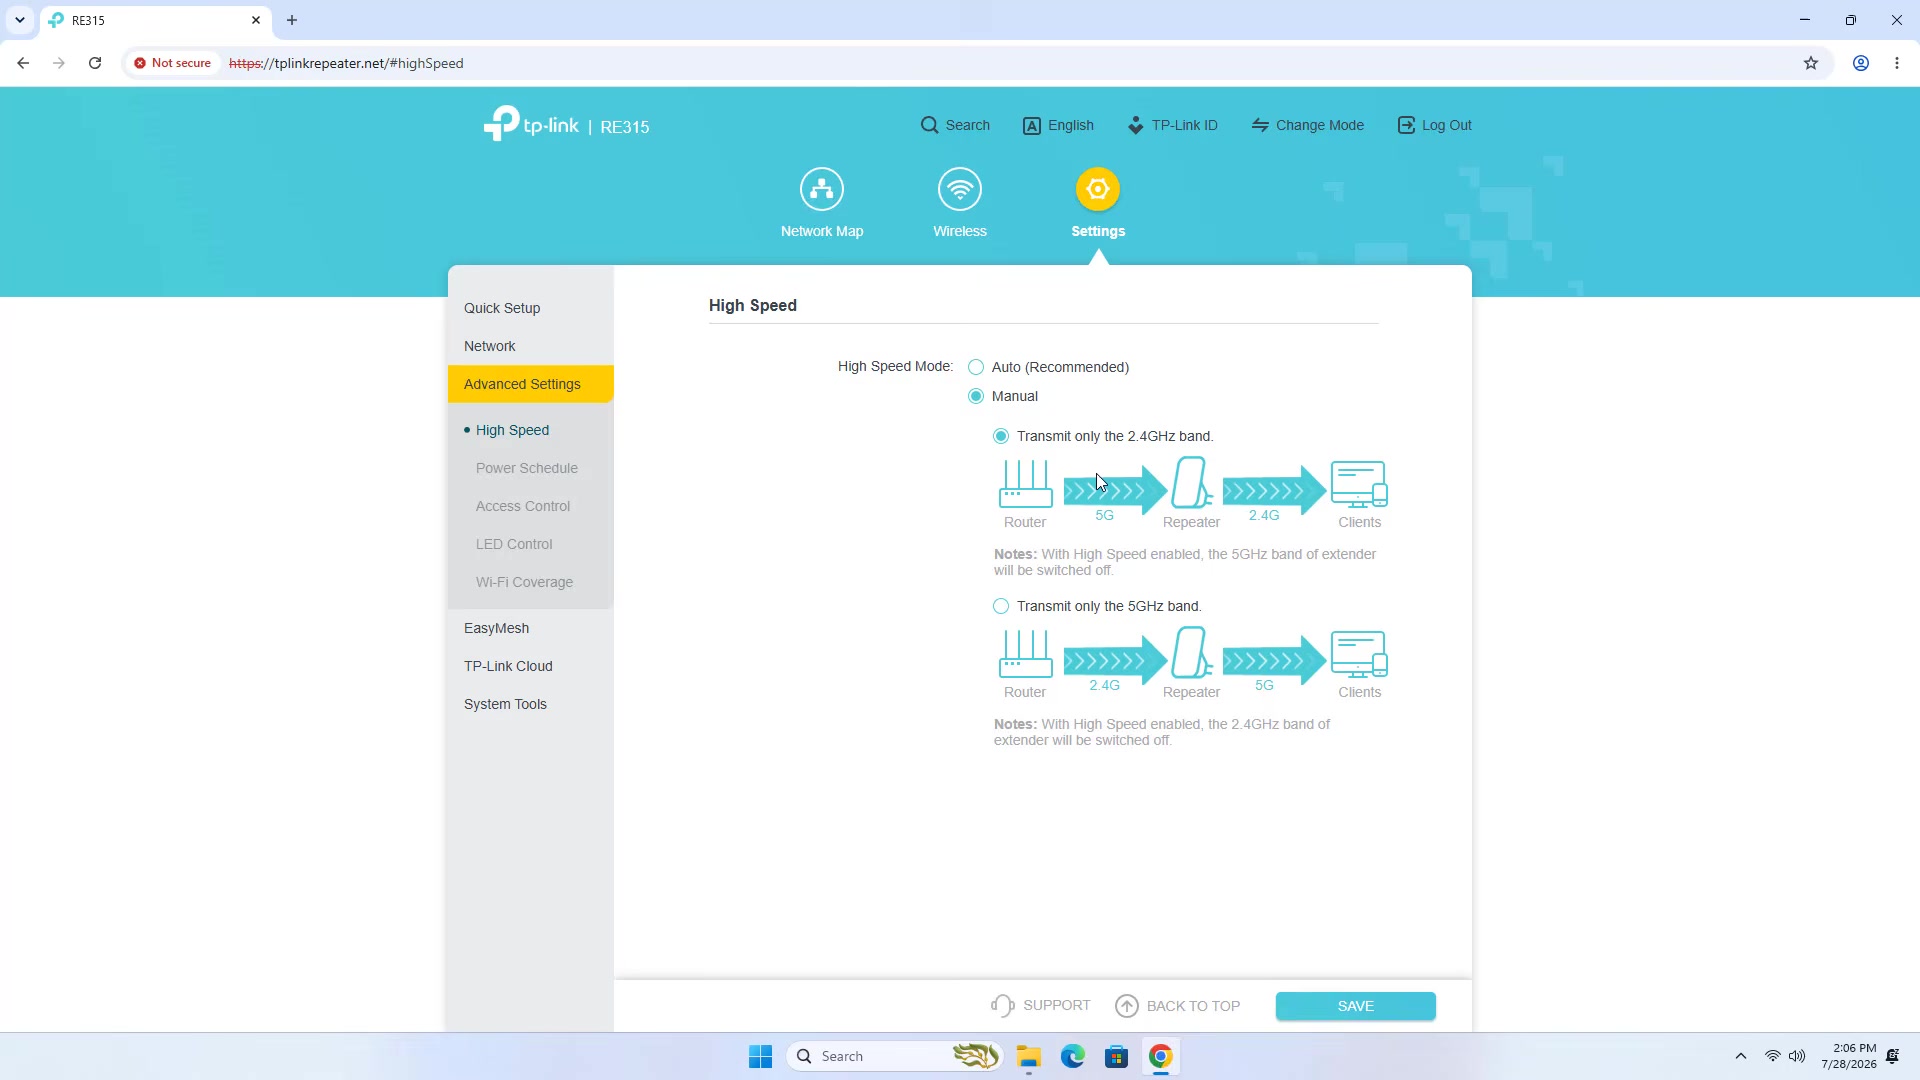
This mode is a tradeoff rather than a guaranteed speed boost: clients lose direct access to the band reserved for the router link. Test both the coverage and real transfer speed before keeping it enabled.
LED Control and Night Mode
Go to Settings > Advanced Settings > LED Control to turn the LEDs off or create a Night Mode interval. Night Mode affects only the lights; the extender continues operating. Set the correct time zone under System Tools > Time Settings before relying on a schedule.
Power Schedule
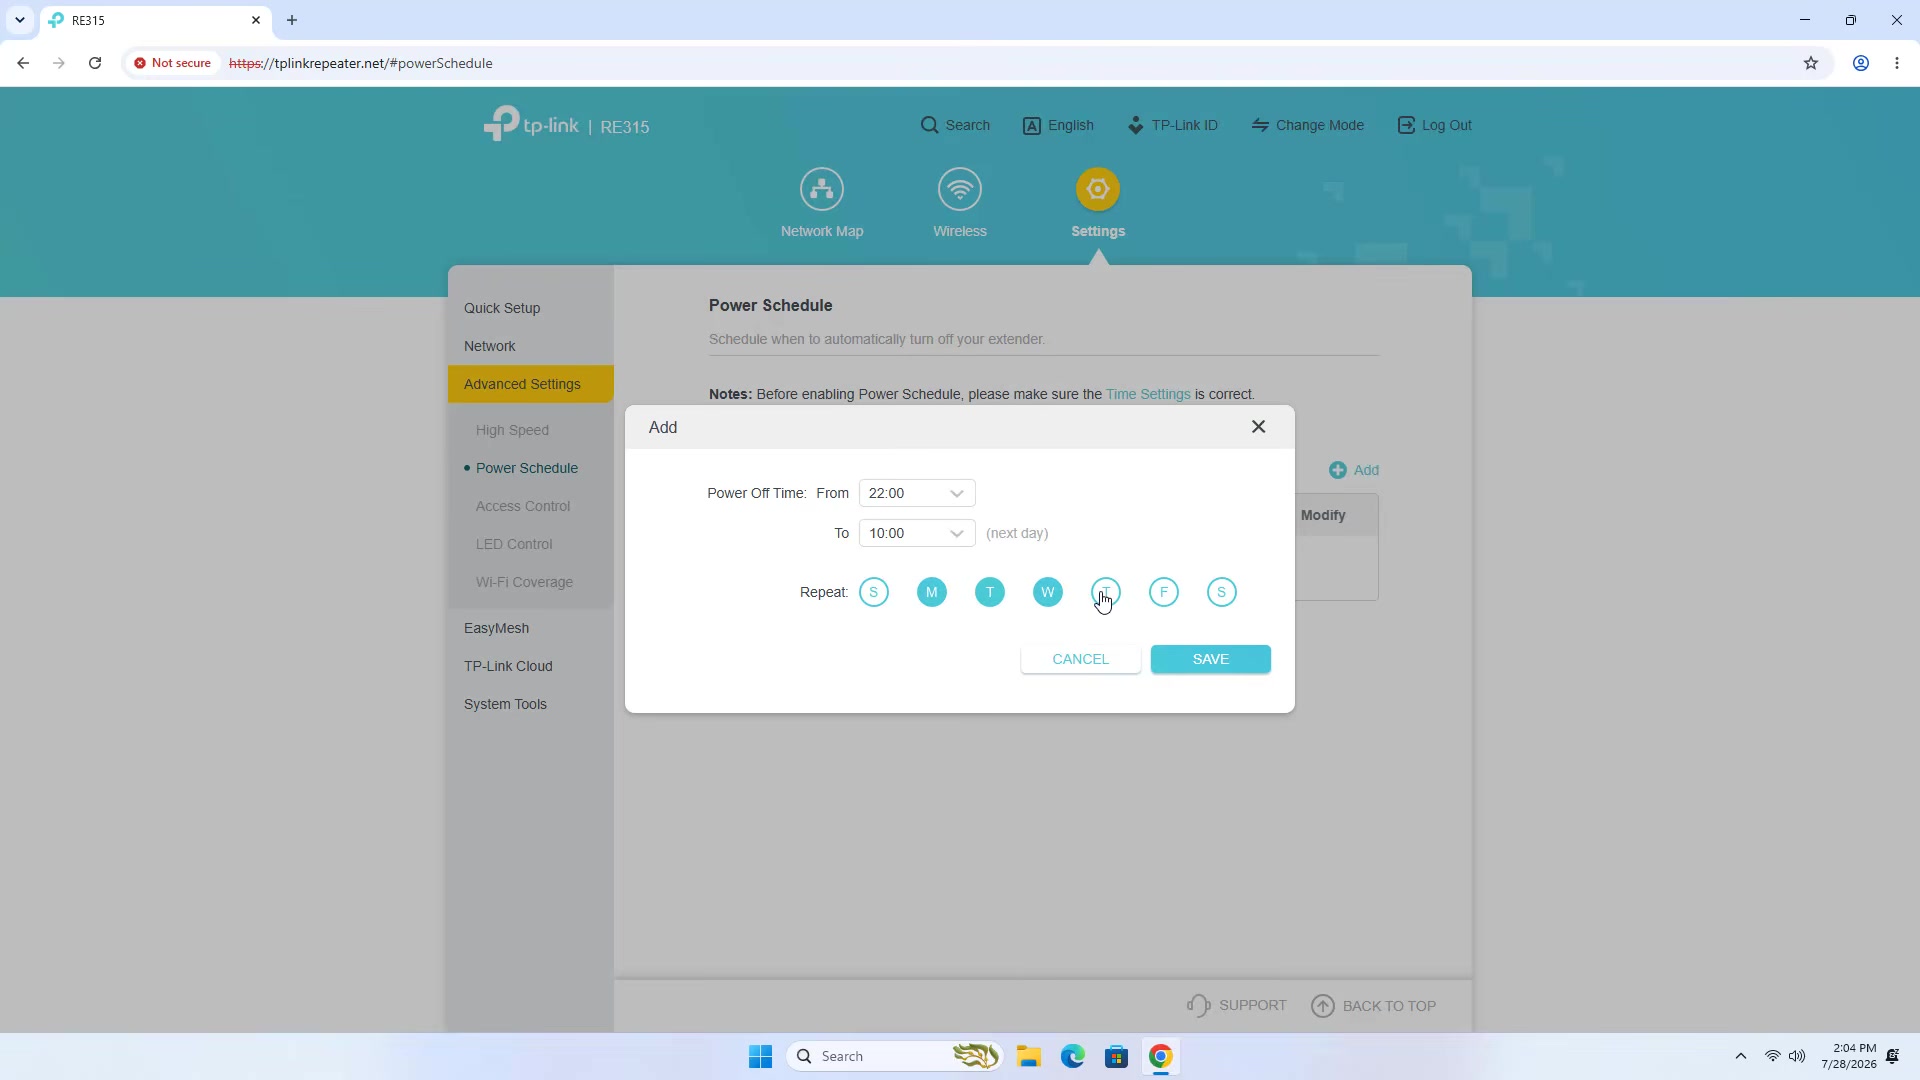
Open Settings > Advanced Settings > Power Schedule, select Add, choose the off time and repeat days, and save. Unlike Night Mode, a Power Schedule turns the extender itself off, so devices lose that Wi-Fi connection during the scheduled period.
Access control in a mesh network
When the RE315 belongs to an EasyMesh or OneMesh network, device blocking and access-control rules may be managed by the main router and synchronized to the extender. If the extender’s local block controls are unavailable, open the main router in Tether or its browser interface instead.
Troubleshoot common RE315 setup problems
The setup page does not open
- Confirm that the phone or computer is connected to the RE315 Wi-Fi, not another network.
- Enter
tplinkrepeater.netin the browser address bar, not a search box. - Try
192.168.0.254during the initial setup. - After the extender joins the router, look for its assigned address in the router’s DHCP client list.
- Temporarily disable mobile data, a VPN, or another Ethernet connection that routes around the extender.
The extender cannot join the router
- Move the RE315 close to the router for setup; TP-Link suggests within about 16 feet when troubleshooting.
- Re-enter the main router Wi-Fi password carefully. The extender login password is not the router Wi-Fi password.
- Rescan and make sure you selected the correct 2.4 GHz or 5 GHz SSID.
- If the router uses MAC filtering or an access-control list, temporarily disable it and repeat setup.
- Restart the router and extender, then try the browser or Tether method if WPS fails.
Wi-Fi connects but feels slow or unstable
- Move the extender closer if the Signal LED is red.
- Use 2.4 GHz for more reach through obstacles and 5 GHz for higher potential speed at shorter range.
- Place the extender in the open rather than behind furniture, inside a cabinet, or beside large electrical equipment.
- Compare standard dual-band mode with High Speed mode; the best result depends on the layout and client devices.
- Use Access Point mode when Ethernet is available and you need the most stable backhaul.
TP-Link’s official range-extender setup and troubleshooting page includes current model-independent checks. If you must start over, press the Reset button for about one second while the extender is powered on, wait for it to reboot, and then repeat the setup.
Final checks
- Confirm that the Signal LED is solid and not red at the final outlet.
- Verify that the expected 2.4G and 5G LEDs are lit.
- Test internet access on both extended bands or on the unified mesh SSID.
- Walk between the router and extender while testing a call or stream if you configured mesh roaming.
- Confirm the time zone before using Night Mode or Power Schedule.
- Check for firmware updates matched to the exact hardware revision, and never remove power during an update.
For most homes, start with the normal dual-band browser or Tether setup, place the extender where it still receives a strong router signal, and change advanced modes only when they solve a specific coverage or wiring need.