crDroid is an Android-based custom ROM focused on customization, performance and reliability. This guide follows the official clean-install process demonstrated on a Poco F1 (codename beryllium) using crDroid Recovery, ADB and Fastboot.
The files, recovery image, partitions and commands can differ between phones. Use this as a workflow guide, but follow the official instructions for your exact supported device.
Before You Begin
Your bootloader must already be unlocked. Remove all Google accounts from the phone before the fresh installation to help avoid Factory Reset Protection issues after the device is wiped.
Charge the phone to roughly 60–70% or more, and use a reliable USB data cable.
Open the official crDroid site, find your device, and verify both its marketing name and device codename. In this example, the supported target is the Poco F1, beryllium, running crDroid 11 based on Android 15.
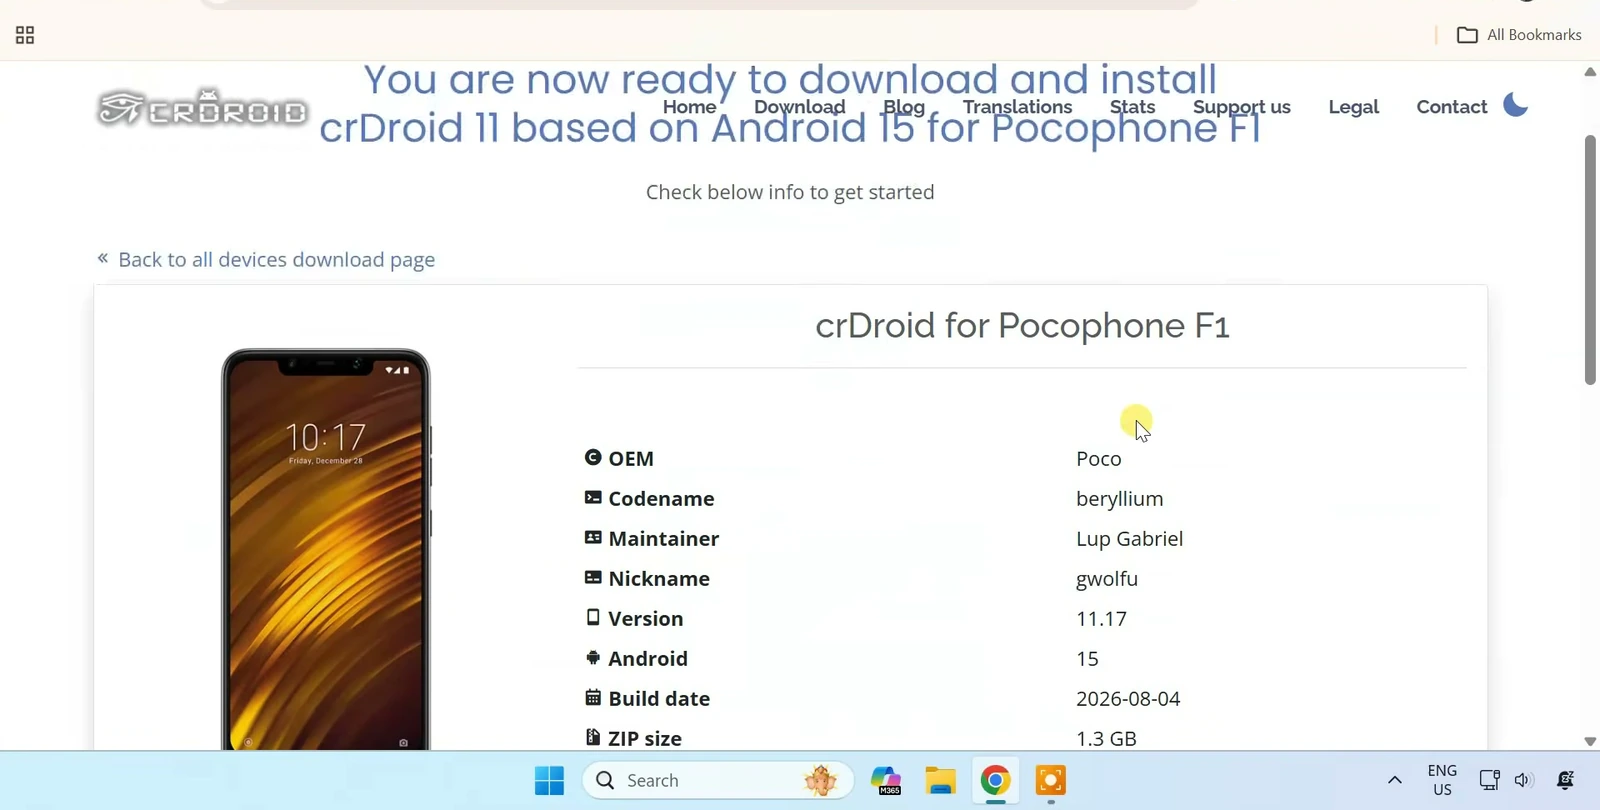
Select How to install on your device’s crDroid page and read the complete device-specific guide before flashing anything.
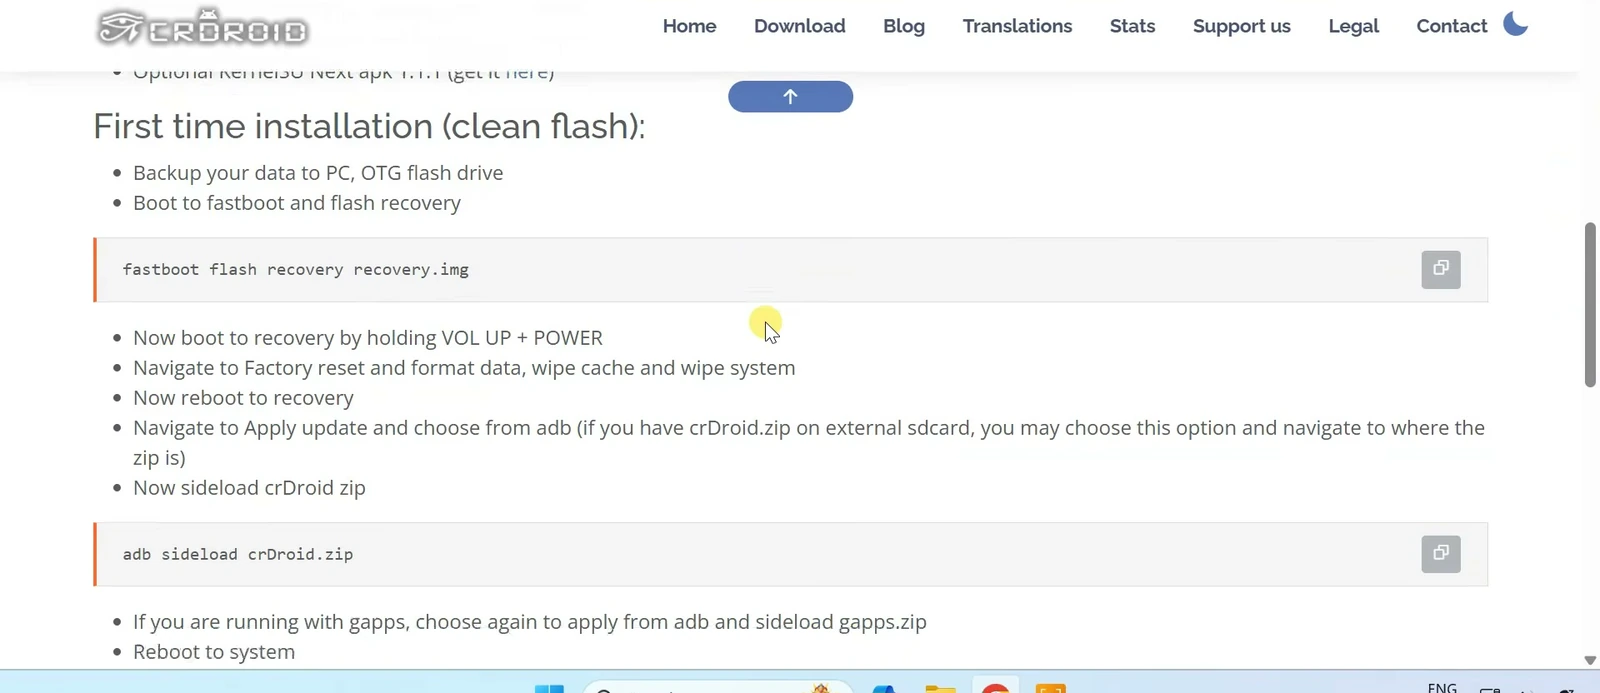
Review the warnings on that page carefully. Do not reuse the Poco F1 recovery, files, wipes or commands for another model, and do not continue if the official guide reports a failure.
Set Up ADB and Fastboot
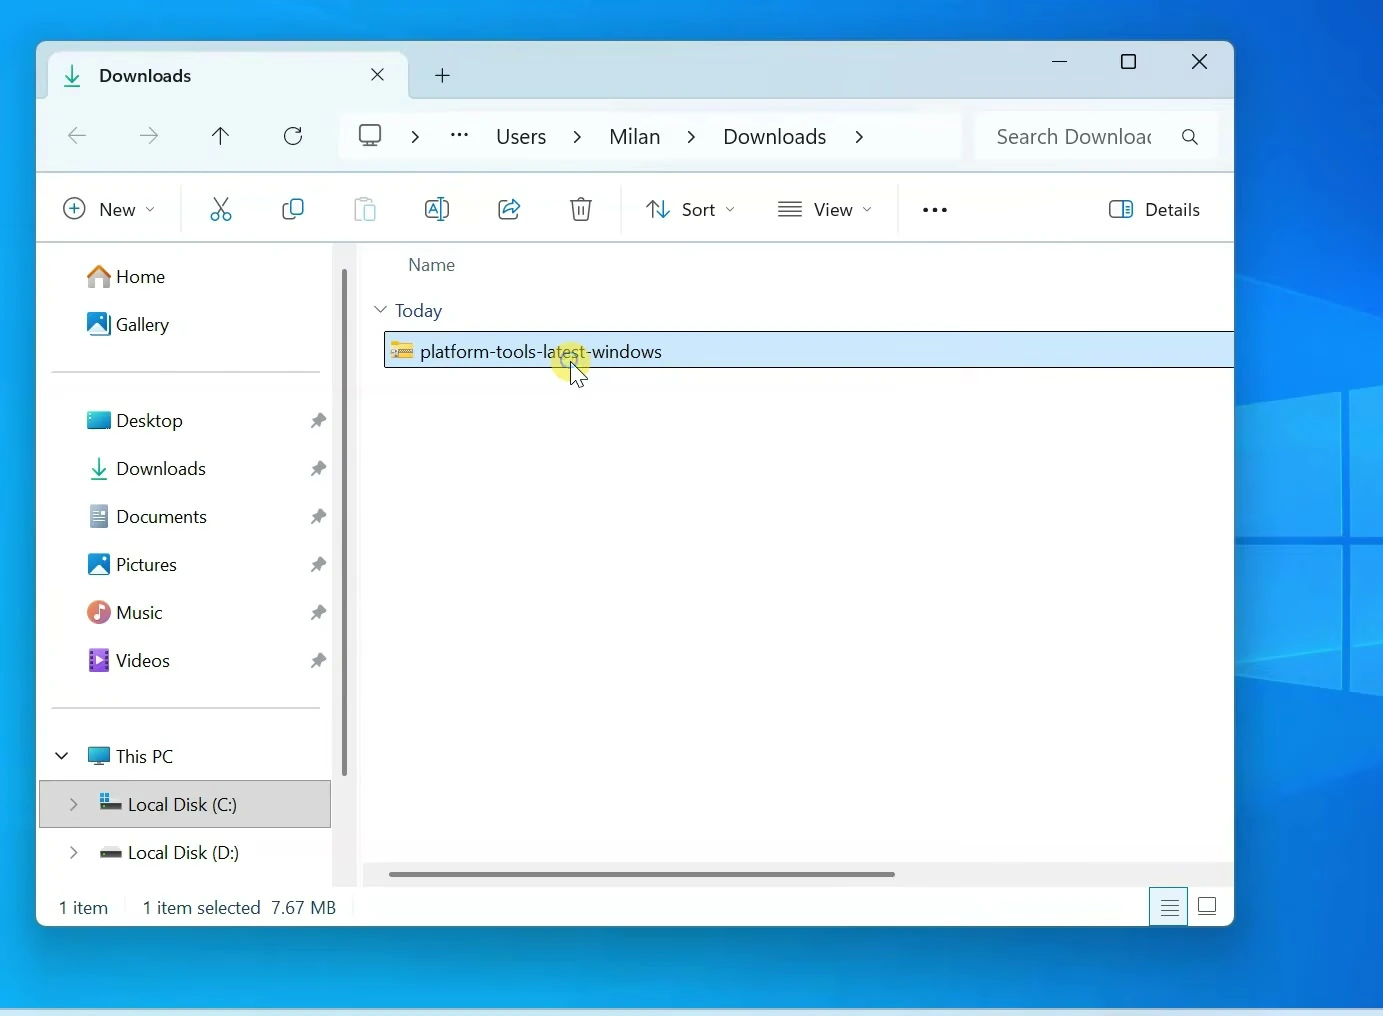
Download the latest Android SDK Platform-Tools package from Google, then extract the downloaded ZIP archive on your computer. Platform-Tools includes the ADB and Fastboot utilities used in the following steps.
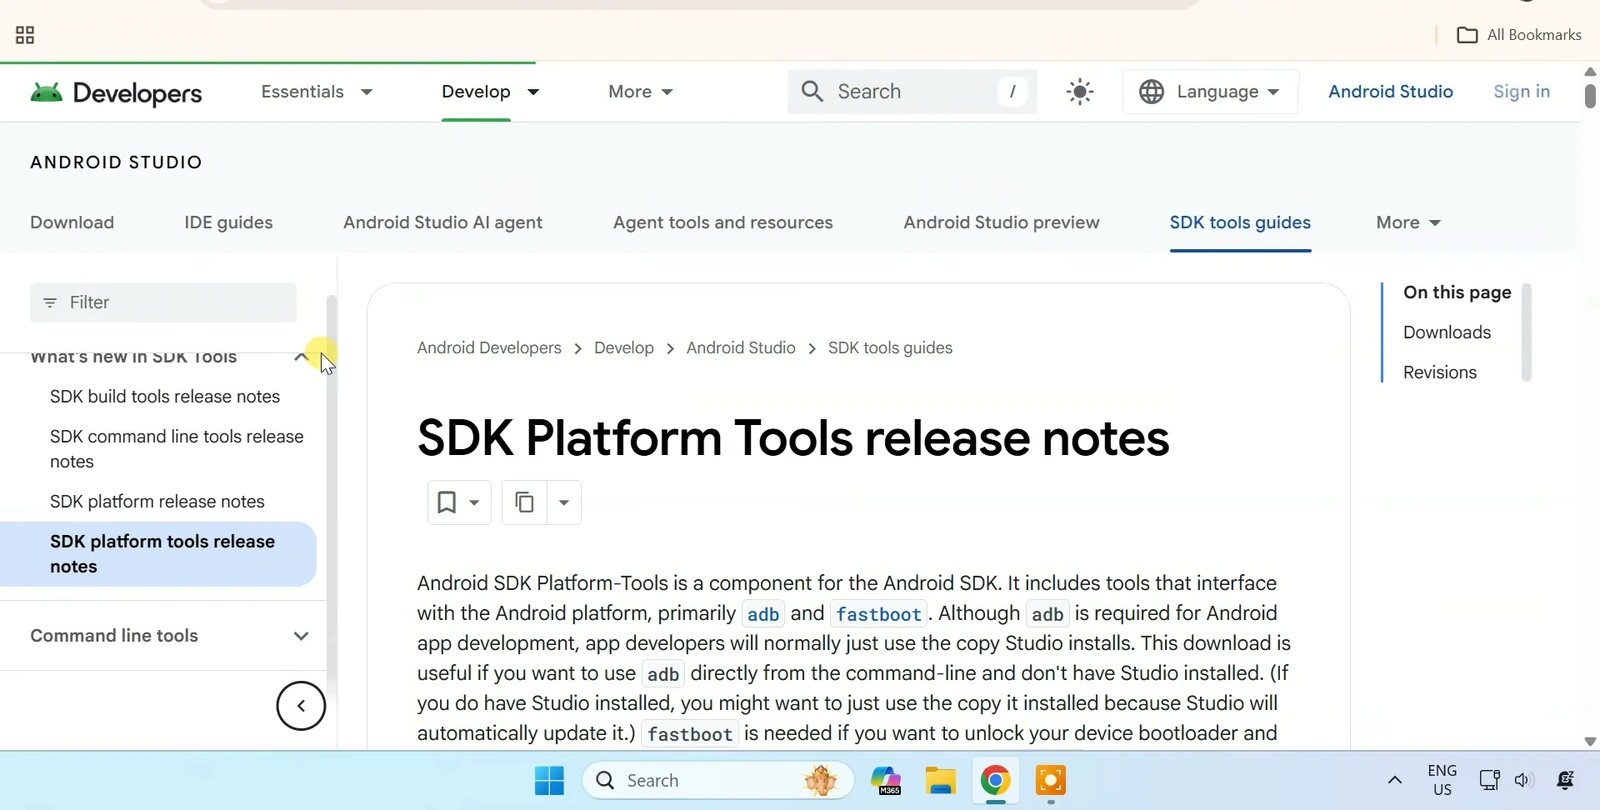
Extract the archive so you have access to the platform-tools folder.
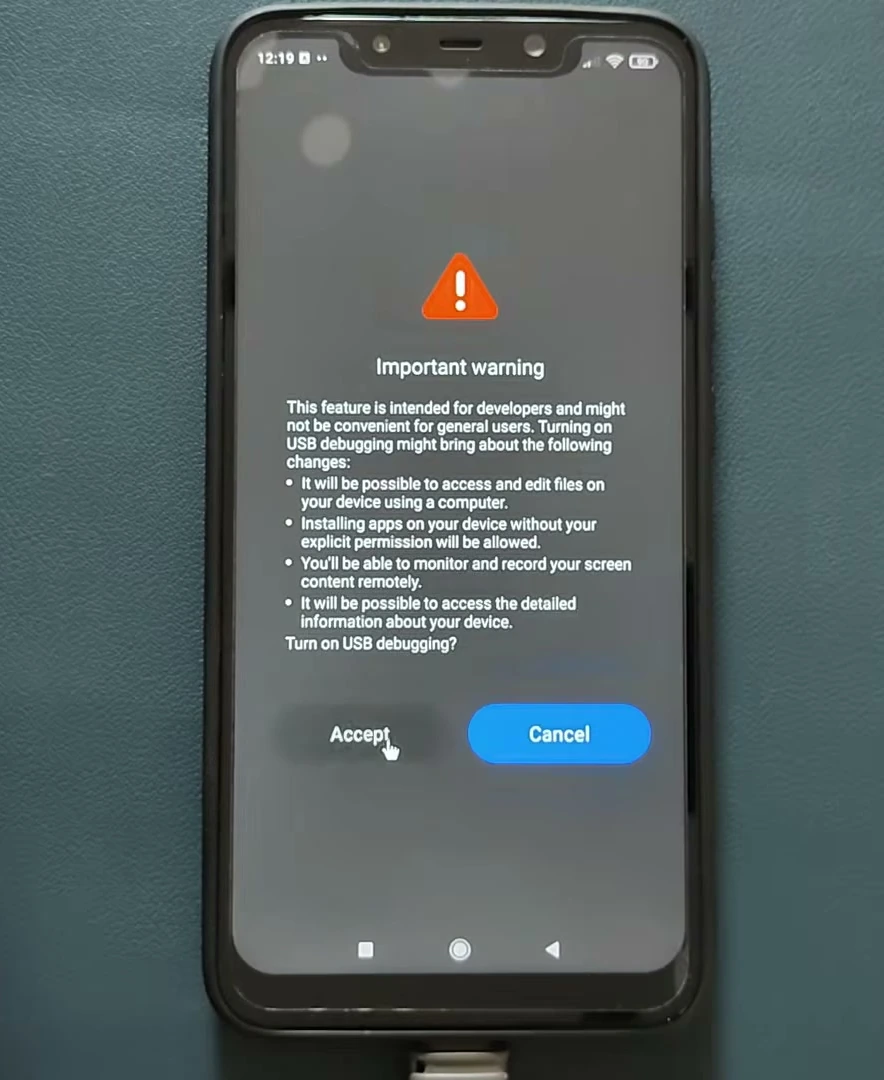
On the phone, enable Developer options. On the Poco F1, open About phone and repeatedly tap the MIUI version or build information. Then go to Additional settings > Developer options and enable USB debugging.
Accept Android’s USB debugging warning when it appears.
Connect the phone to the computer with the USB cable. If prompted, select File transfer mode.
Download and Flash crDroid Recovery
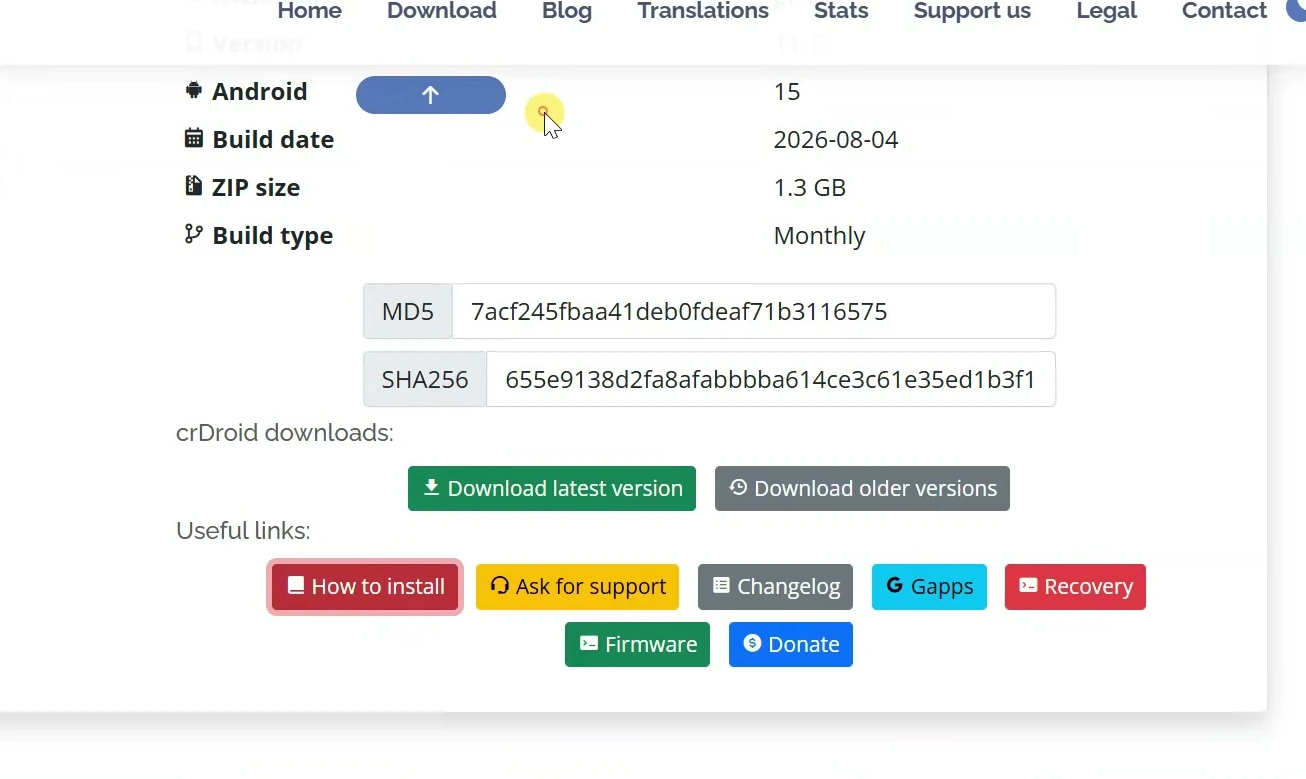
Return to your device’s official crDroid download page. Under Useful links, open Recovery and download the newest recovery image listed for your exact device.
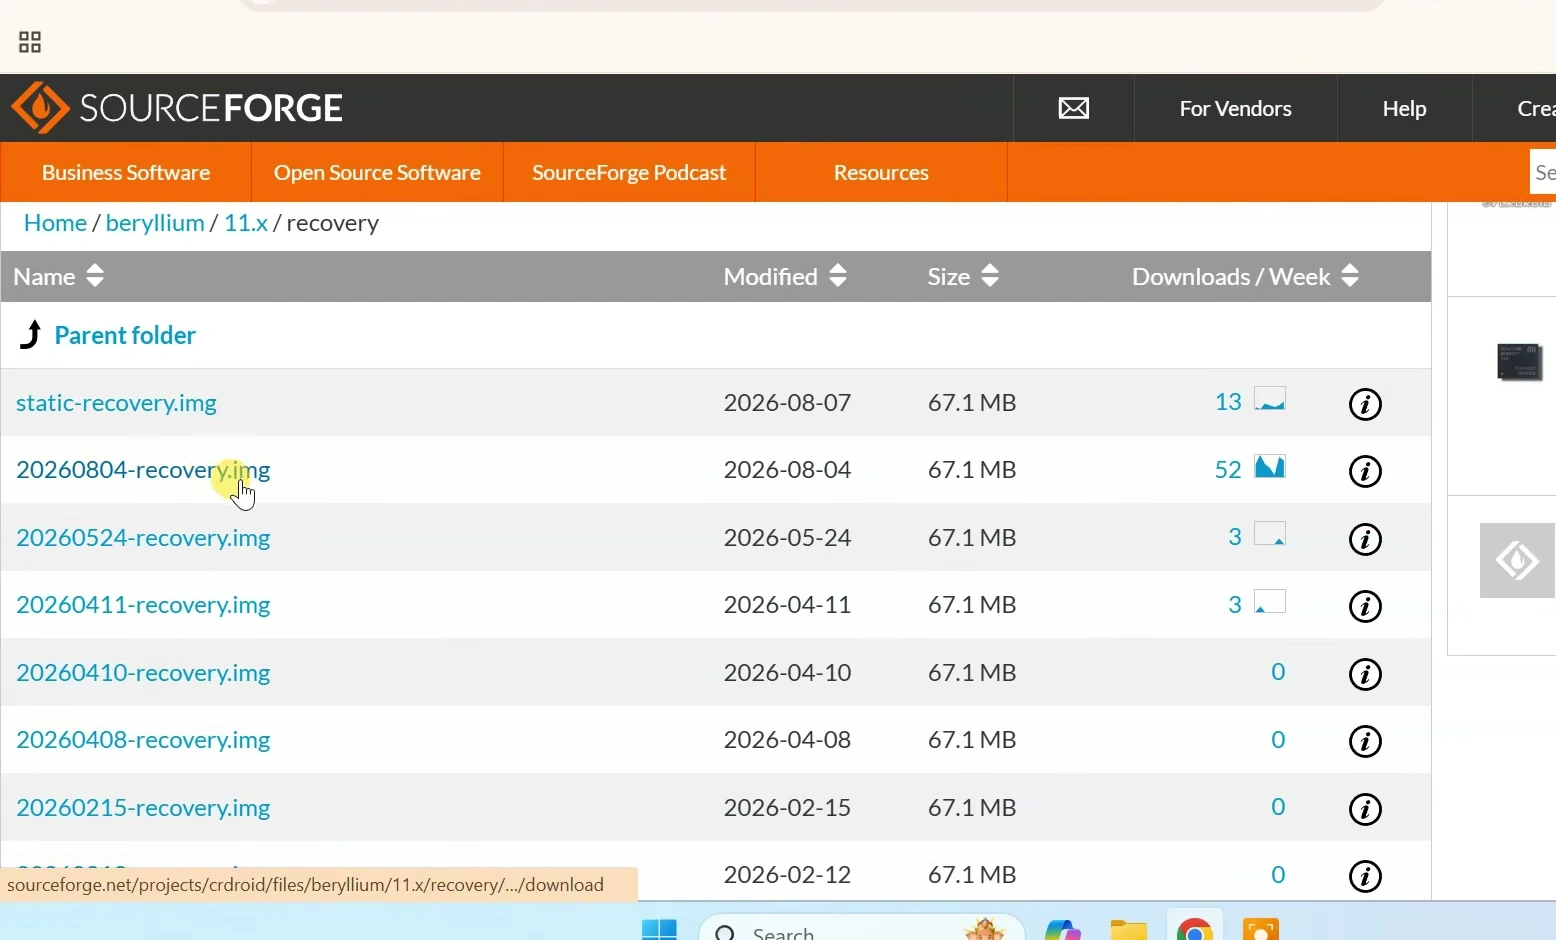
Rename the downloaded recovery file to recovery.img, then move it into the extracted platform-tools folder.
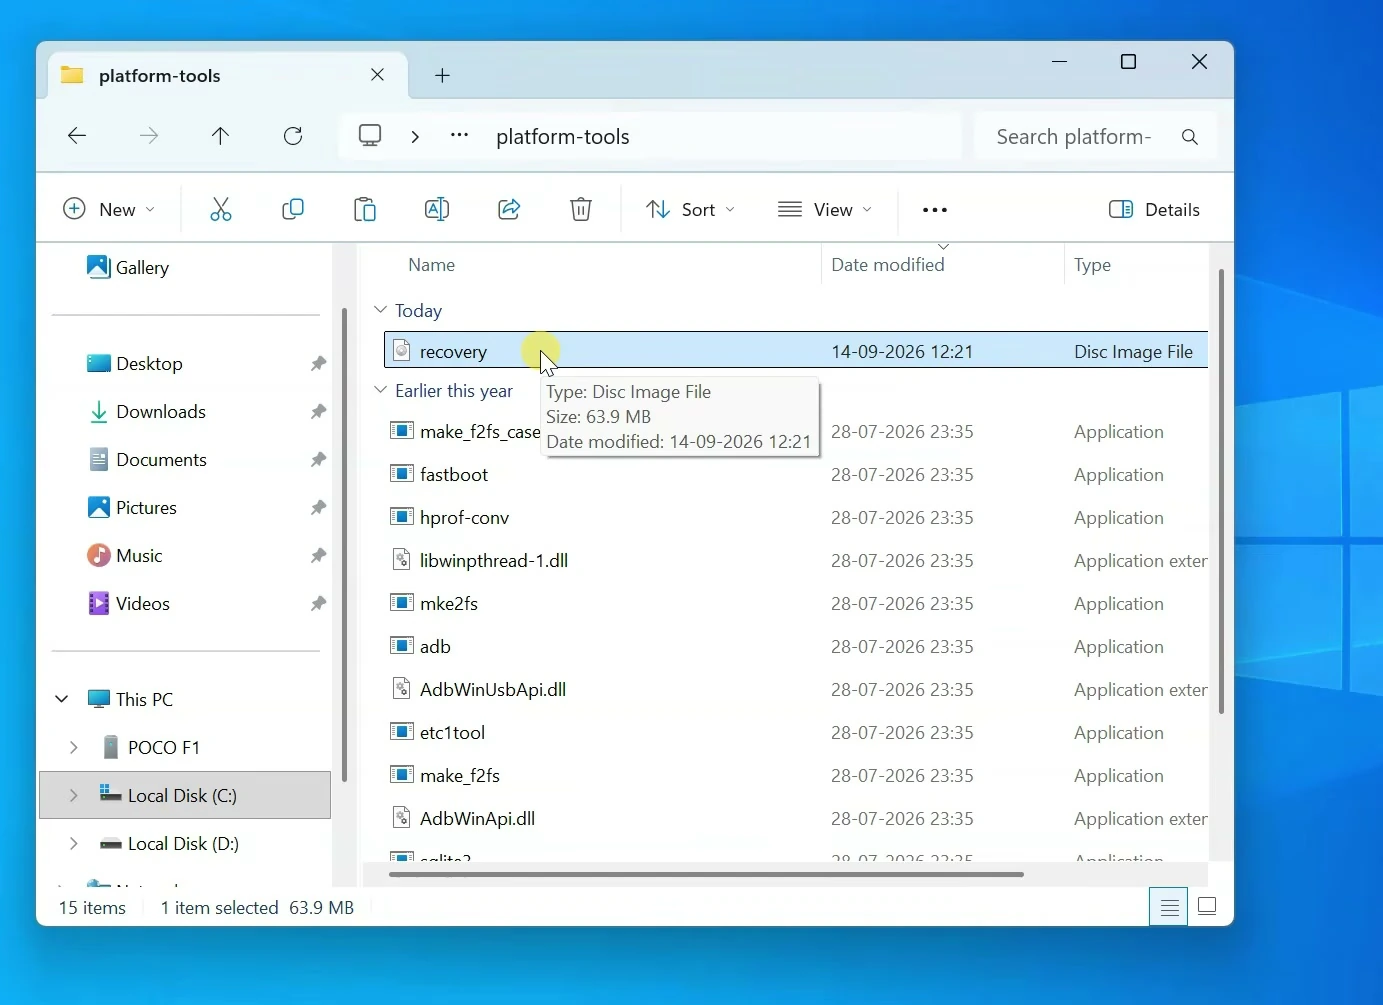
Open Command Prompt directly in that folder: click the File Explorer address bar, type cmd, and press Enter.
Check that ADB detects the connected phone:
adb devicesIf this is the first connection, allow USB debugging on the phone and enable Always allow from this computer. Run the command again and confirm that a device serial number appears.
Reboot to Fastboot mode:
adb reboot bootloaderAlternatively, on the Poco F1, power the device off and hold Volume Down and Power. Once Fastboot is displayed, verify the connection:
fastboot devices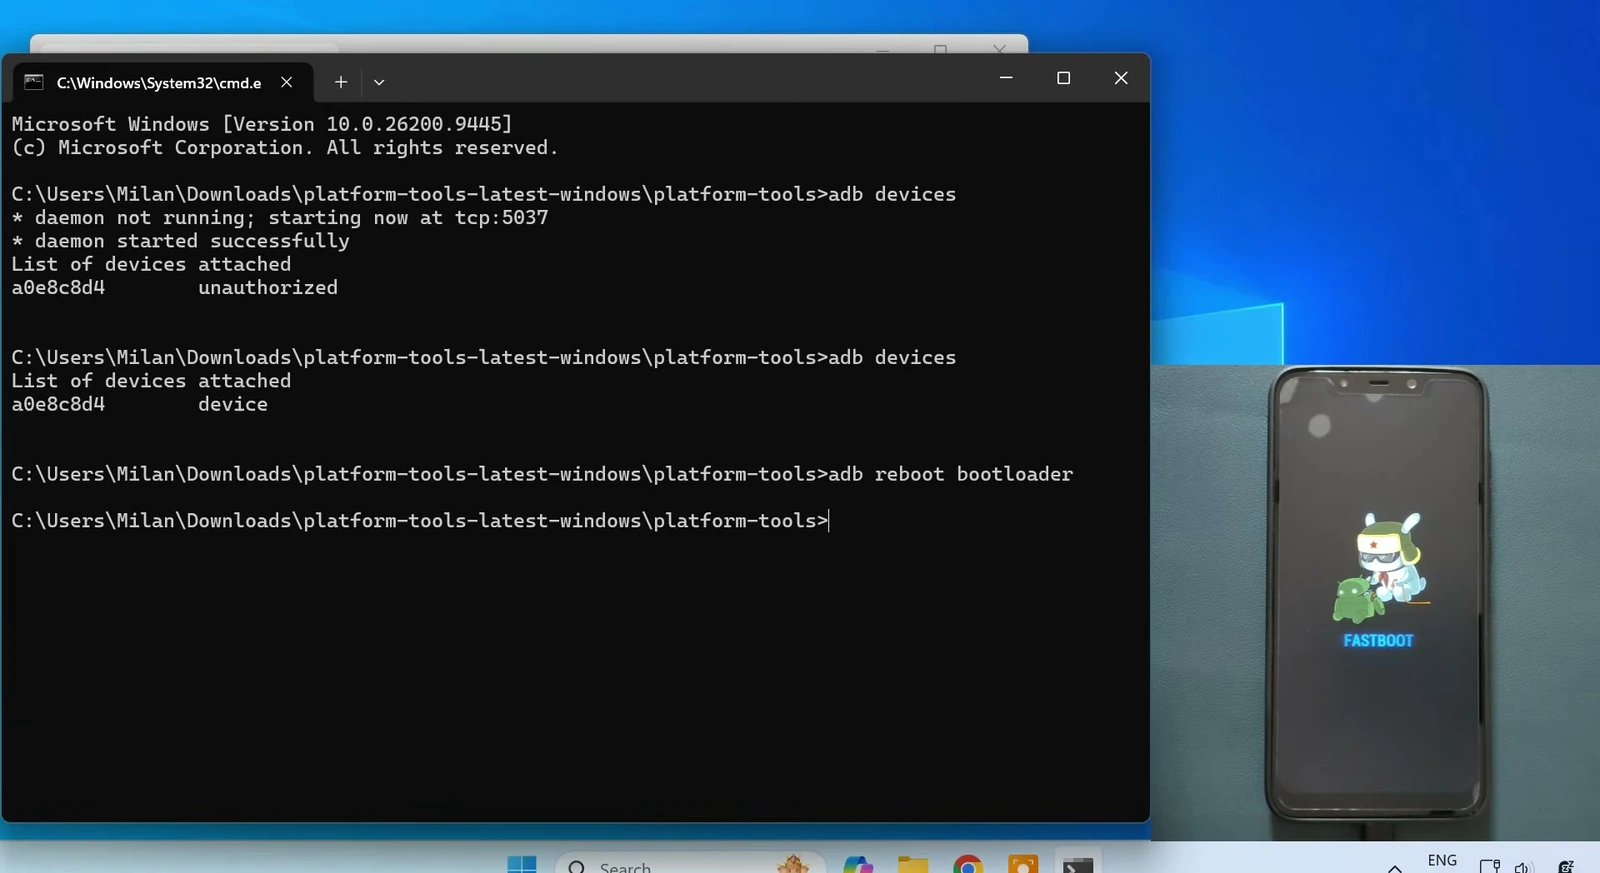
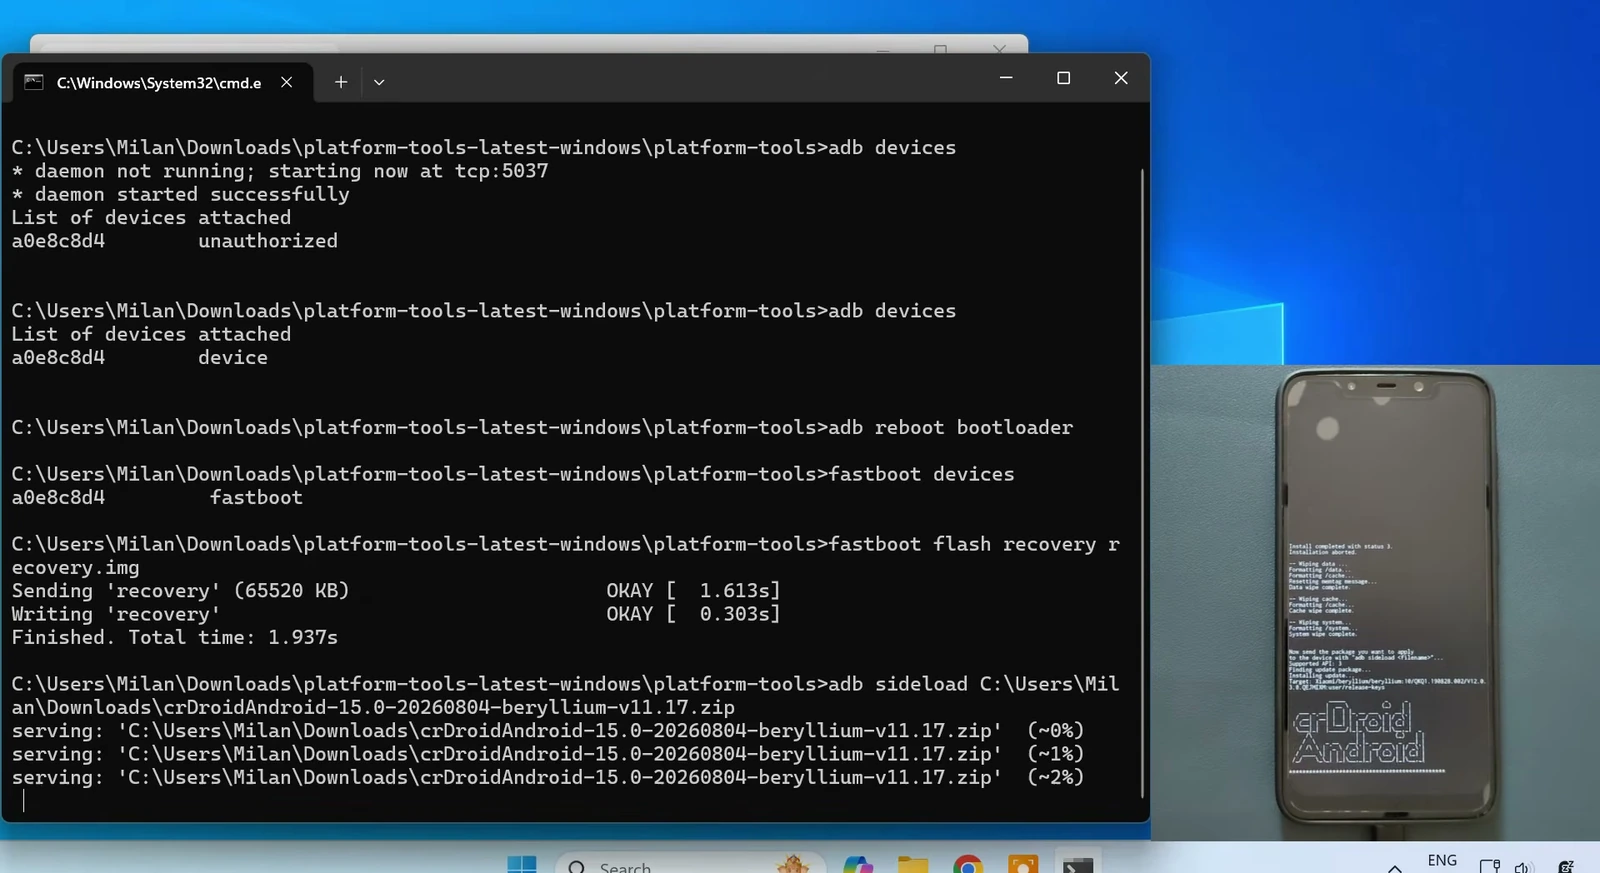
When the serial number is listed, flash the downloaded official recovery image:
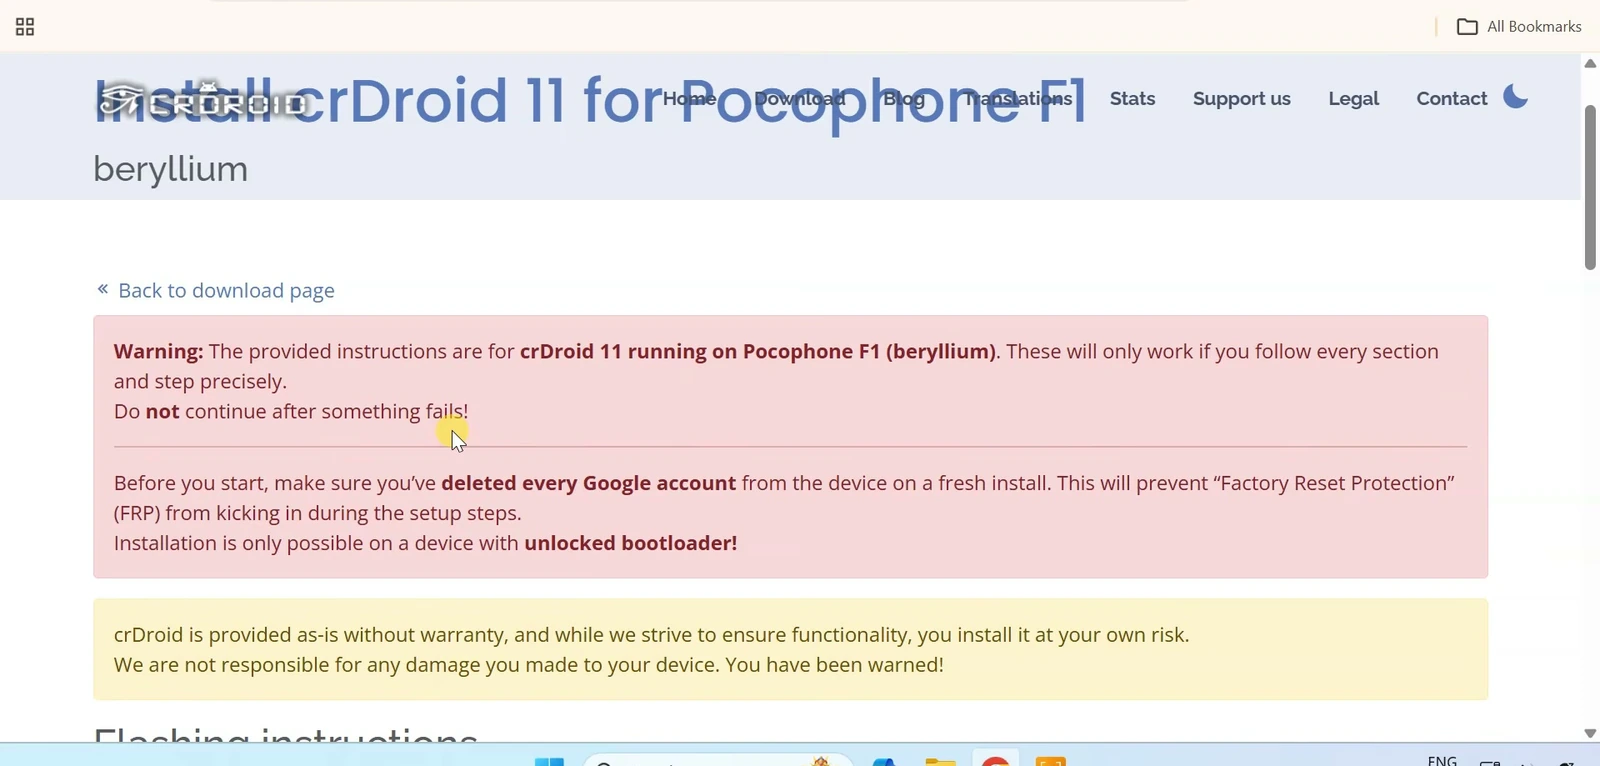
fastboot flash recovery recovery.img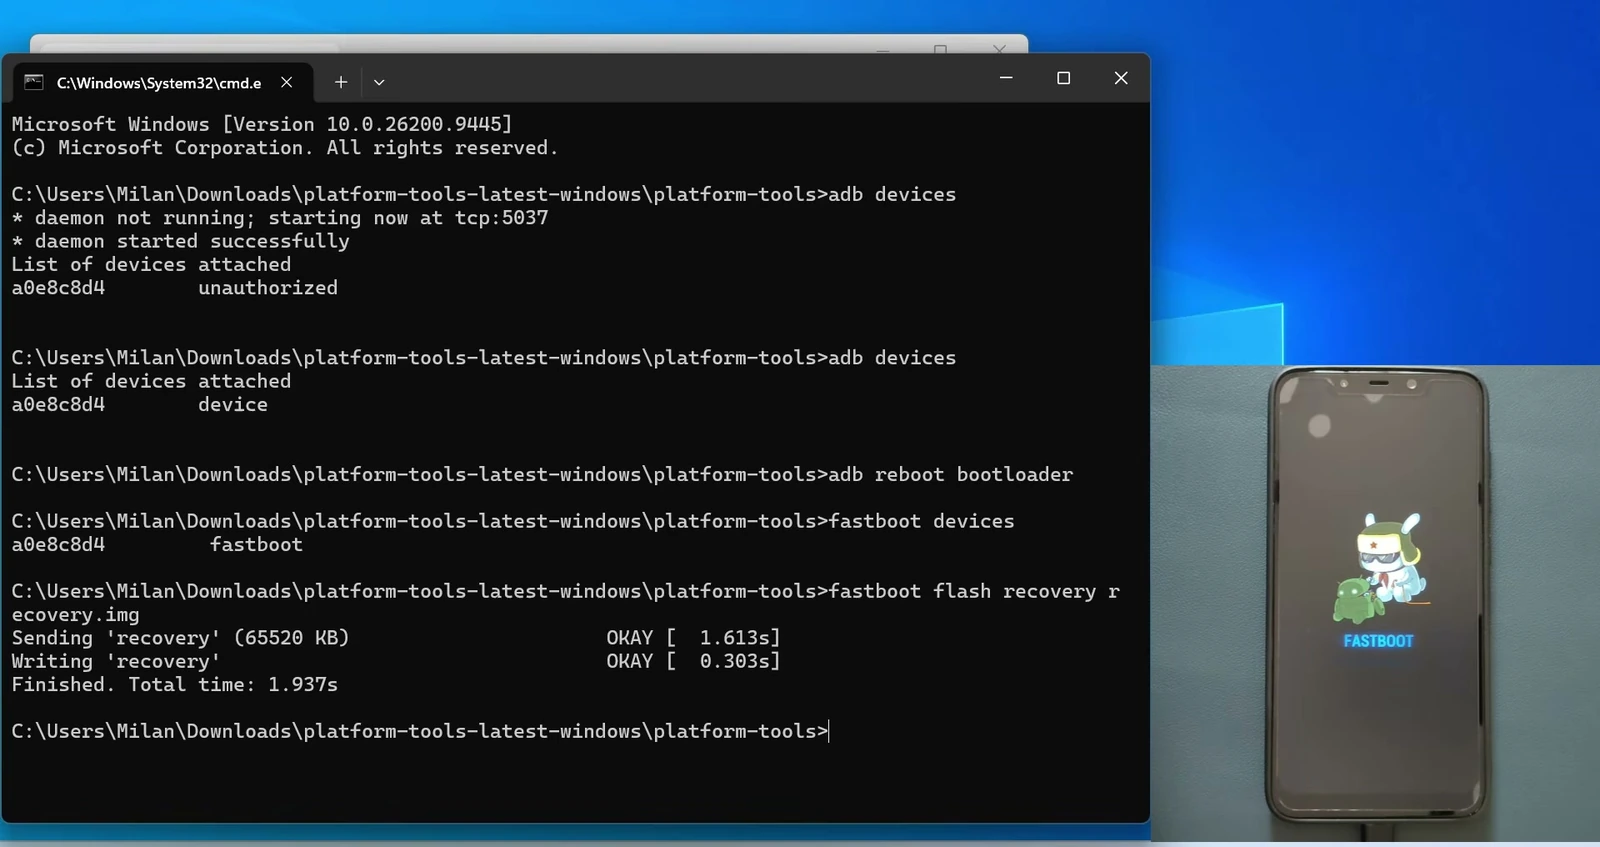
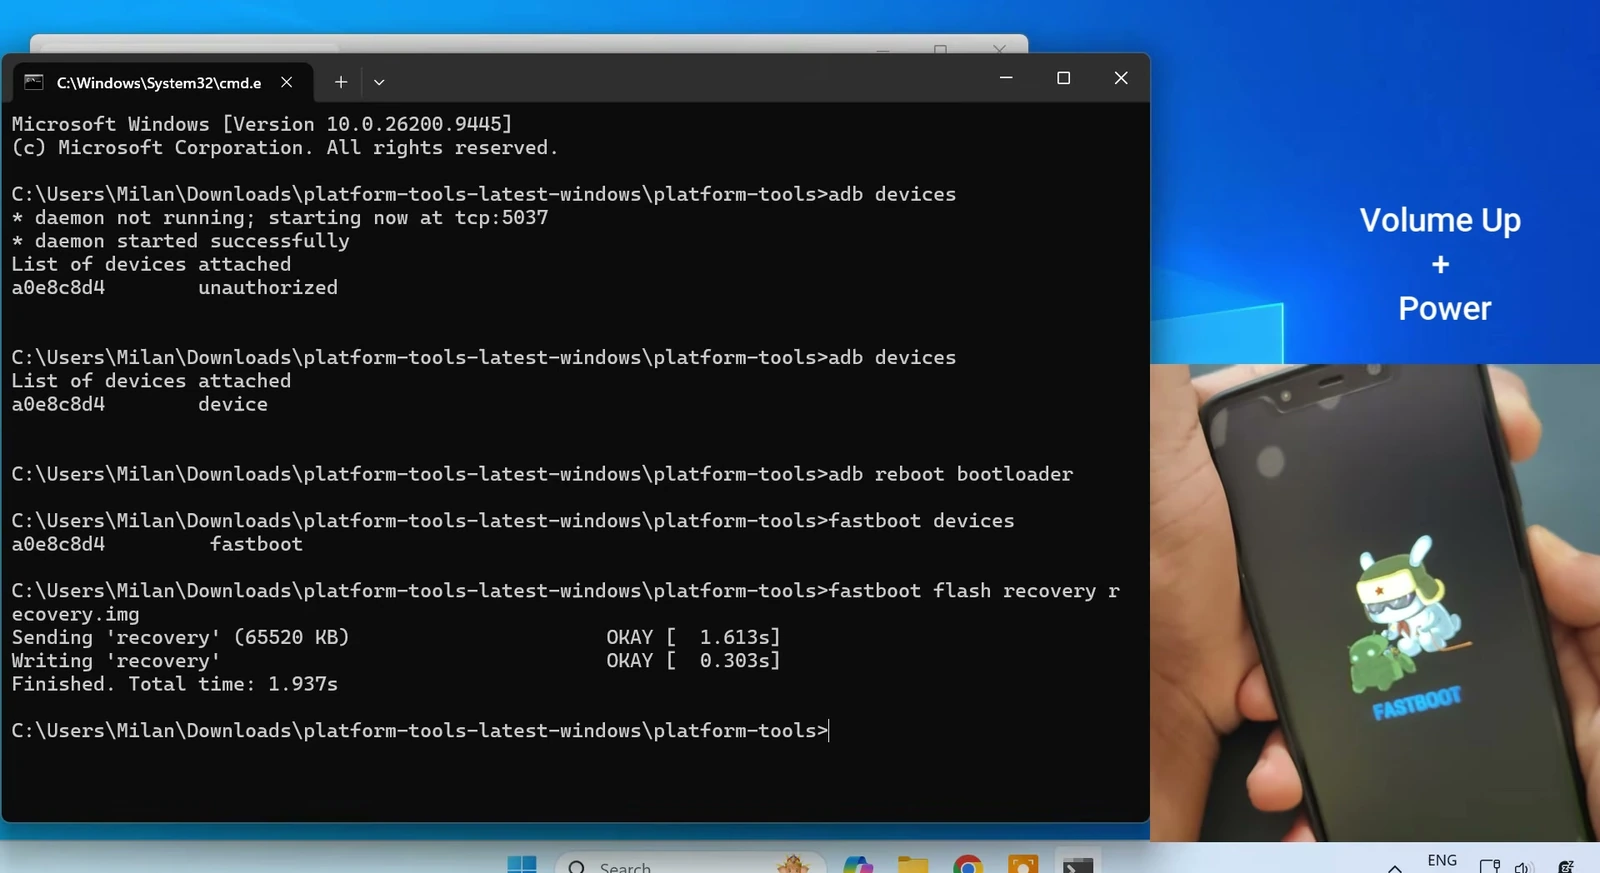
For the Poco F1, hold Volume Up and Power. When the Poco logo appears, release only the Power button and continue holding Volume Up until recovery opens.
Download and Sideload the crDroid ROM
On the computer, return to the official page for your exact device and select Download latest version. Download the current crDroid ZIP for that device. Do not extract the ROM ZIP.
In crDroid Recovery, a first-time installation requires a clean flash. Select Factory reset, choose Format data or Factory reset, and confirm. Then wipe the cache partition and the system partition.
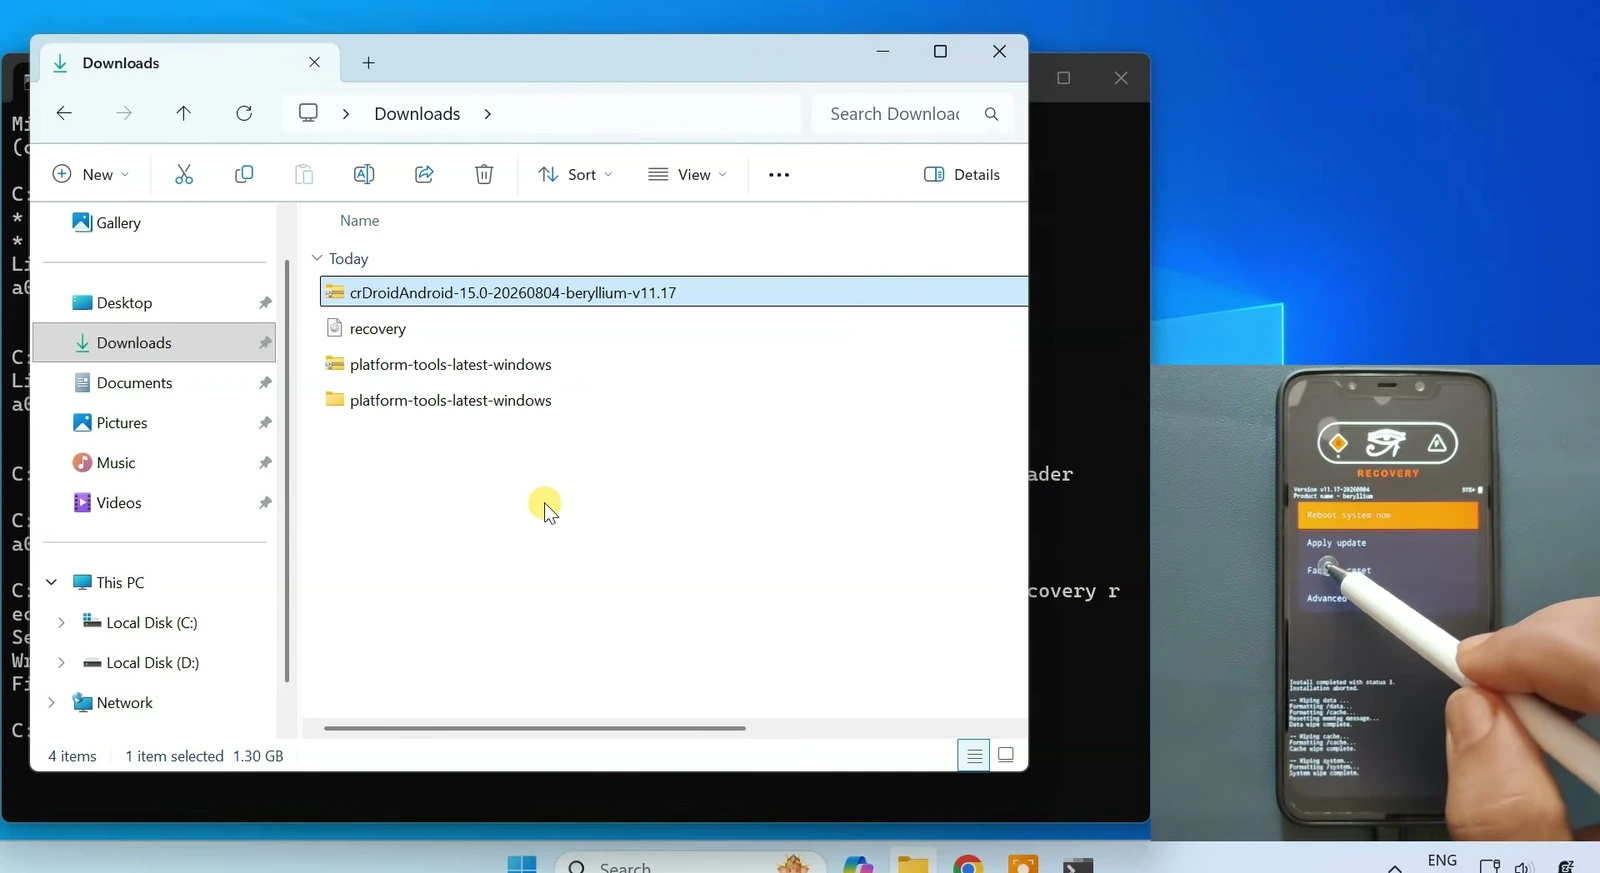
Return to the recovery home screen and select Apply update > Apply from ADB.
In Command Prompt, type adb sideload, add a space, then drag the downloaded crDroid ZIP into the Command Prompt window to insert its exact file path. Press Enter to begin the transfer and installation.
Optionally Install NikGApps
Google apps are optional. If you want to use crDroid without Google services, skip this section and reboot after the ROM installation completes.
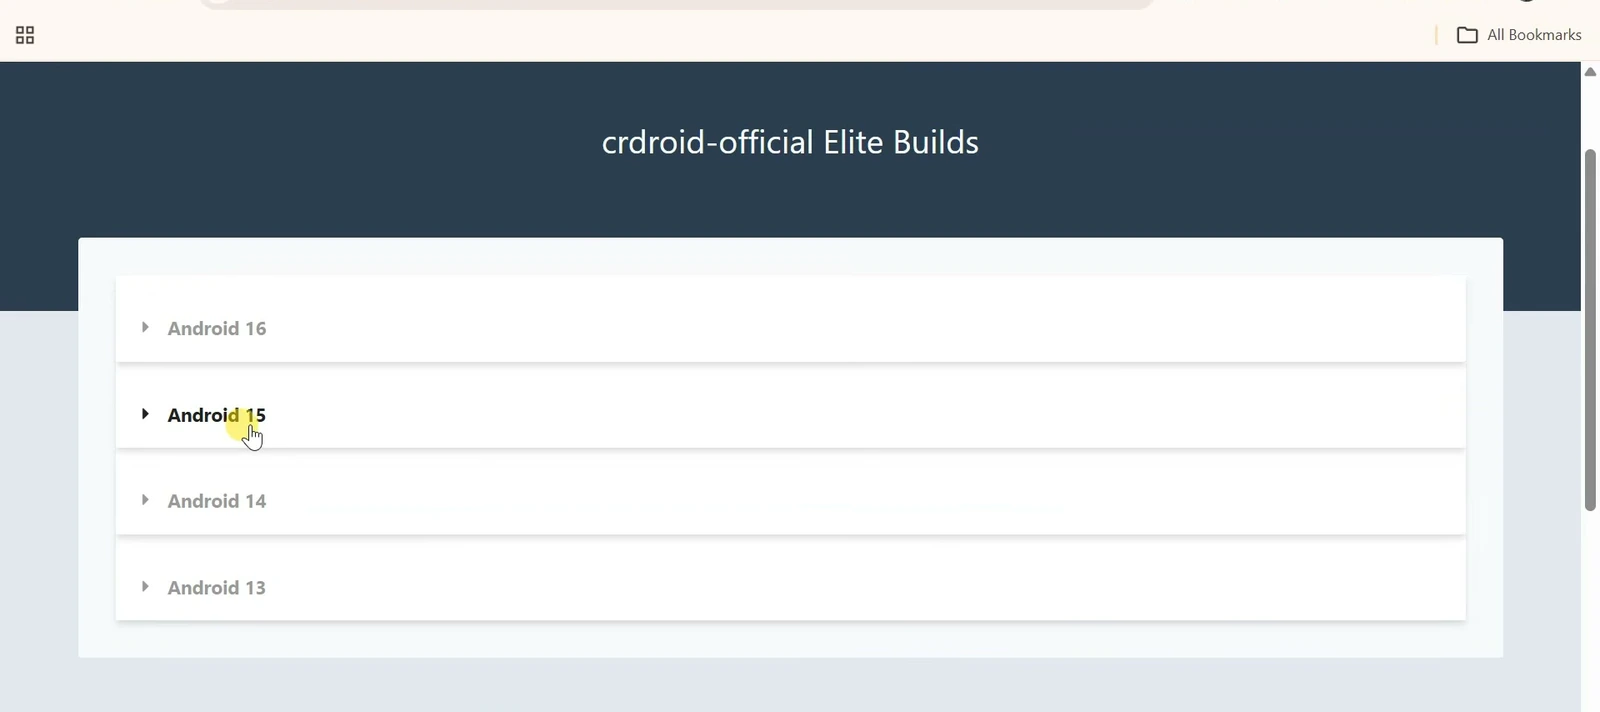
To install Google Play Store and Google services, use the GApps link under Useful links on your device’s crDroid page. Download the crDroid-recommended NikGApps package that matches your ROM’s Android version. The Poco F1 example uses the Android 15 package because crDroid 11 is based on Android 15.
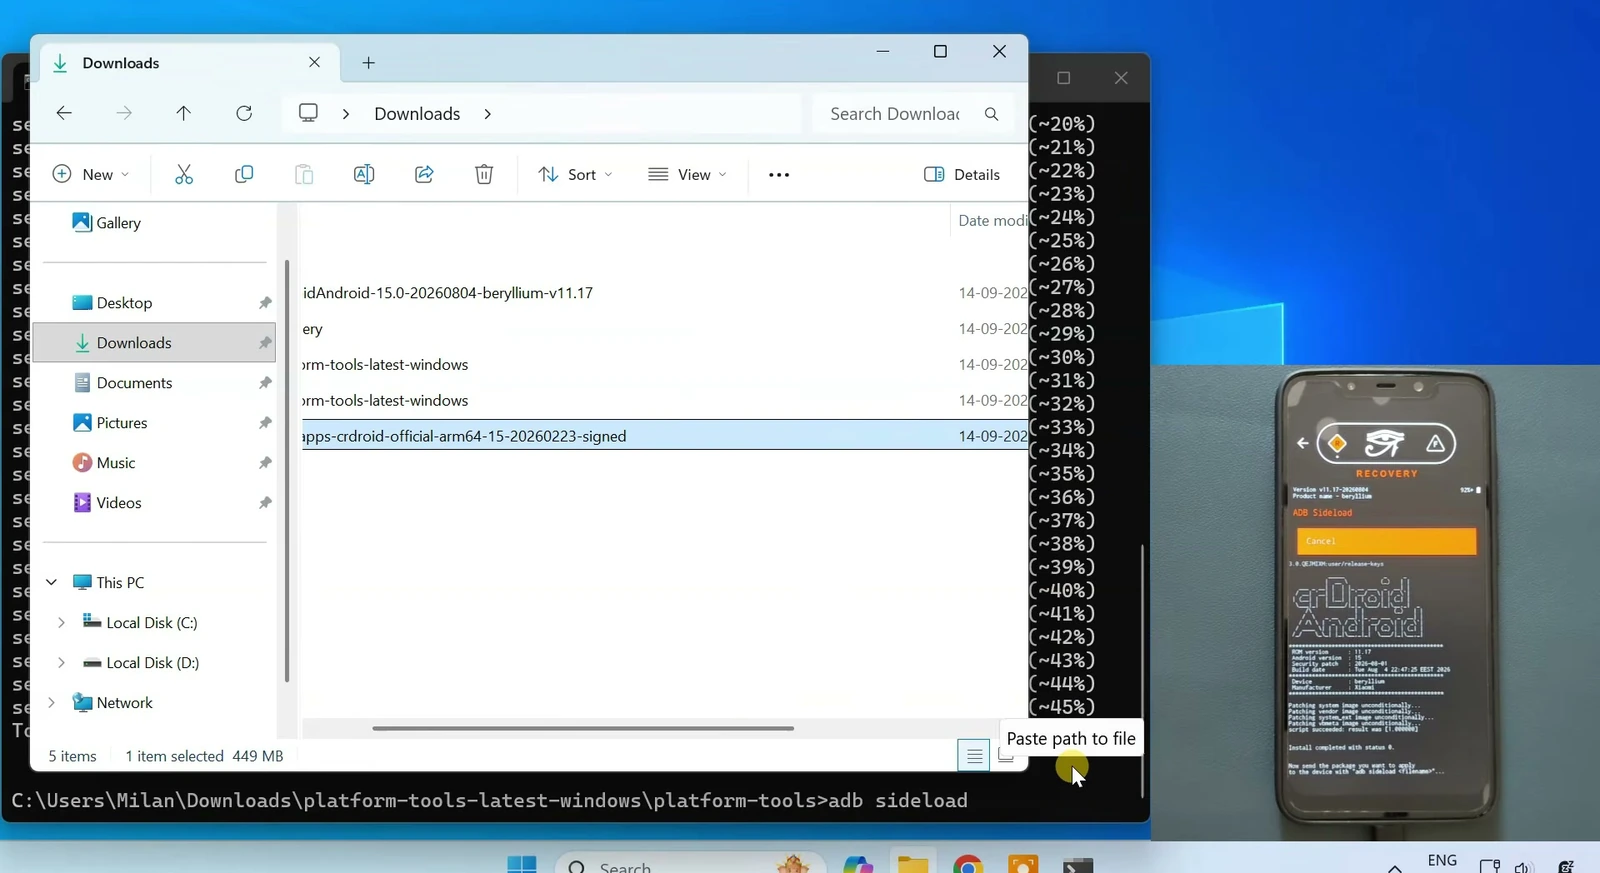
On the phone, choose Apply update > Apply from ADB again. In Command Prompt, type adb sideload, add a space, drag the downloaded NikGApps ZIP into the window, and press Enter.
Boot and Verify crDroid
When installation has completed, return to the main recovery menu and choose Reboot system now. The first boot takes longer than a normal restart, so allow several minutes at the crDroid boot animation.
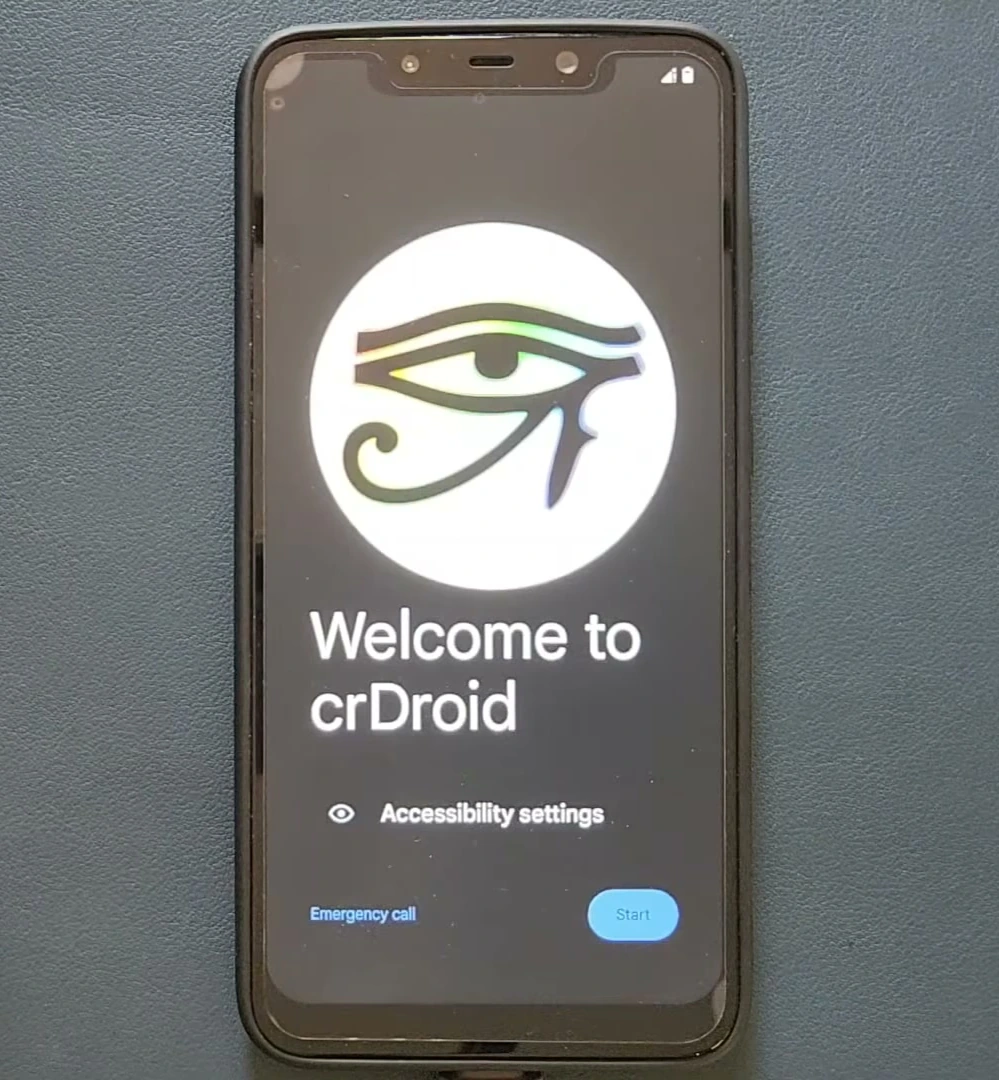
Complete the initial Android setup once the crDroid welcome screen appears.
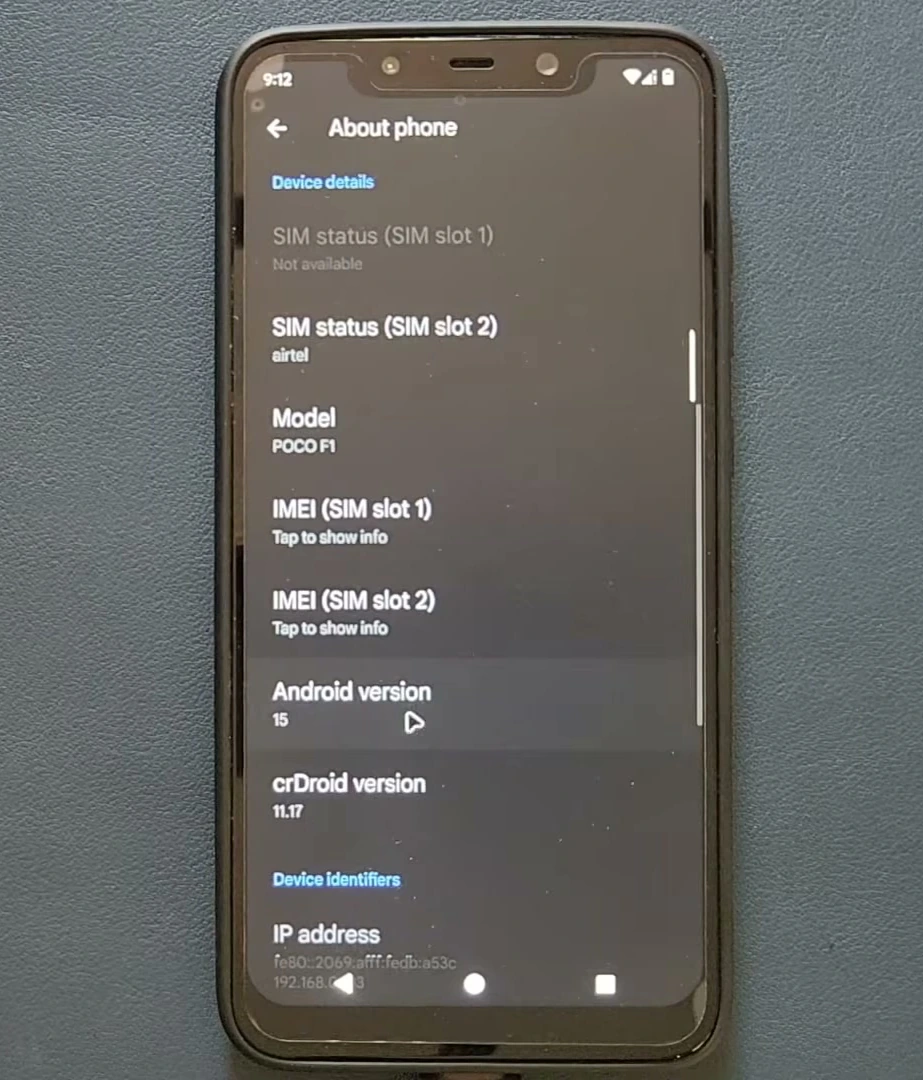
Finally, open Settings > About phone to check the installed Android version and crDroid build.
Troubleshooting crDroid Installation
▸ ADB does not show the phone
Confirm that USB debugging is enabled, reconnect the USB cable, accept the computer authorization prompt on the phone, and run adb devices again. The device serial number should appear before continuing.
▸ Fastboot does not list a serial number
Make sure the phone is actually on its Fastboot screen before running fastboot devices. Do not flash recovery until the device is detected.
▸ The first boot takes a long time
The initial crDroid boot normally takes much longer than a regular reboot. Wait through the boot animation before assuming there is a problem.
▸ My device or instructions do not match this guide
Stop and return to the official crDroid page for your exact model. Recovery files, firmware requirements, partitions and flashing commands can be different across devices.
Frequently Asked Questions
▸ Does installing crDroid erase my phone?
Yes. A first-time installation uses a clean flash and deletes the phone’s internal data. Back up your files first.
▸ Are Google apps required?
No. NikGApps are optional. Install the matching package only if you want Google Play Store and other Google services.
▸ Can I use the Poco F1 recovery image on another Android phone?
No. Use only the official files and installation instructions listed for your exact supported device and codename.
Final Words
You have now installed crDroid through the official recovery and ADB sideload workflow, with the option to add NikGApps. Keep the device-specific official crDroid instructions as your reference for future updates or any device-specific requirements.