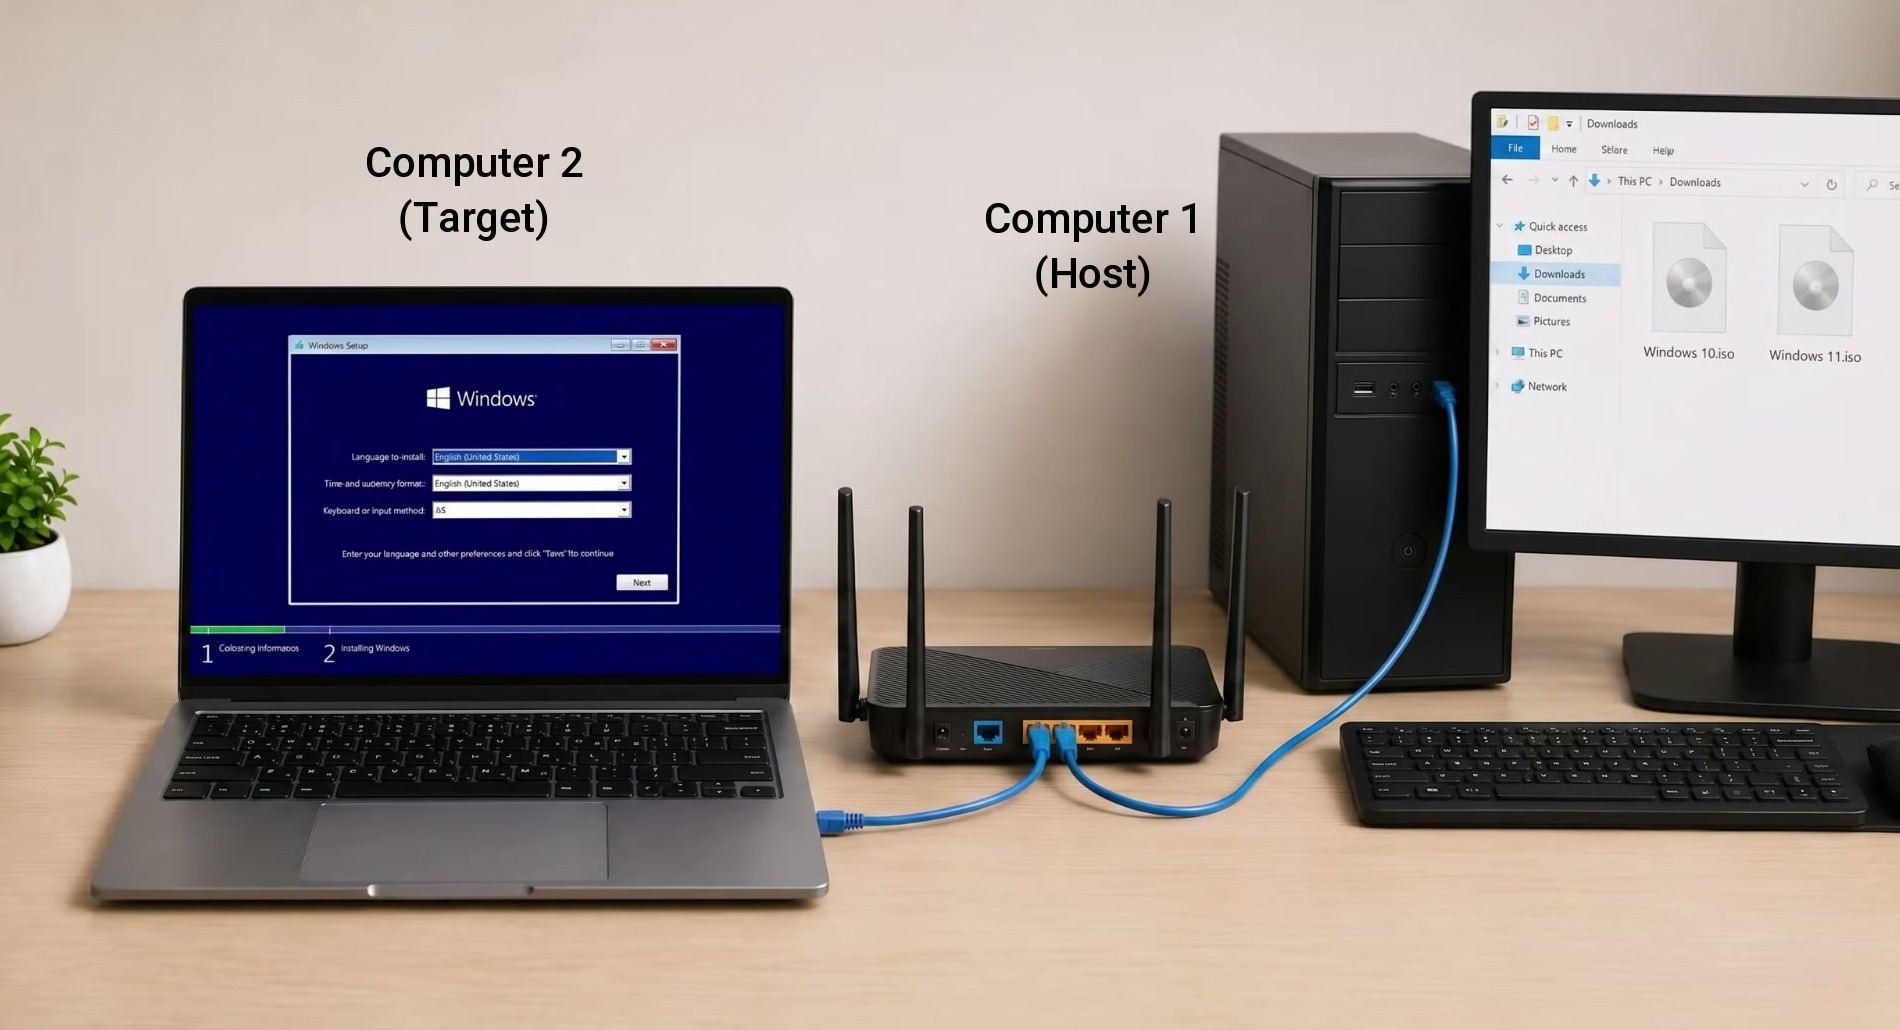
iVentoy can boot a Windows installer across your local network, so the target PC does not need a USB installation drive. One computer hosts the official Windows ISO, while the other starts it through UEFI PXE boot over Ethernet.
This guide follows the two-computer setup shown in the video and updates it for current iVentoy releases. It explains the DHCP mode that fits a normal home router, current Secure Boot support, safe disk selection, and the network checks that solve most PXE problems.
What You Need
- A Windows computer to run iVentoy as the host
- A separate target PC with UEFI network or PXE boot support
- A router or switch connecting both computers on the same trusted local network
- A wired Ethernet connection for the target PC and preferably for the host
- An official Windows 11 ISO and enough host storage for it
- Administrator access on the host and firmware access on the target
- A complete backup of the target PC
The target’s firmware must be able to start its wired network adapter. A normal USB Wi-Fi adapter is not a replacement for firmware PXE support. Windows 11 also requires compatible 64-bit hardware, UEFI/Secure Boot capability, and TPM 2.0; check Microsoft’s Windows 11 system requirements before wiping the machine.
The recording mentions Windows 10 as well, but Microsoft says Windows 10 support ended on October 14, 2025. Unless you have an applicable extended-support or LTSC plan, install Windows 11 on supported hardware rather than setting up an unsupported everyday PC.
Download iVentoy and a Windows ISO
Download the Current iVentoy Release
Open the official iVentoy download page and choose the Windows 64-bit archive. The recording uses iVentoy 1.0.30, so the current interface can look different. Follow the official page to the ventoy/PXE GitHub release and compare the archive’s SHA-256 checksum before opening it.
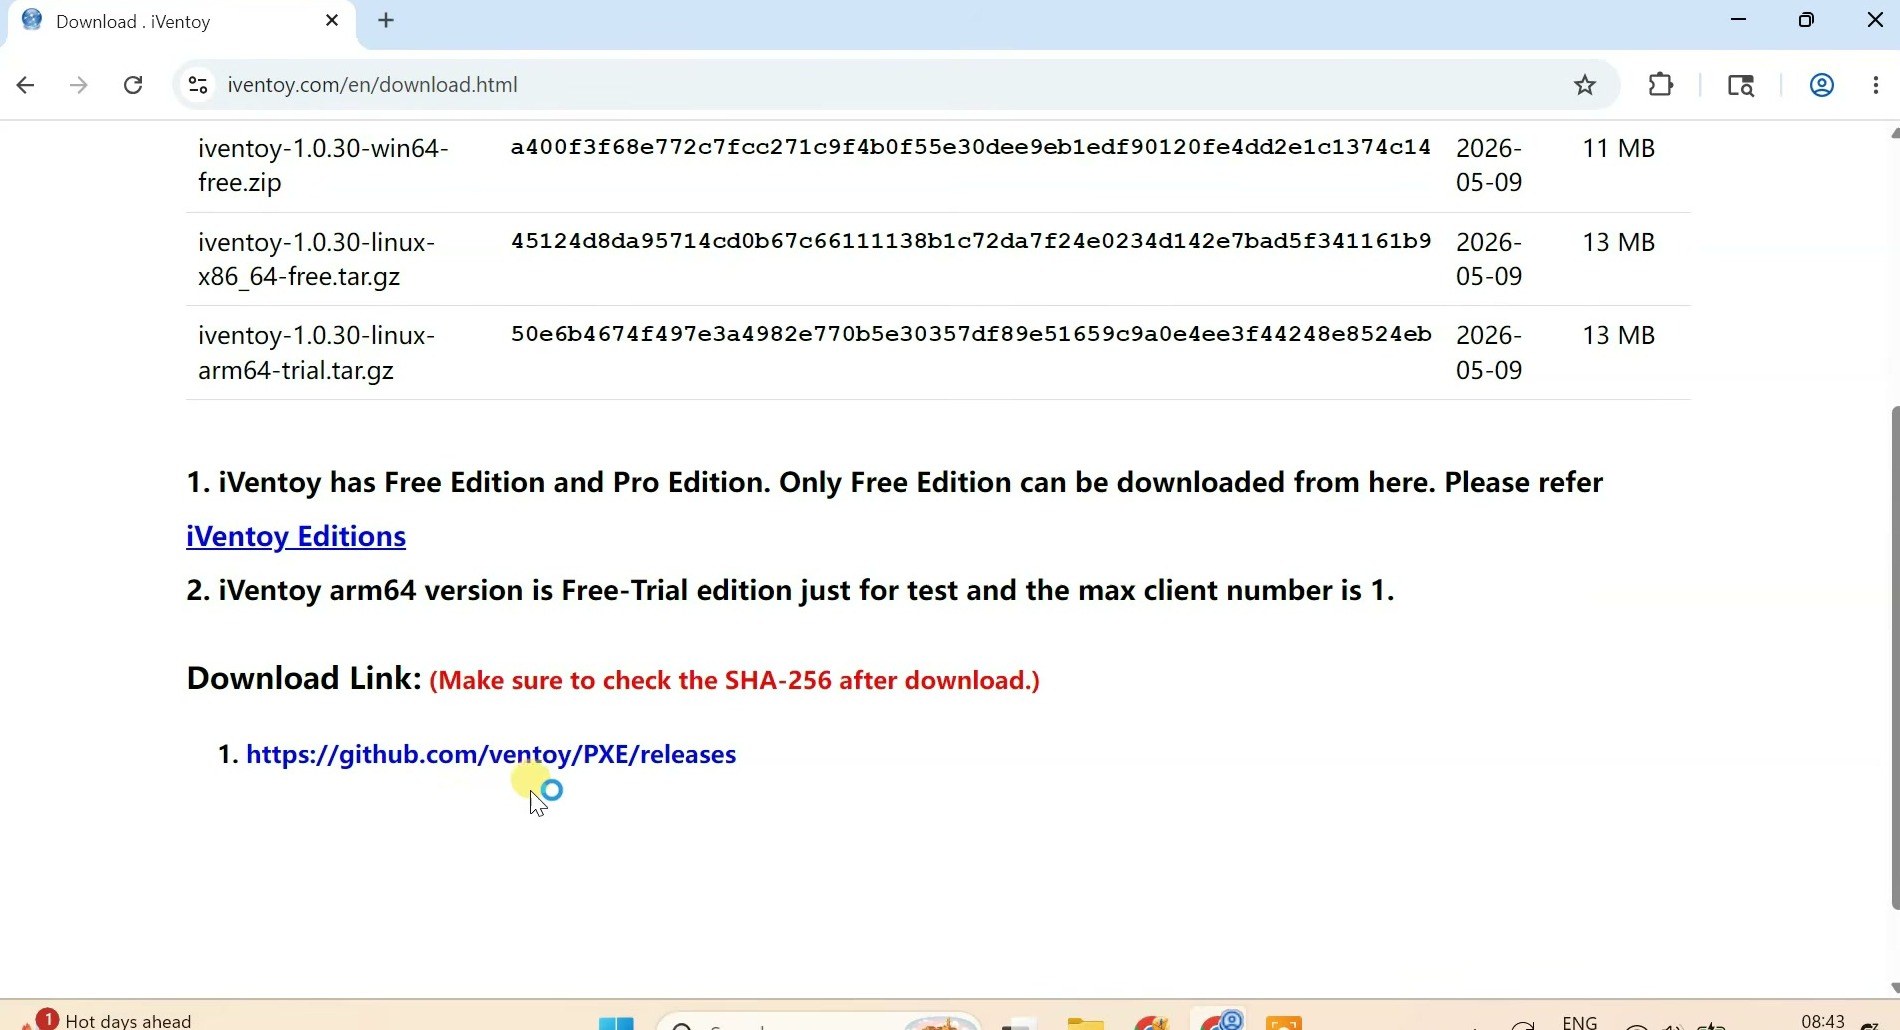
iVentoy is the network-boot product; Ventoy is the related USB product. Under the current iVentoy edition terms, the Free Edition is for non-commercial use and supports up to 20 clients. A business or technician deployment needs the appropriate Pro licence.
Download Windows 11 from Microsoft
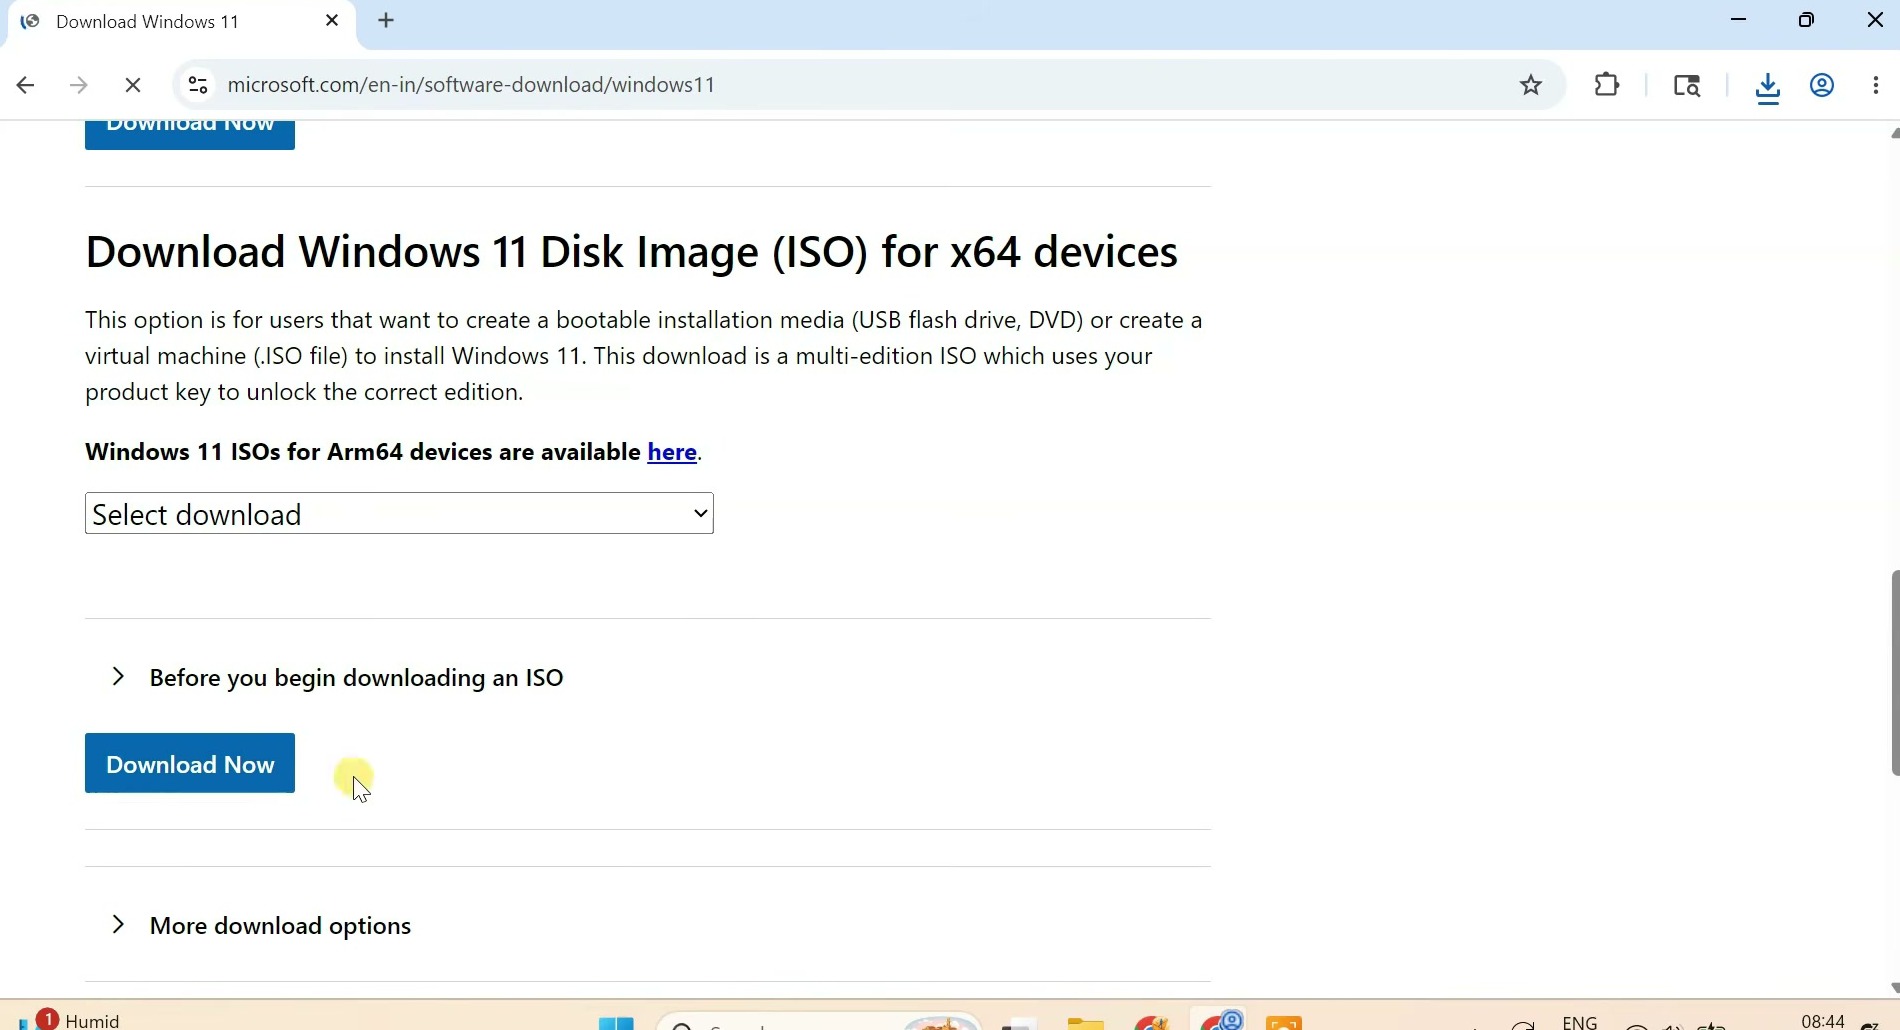
Use Microsoft’s Windows 11 download page and select the x64 ISO option. Choose the language and edition that match your licence, then use Microsoft’s published hash when available to verify the completed file. Avoid modified images and third-party ISO sites.
Prepare the iVentoy Host
Extract iVentoy and Add the ISO
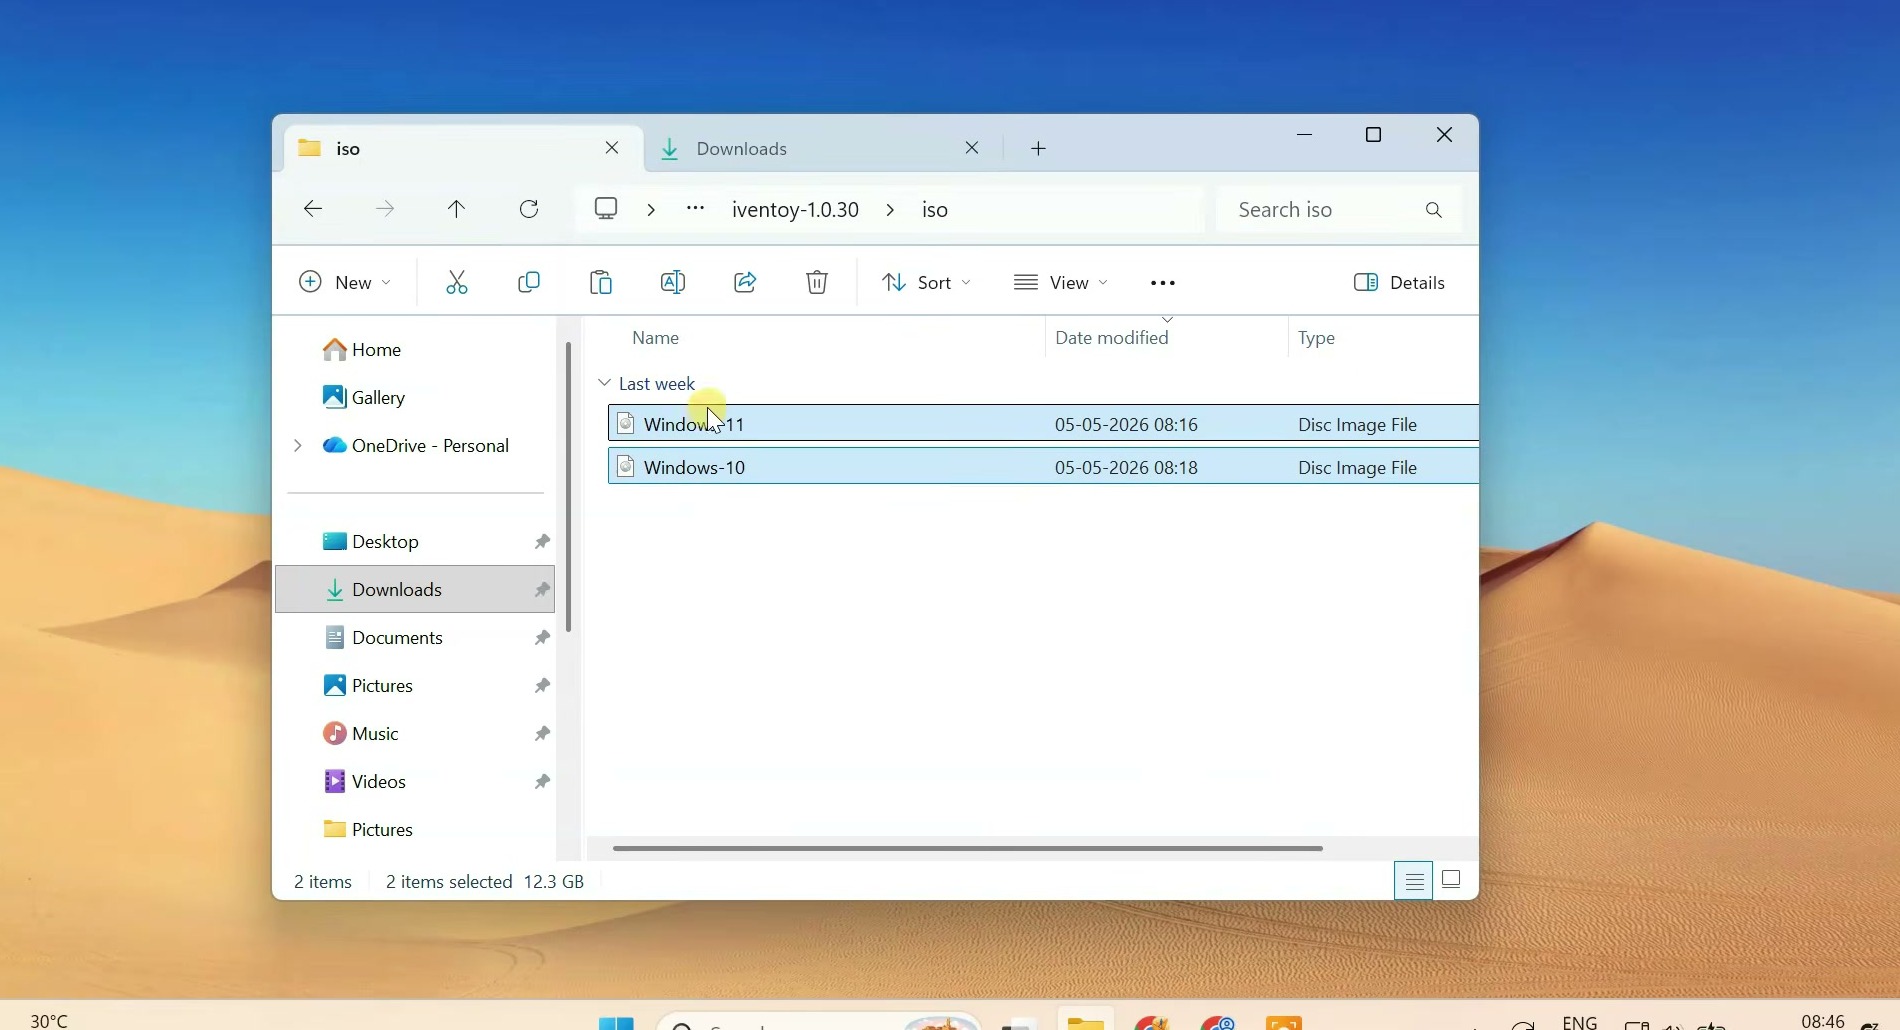
Extract the entire iVentoy archive to a short local path that contains no spaces or non-ASCII characters, such as C:\iVentoy. Do not run it from inside the compressed archive. Open the extracted folder, then copy the Windows ISO into its iso subfolder without extracting the ISO itself.
Start iVentoy and Allow Private-Network Access
Run iVentoy_64.exe as an administrator. If Microsoft Defender SmartScreen appears, do not select Run anyway until the download source and checksum have been verified. iVentoy opens its local web interface at http://127.0.0.1:26000.
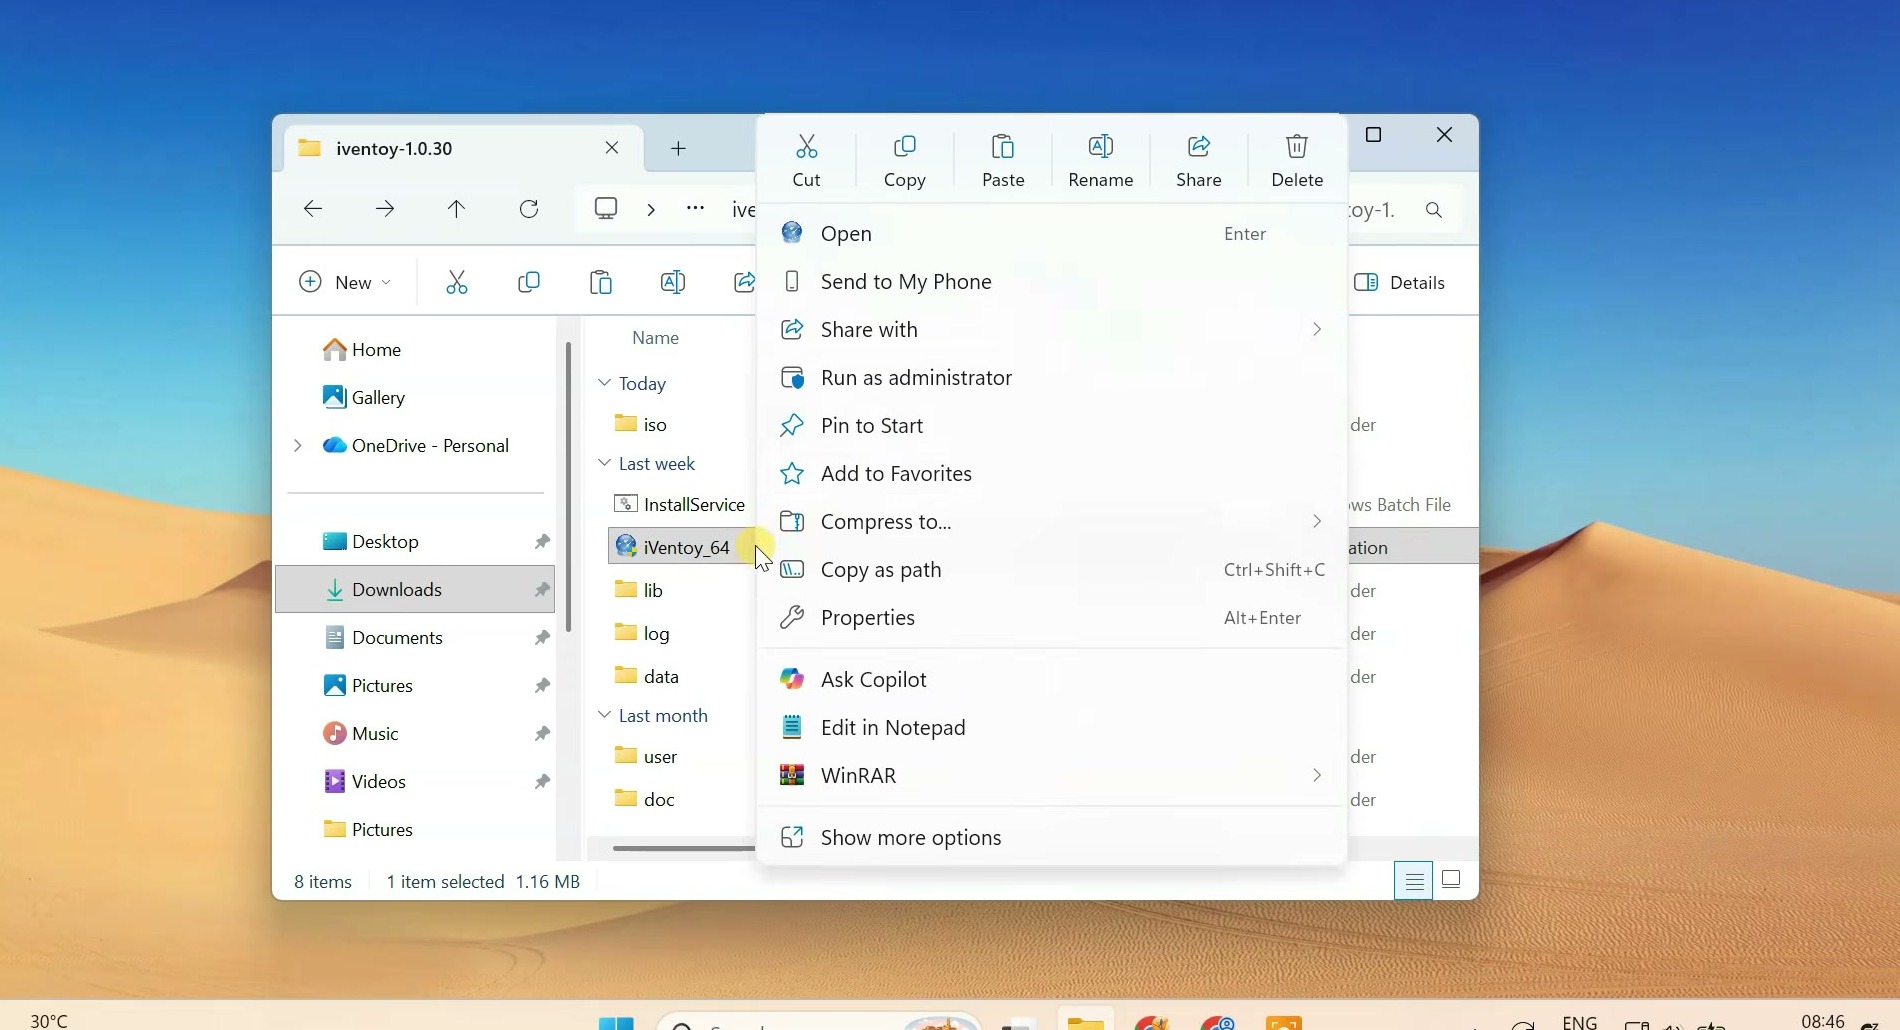
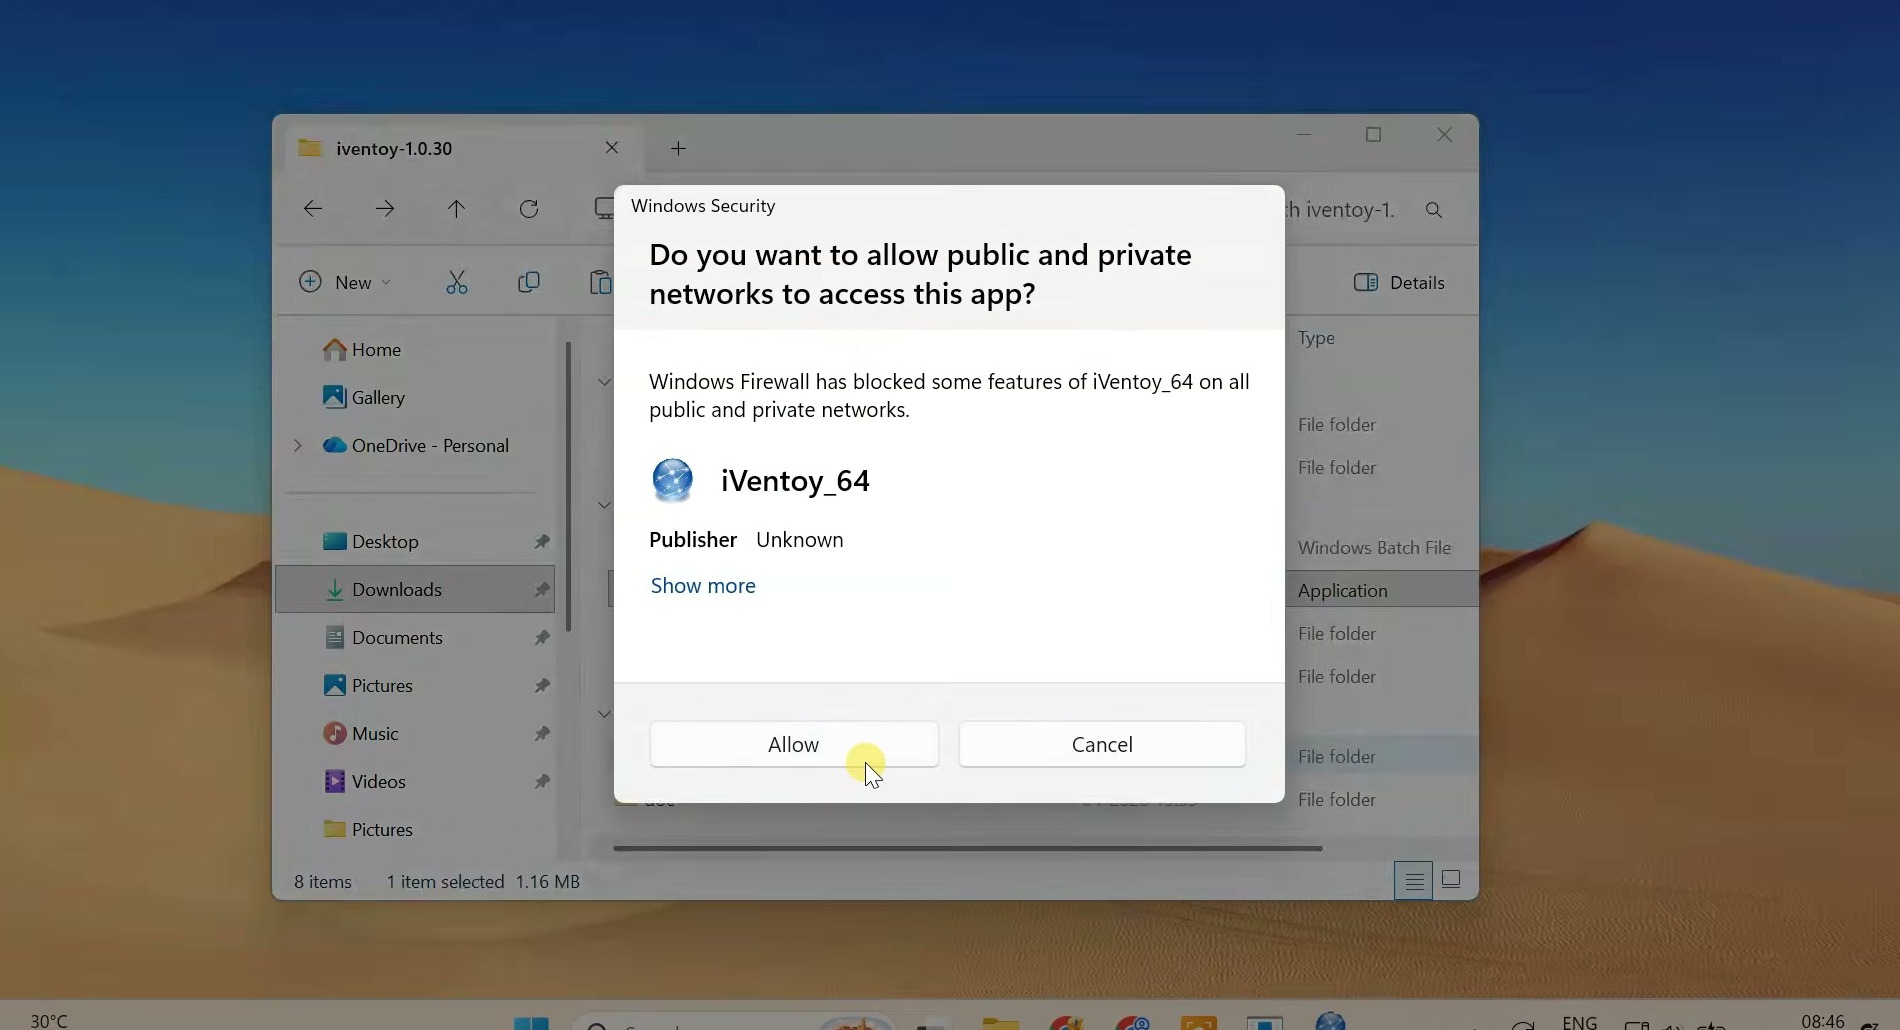
Before launching the server, set the host’s trusted Ethernet connection to the Private network profile. The newer prompt shown in the recording requests both Public and Private access and offers only Allow or Cancel. If you allow it on your trusted LAN, immediately open Windows Defender Firewall’s allowed-app settings and remove iVentoy’s Public-profile permission. You can instead cancel the prompt and create Private-profile rules from iVentoy’s official port list. Never disable the firewall or expose the PXE service on an untrusted network.
Configure and Start the PXE Service
Confirm That iVentoy Detected the ISO
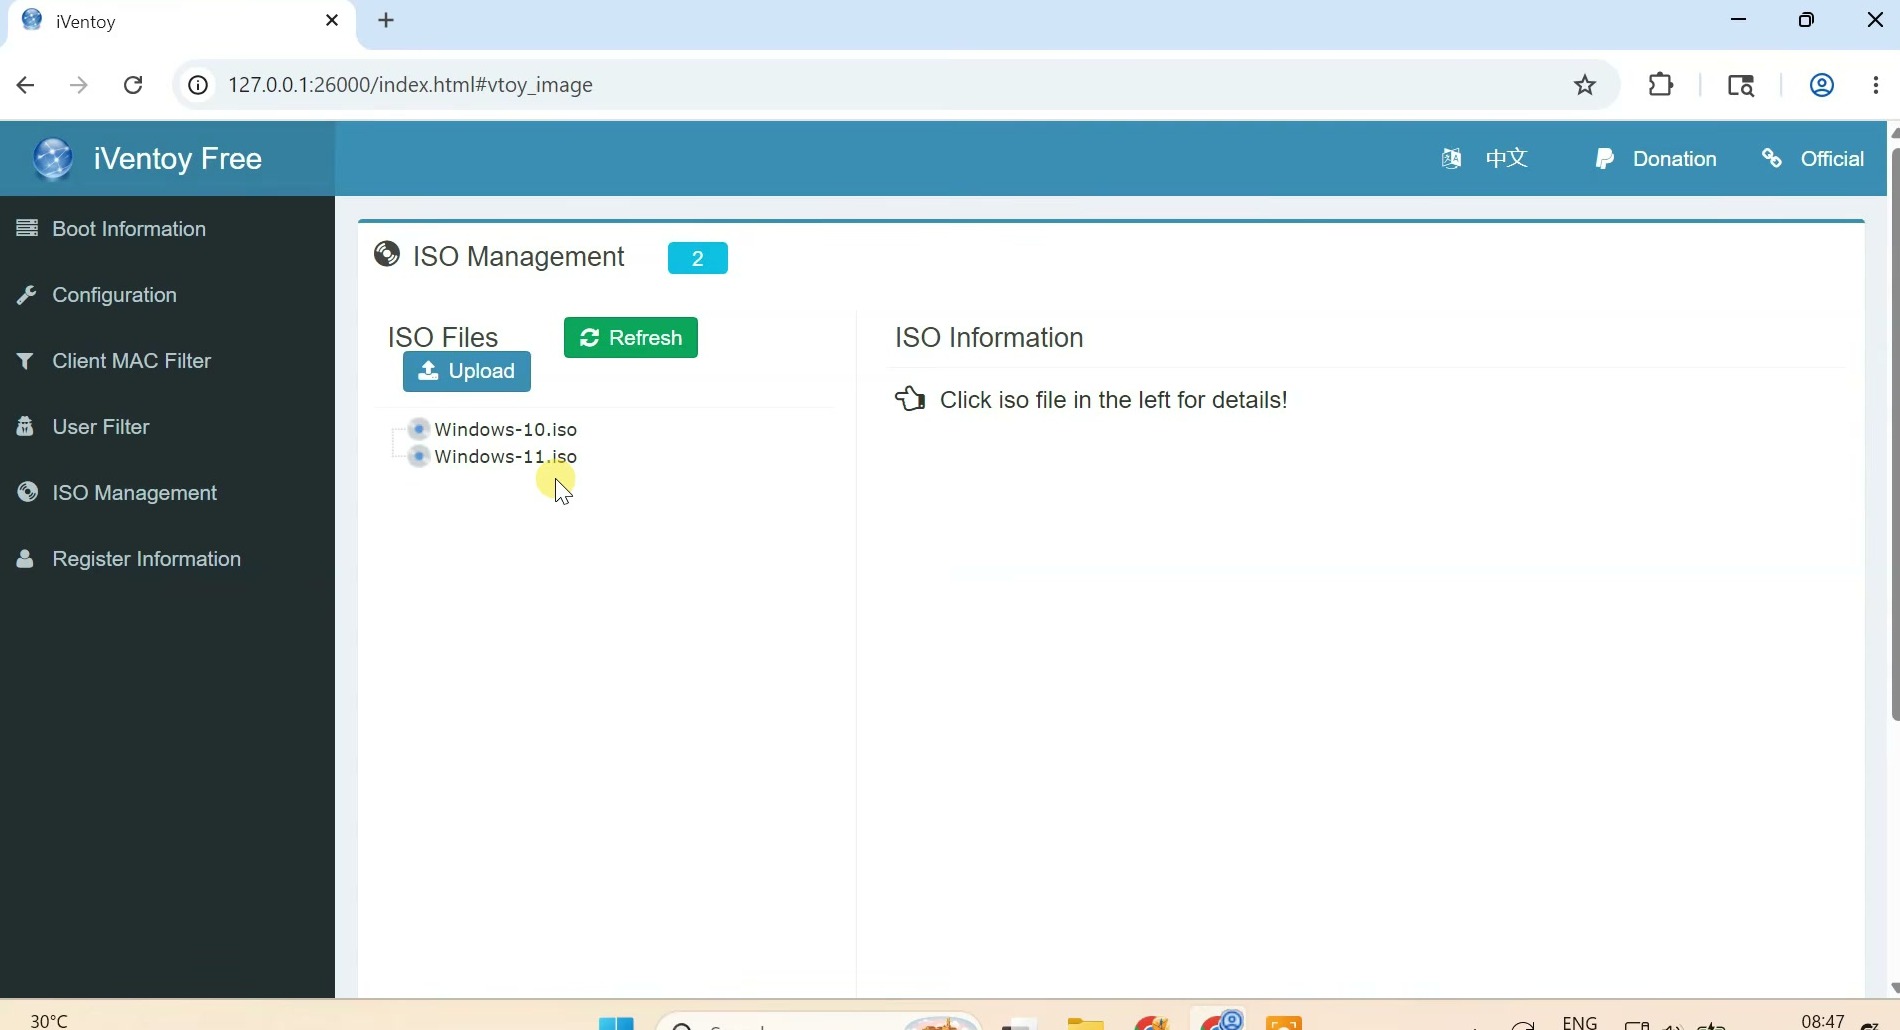
Open ISO Management in the iVentoy interface. The Windows ISO should appear in the list. If it is missing, confirm that the file is directly inside the extracted iso folder, then refresh the page.
Select the Correct Network Adapter and DHCP Mode
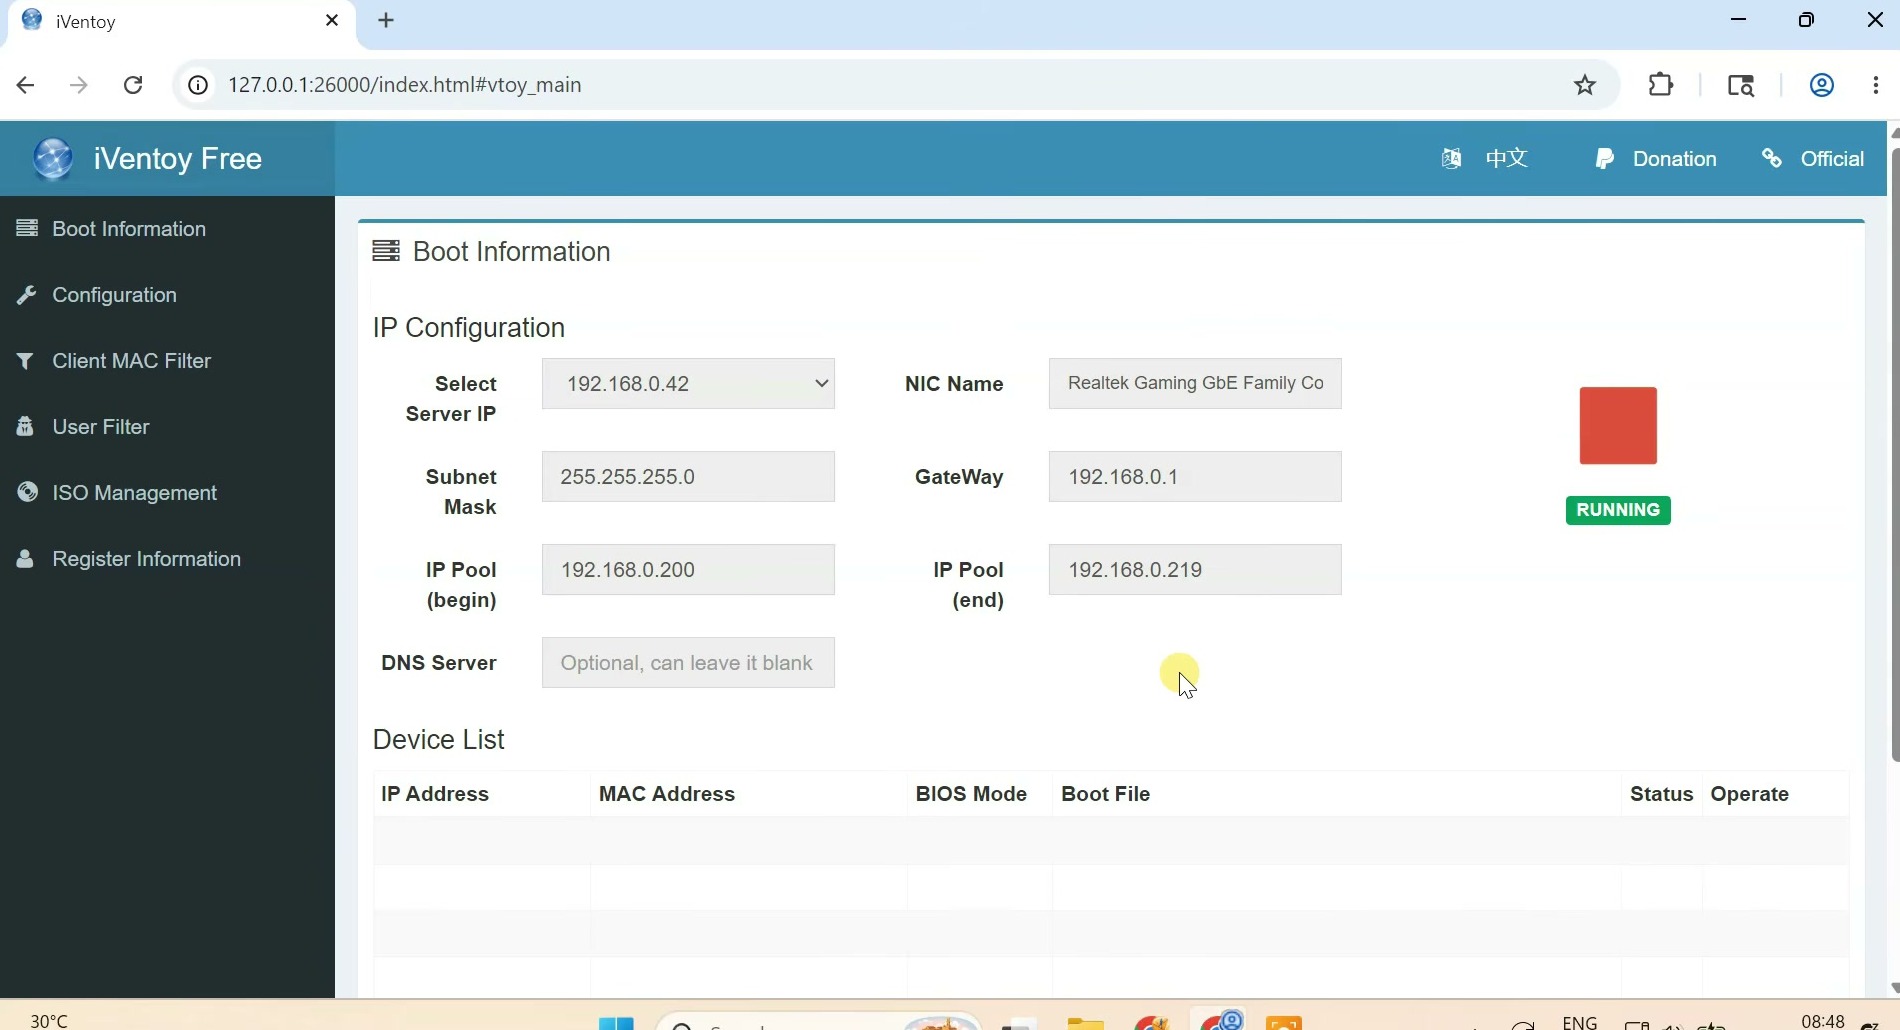
Return to Boot Information and select the IPv4 address belonging to the host’s physical Ethernet adapter. Do not choose a loopback, VPN, virtual-machine, or disconnected adapter. The gateway and subnet should match the network used by the target PC.
Most home routers already assign IP addresses with DHCP. In that common setup, iVentoy’s ProxyNet mode is the preferred starting point when the router and Windows host are separate devices. ProxyNet supplies the PXE boot information without competing with the router for address leases. Do not casually start a second full DHCP server on the same LAN. Advanced same-LAN DHCP setups may use External mode, while separated LANs or VLANs may need ExternalNet plus router or IP-helper changes; both are outside this beginner setup.
Start the service with the green play button and wait until its status shows Running. Keep the host awake and iVentoy open until Windows Setup has finished.
Boot the Target PC from the Network
Enable UEFI Network Boot If Necessary
Connect the target PC to the same router or switch with Ethernet. Restart it and open the firmware setup or one-time boot menu using the key shown by its manufacturer, often F2, F12, Esc, or Delete. If no network option appears, enable settings named UEFI Network Stack, PXE Boot, Onboard NIC, or similar.
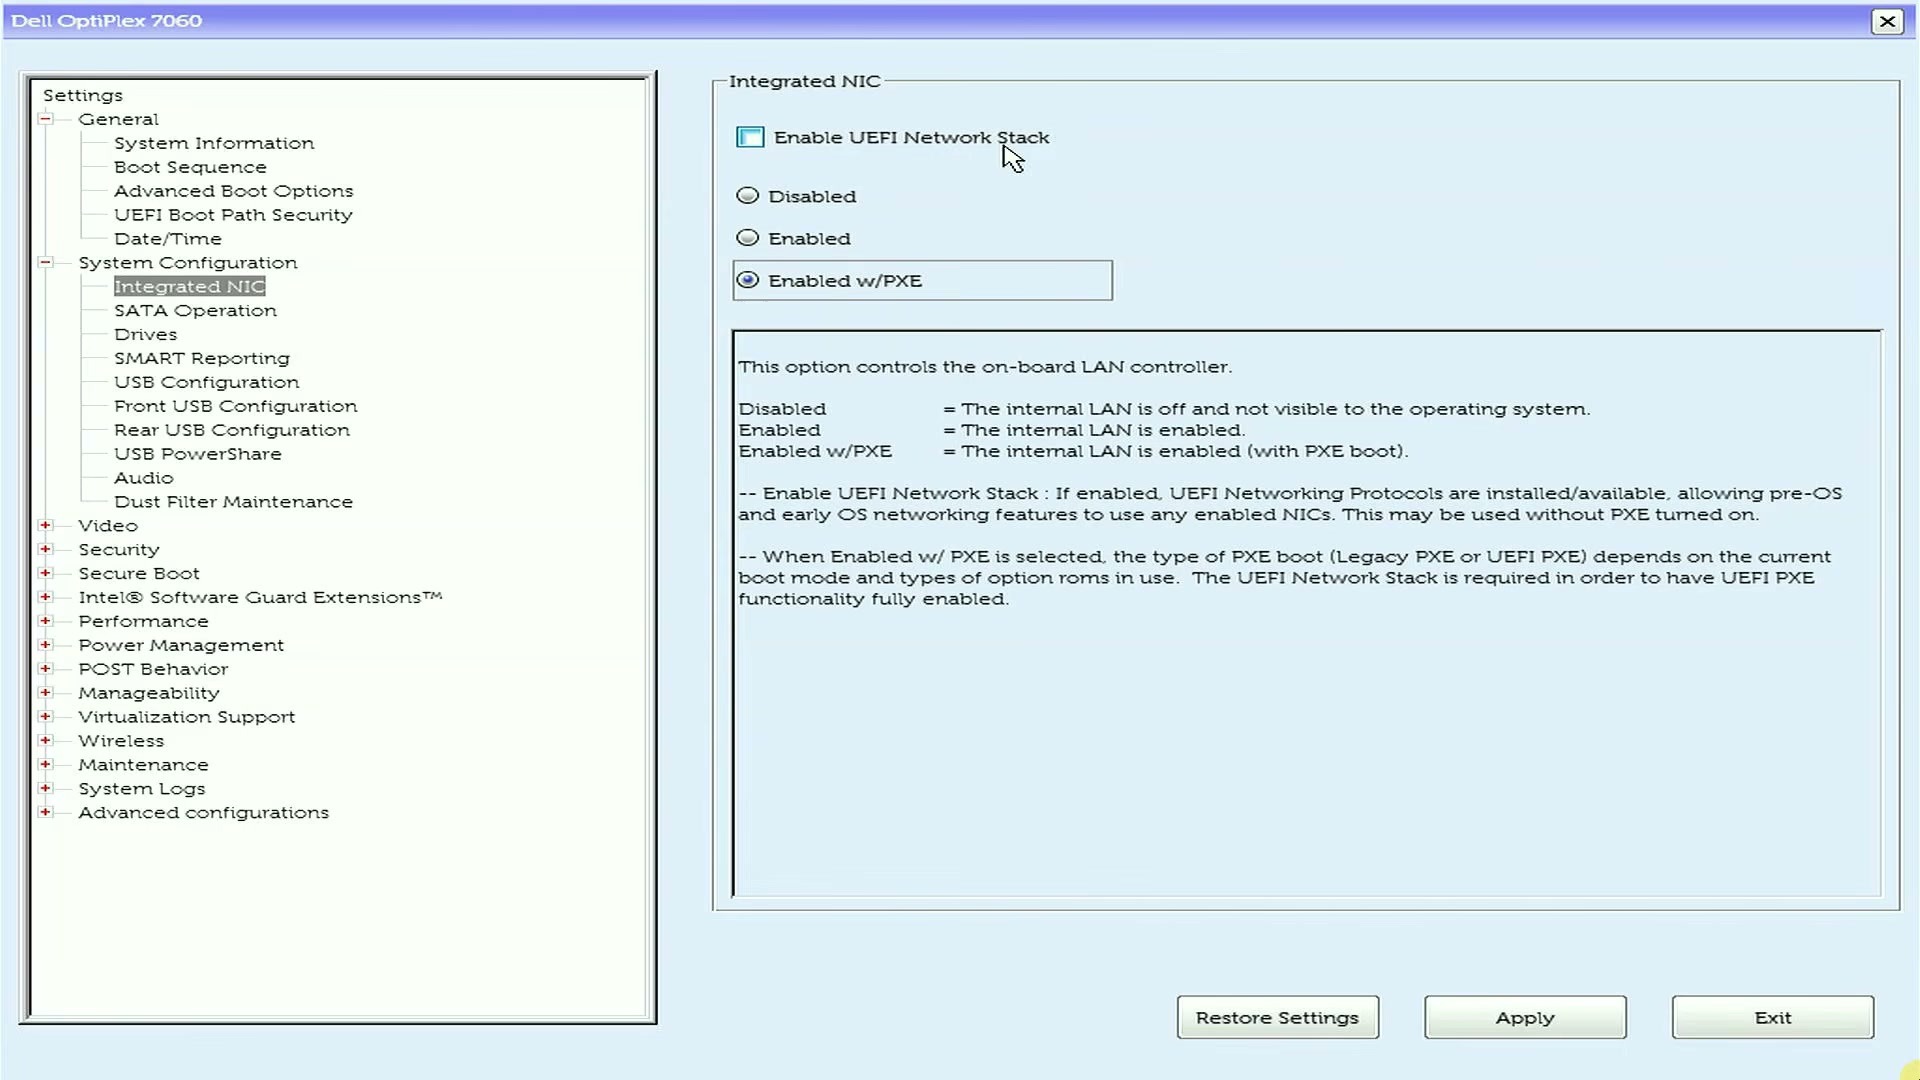
Current iVentoy releases support x86-64 Secure Boot in Standard mode. Leave Secure Boot enabled for an official signed Windows ISO instead of disabling it by default. A legacy release or unusual firmware may behave differently; update iVentoy before considering a security downgrade.
Choose the One-Time UEFI IPv4 Entry
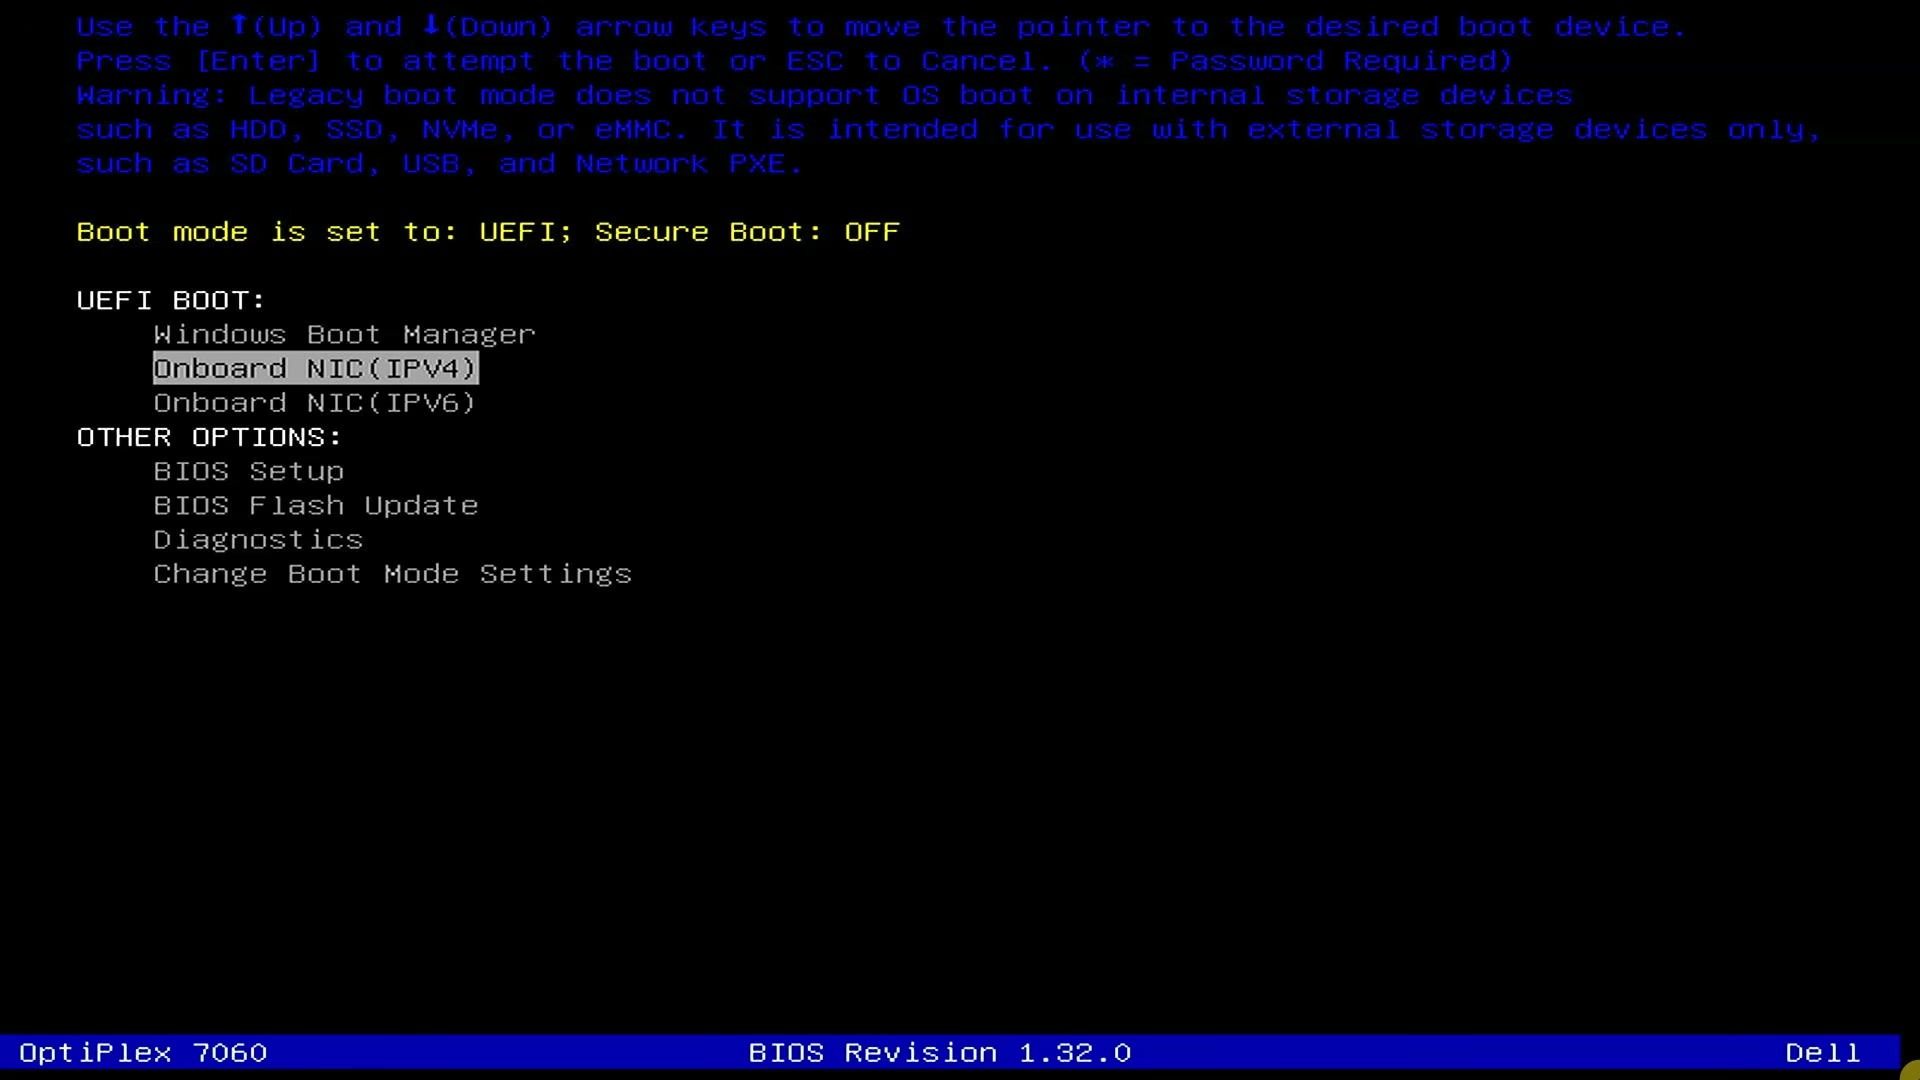
Use the one-time boot menu and select an entry such as UEFI: Onboard NIC (IPv4), UEFI IPv4, or Network Boot IPv4. This is safer than permanently moving PXE above Windows Boot Manager. Avoid the legacy or IPv6 entry unless your network was deliberately configured for it.
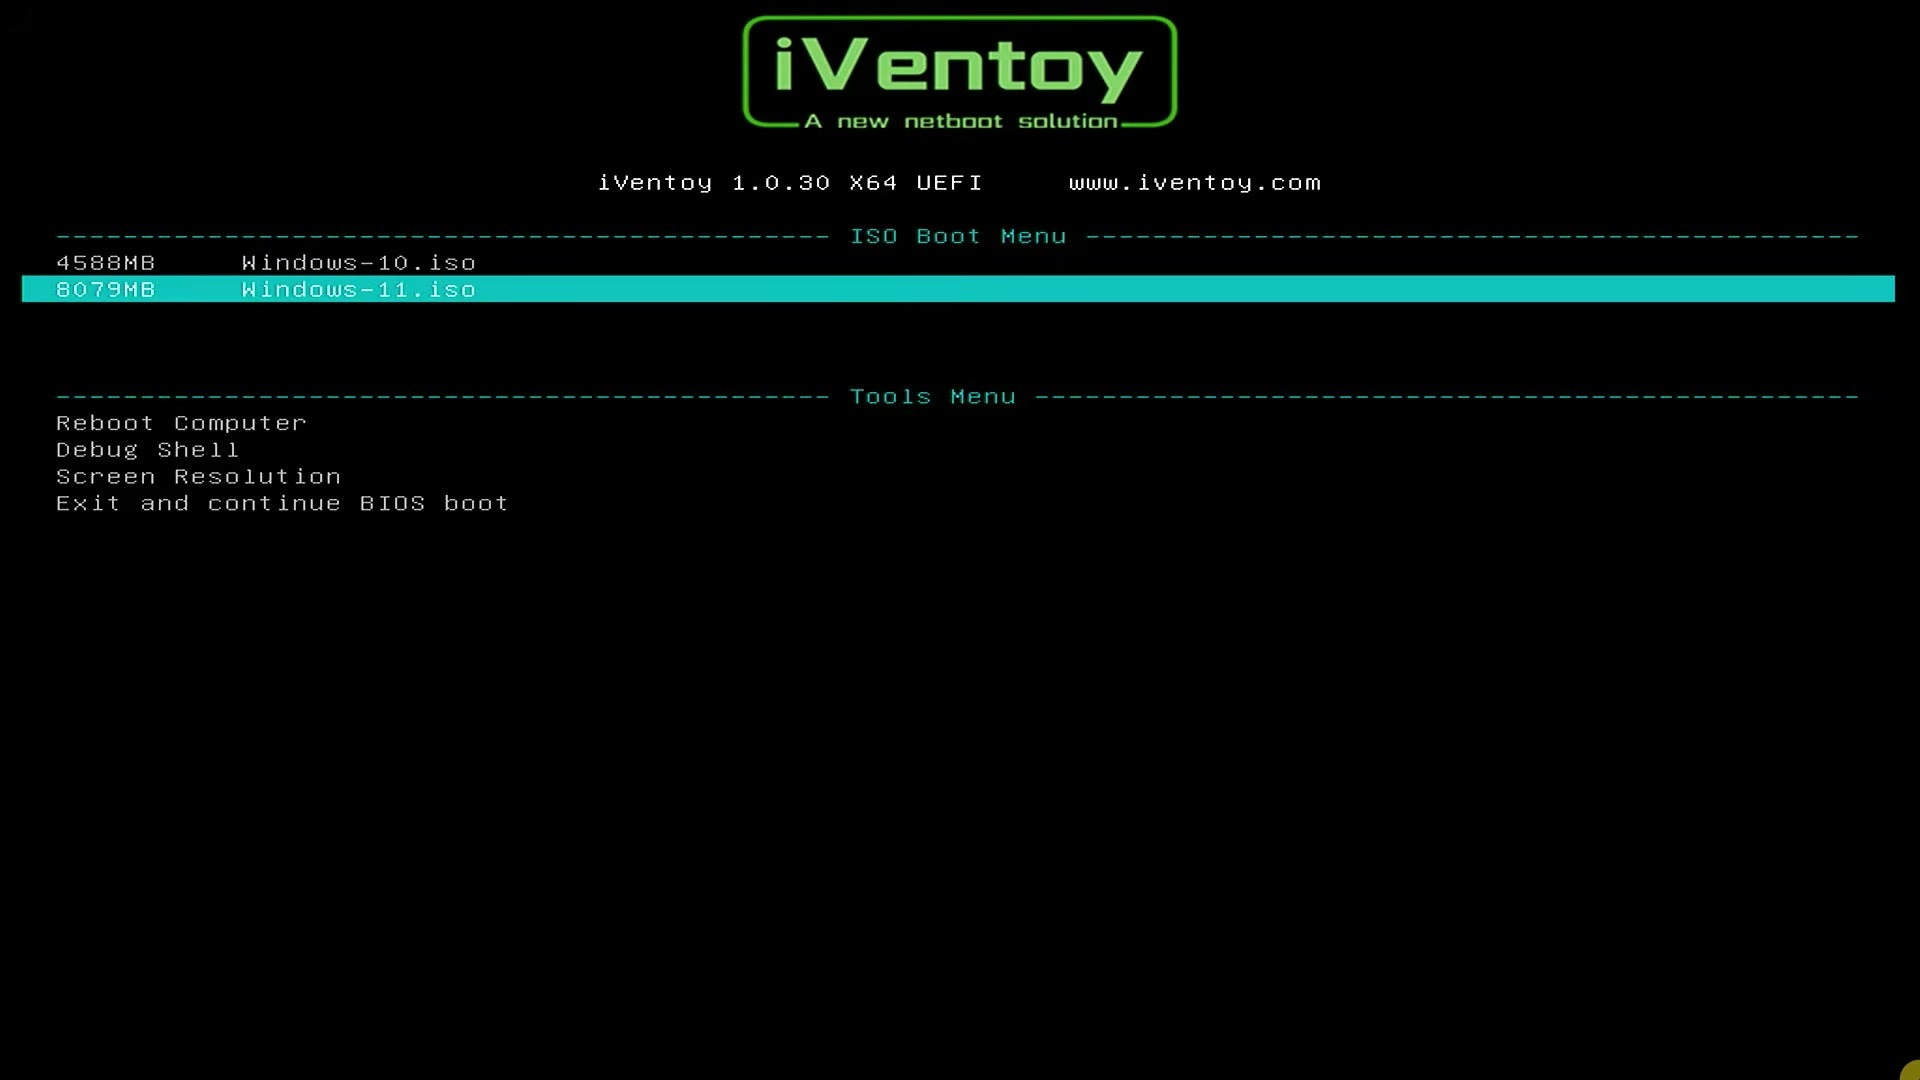
The target requests an address from the router, receives the boot details from iVentoy, and loads the iVentoy menu. Select the Windows 11 ISO and start it in the normal mode. Leave ByPass HW Check disabled on a supported installation; Microsoft does not support Windows 11 installed on hardware that fails its requirements.
Install Windows 11
Once Windows Setup loads, select the language and keyboard, enter a valid product key or choose the edition that matches the device’s digital licence, and accept the licence terms. Choose Custom: Install Windows only for a clean installation.
At Select location to install Windows 11, pause and identify the correct physical disk by its capacity. For a fully clean install, delete partitions only from that destination until it becomes unallocated space, select it, and continue. Do not delete recovery or data partitions on another disk.
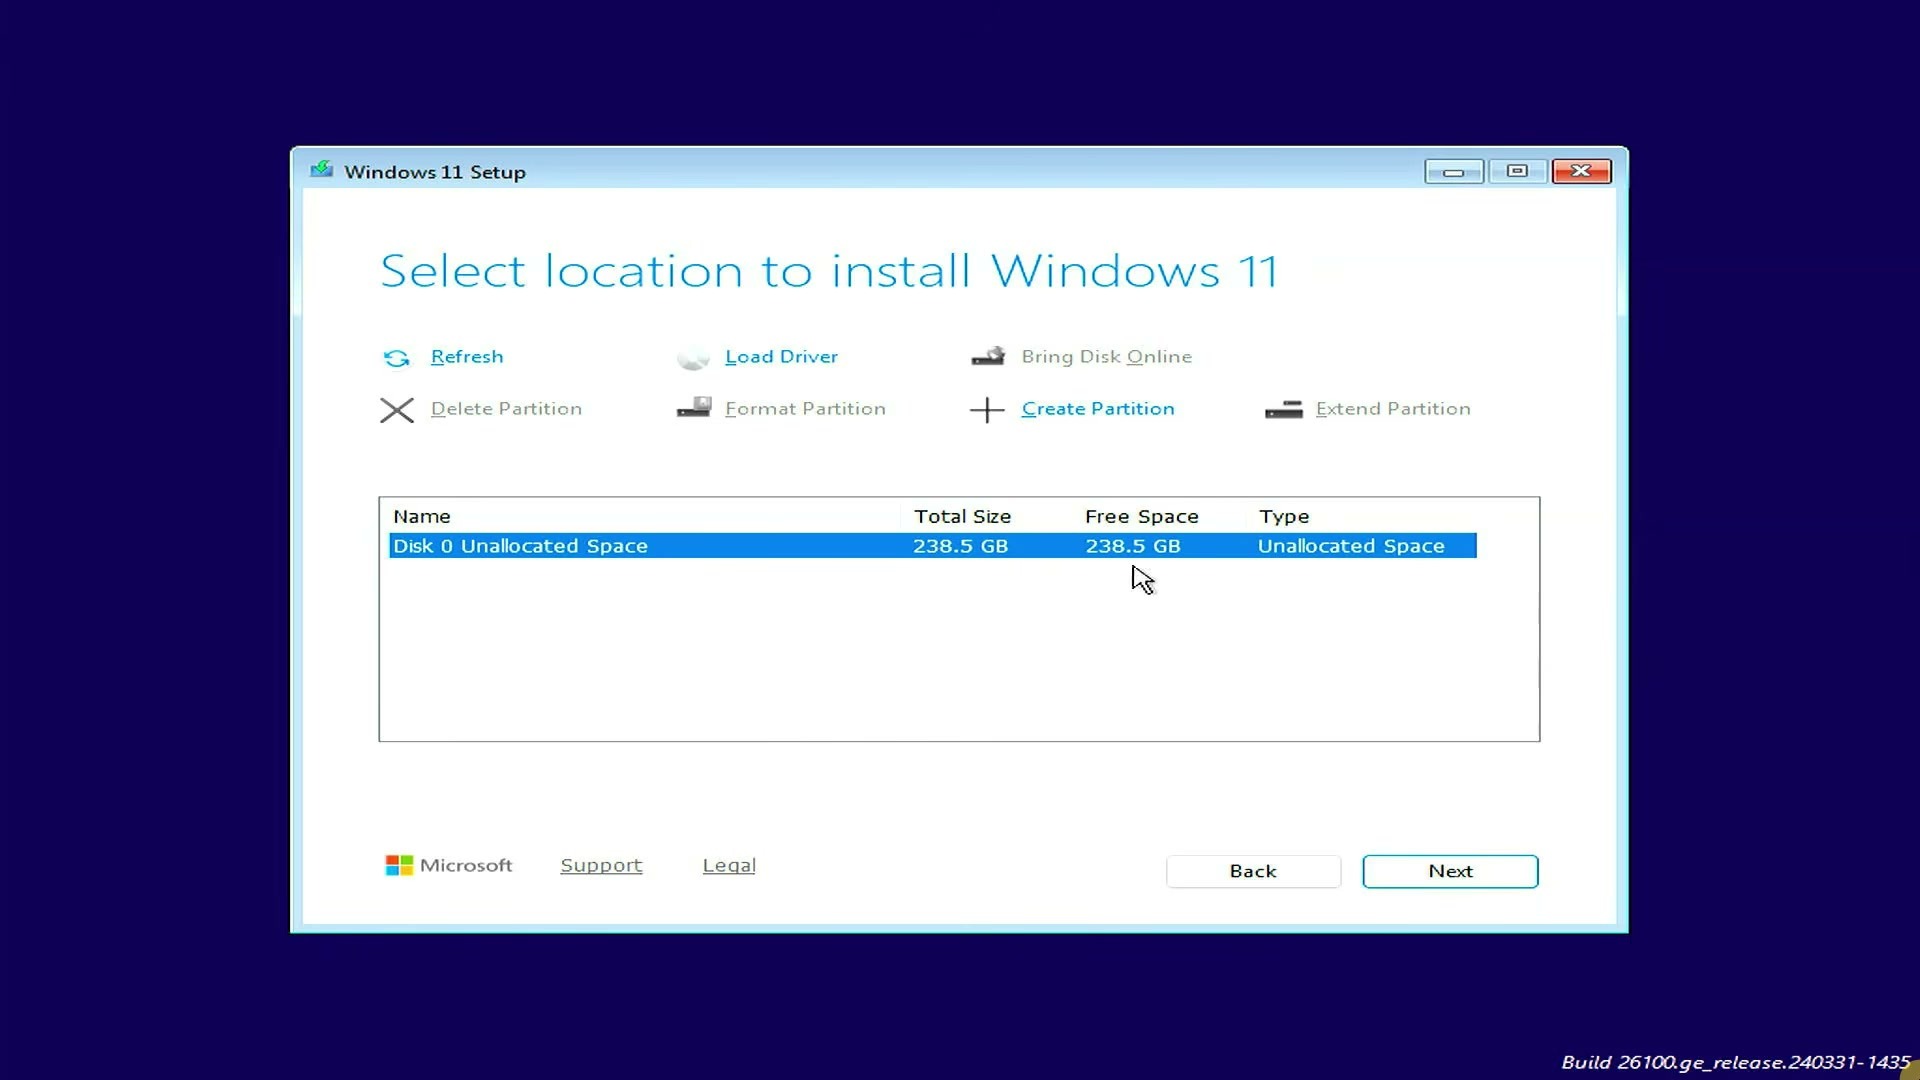
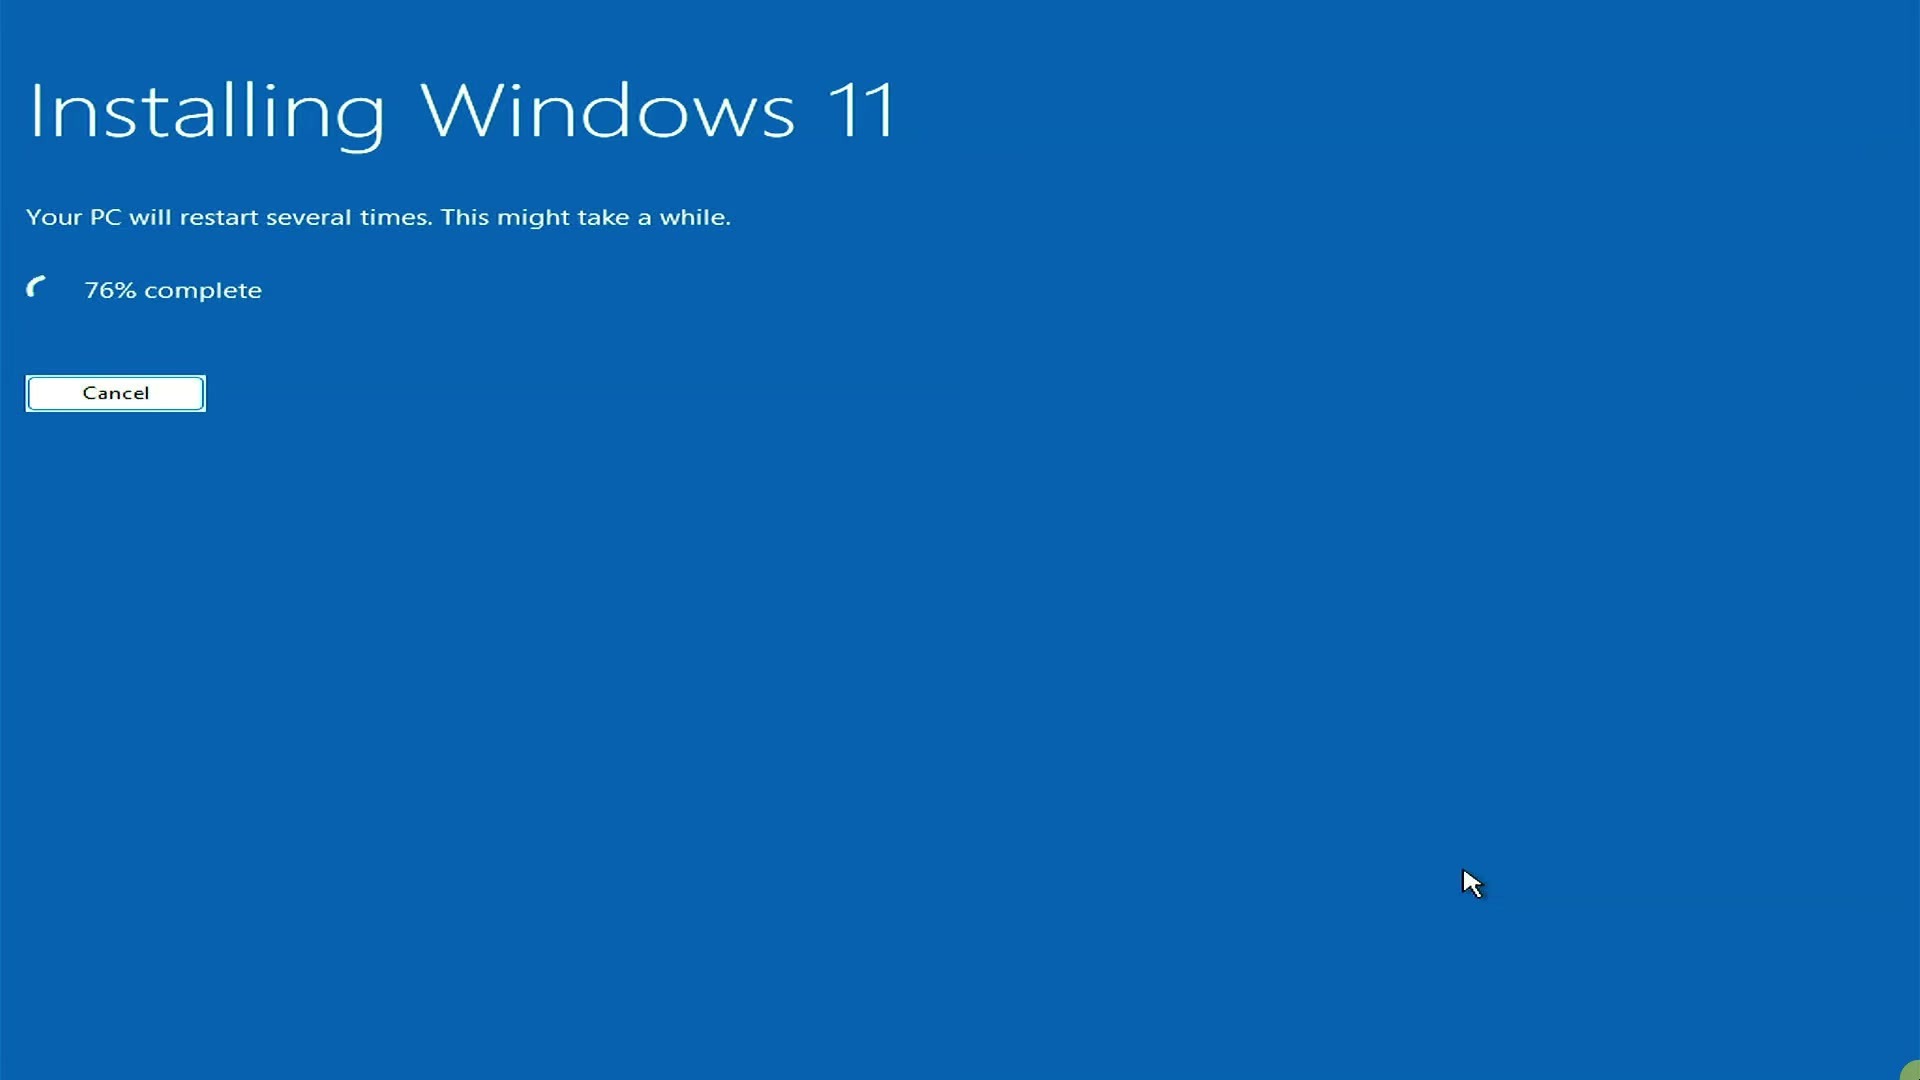
Setup copies the files from the network image and restarts the target several times. Let it boot from the internal drive after the first restart. If the firmware keeps returning to iVentoy, select Windows Boot Manager from the one-time menu or restore it to the top of the permanent boot order.
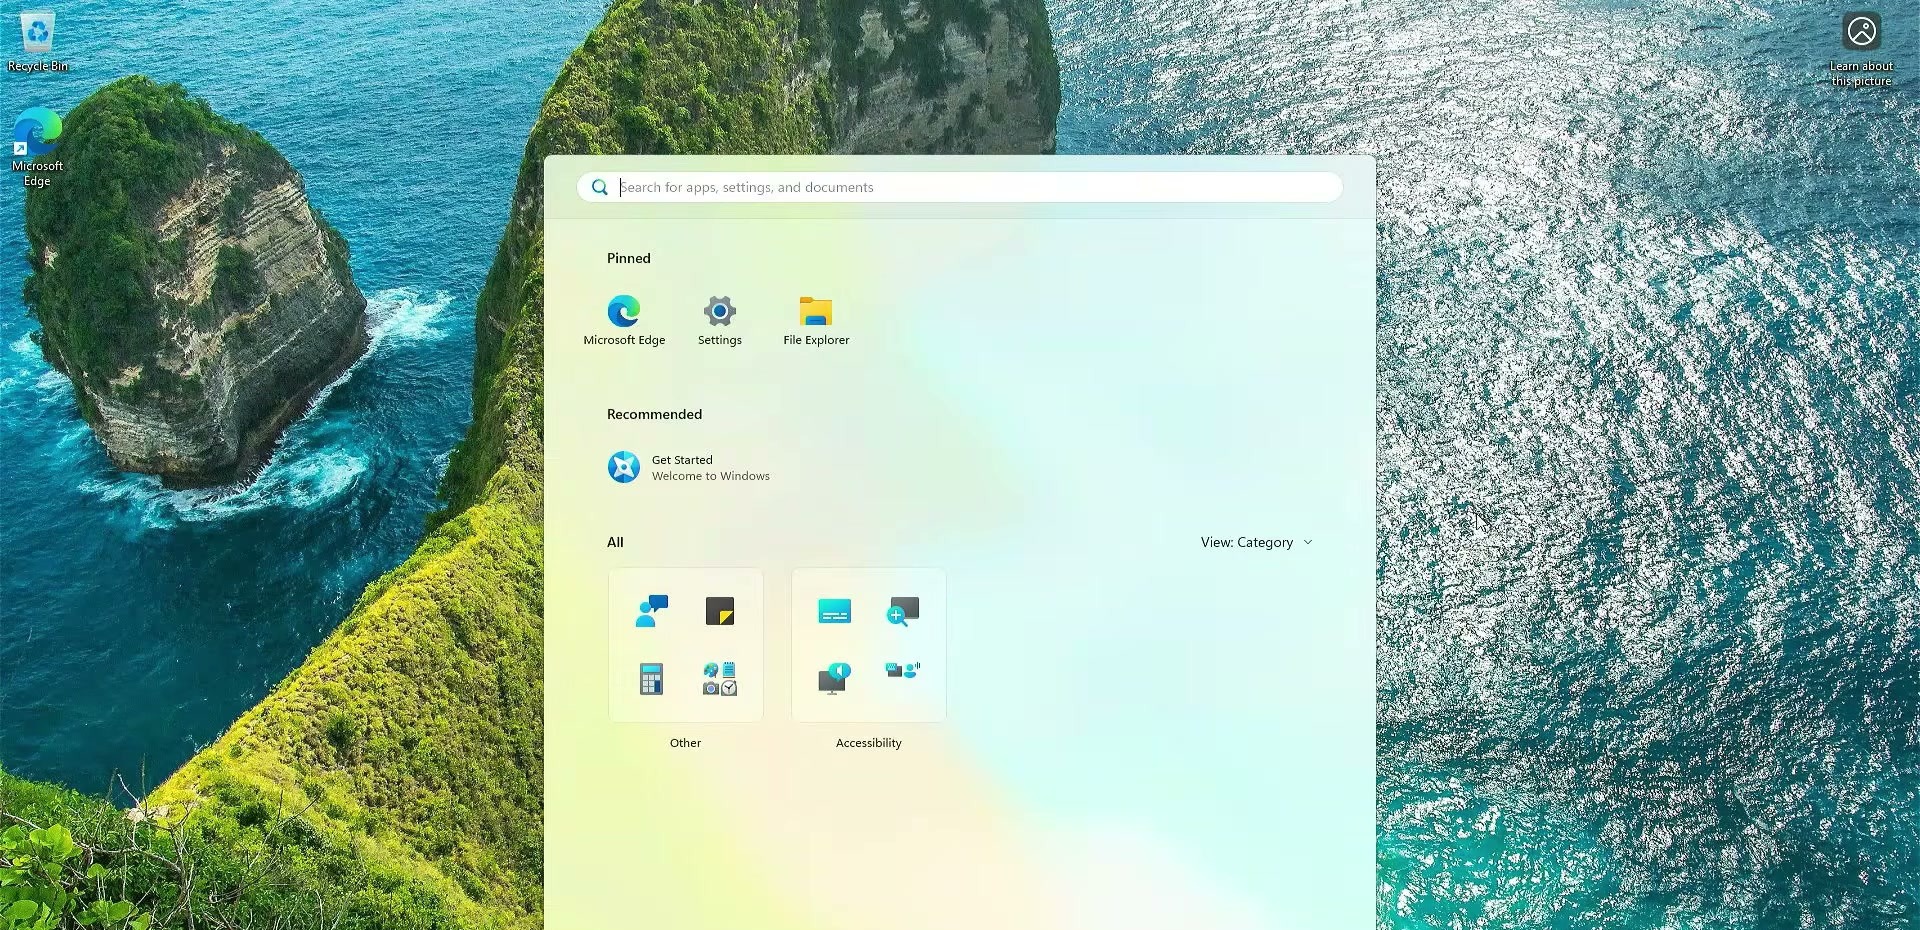
Complete the Windows out-of-box setup, connect to the internet, run Windows Update, and install any missing hardware drivers from the PC manufacturer. Confirm activation under Settings > System > Activation.
Troubleshooting iVentoy and PXE Boot
The PXE or iVentoy Menu Never Appears
Confirm that both machines are on the same subnet, the target is using a wired PXE-capable adapter, iVentoy shows Running, and the selected server IP belongs to the correct host NIC. Set the Windows connection to Private, allow iVentoy through the firewall only on that profile, and use ProxyNet when the router supplies DHCP. Guest Wi-Fi isolation, VLAN boundaries, and managed networks can block the required broadcasts.
Windows Setup Reports a Missing Driver or Media
This message can mean that Windows PE lacks the target’s wired network driver or failed to mount the network ISO. Press Shift+F10 in Setup and run:
ipconfig /allIf the Ethernet adapter or IPv4 address is missing, obtain the correct NIC driver from the PC manufacturer and follow iVentoy’s Windows driver troubleshooting. If an address is present, recheck the host firewall, iVentoy status, and network path.
Secure Boot Rejects the Network Loader
Update to the current iVentoy release and use its Standard Secure Boot mode first. The alternative ByPass mode requires knowingly enrolling the iVentoy certificate authority and should not be the default fix. Keep the Windows ISO official and signed.
Finish and Secure the Host
After Windows is installed and can boot from its own drive, stop the iVentoy service and close the host application. Remove the ISO from the serving folder if you no longer need it, restore the target’s preferred boot order if you changed it, and keep PXE disabled when it is not part of your normal workflow.
For one or a few PCs on a trusted wired network, iVentoy is a practical alternative to creating installation USB drives. The reliable approach is to let the existing router handle addresses, run iVentoy in the matching proxy mode, use UEFI IPv4 from the one-time boot menu, and treat the Windows disk screen with the same care as any other clean installation.